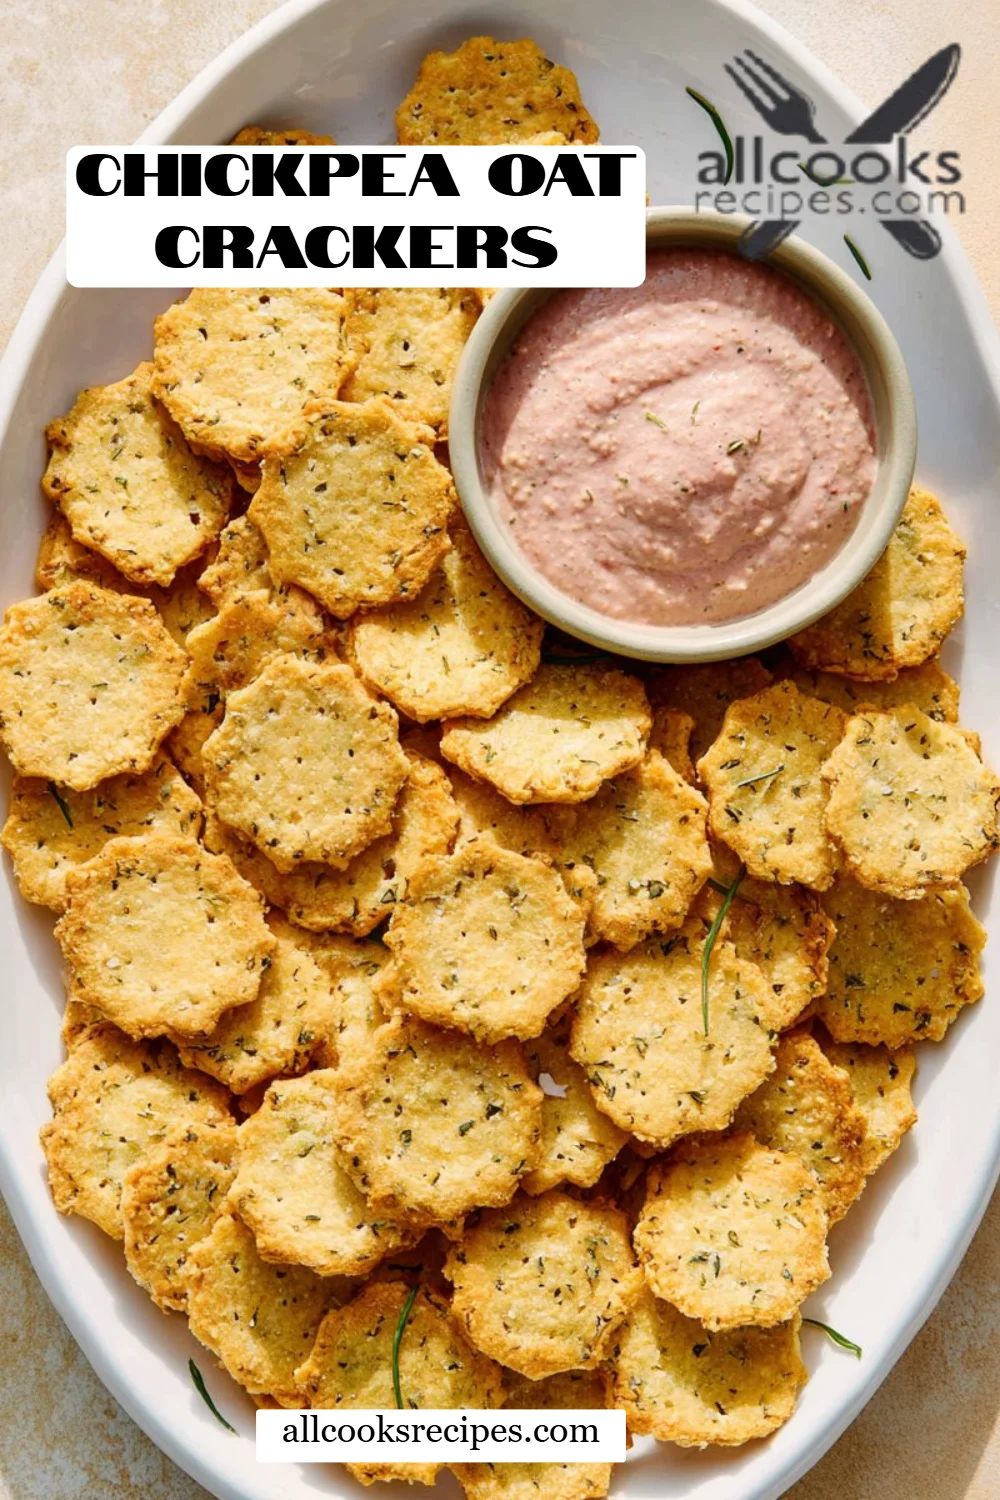
Delicious Chickpea Oat Crackers: A Guilt-Free Snack Recipe You’ll Love
There’s something magical about creating snacks from scratch, isn’t there? I’ll never forget the first time I attempted to make my own crackers. Armed with a simple recipe and a yearning for a healthier lifestyle, I made a mess in my kitchen but ended up discovering something incredible: Chickpea Oat Crackers. These delightful little treats weren’t just good; they were a wholesome ode to flavor and nutrition that made my taste buds sing.
What makes these Chickpea Oat Crackers truly special is their crunchy texture and the nutty flavors that dance on your palate. Unlike many store-bought options filled with mystery ingredients, my homemade version is packed with wholesome ingredients like chickpeas and oats. Each bite brings back fond memories of family gatherings where we mingled over bowls of snacks, creating warmth and laughter that linger in the air.
I promise you, by the end of this post, you’ll learn not only how to make these easy and delicious crackers at home, but also some pro tips on customizing them to fit your taste. Trust me, your snack game will never be the same again!
What Are Chickpea Oat Crackers?
Chickpea Oat Crackers are a tasty twist on traditional crackers, combining the earthy flavor of chickpeas with the wholesome goodness of rolled oats. Originating from a desire to create a healthier snack alternative, these crackers have become beloved in my kitchen. They offer a unique taste that’s nutty and subtly savory, with a satisfying crunch that keeps you reaching for more.
What sets these crackers apart from the rest is their simplicity and versatility. You can enjoy them as a healthy snack, pair them with your favorite hummus, or even use them as a base for a delightful cheese platter. Perfect for any occasion, these crackers are a fantastic way to add some nutritious goodness to your daily routine while still indulging your taste buds.
Why You’ll Love This Recipe
-
Healthier Choice: With ingredients like chickpeas and oats, these crackers are a nutrient-dense alternative to chips and traditional crackers, packed with protein and fiber.
-
Cost-Effective: Making your own crackers saves you money and allows you to sidestep those expensive health food aisles. One batch costs a fraction of what you’d pay for organic crackers at the store.
-
Customization Galore: Feel free to experiment with your favorite spices, seeds, or even dried herbs. Want a spicy kick? Add red pepper flakes! Prefer a cheesy flavor? Nutritional yeast can work wonders!
-
Easy to Make: This recipe is as simple as blending the ingredients and rolling them out. It’s a fantastic project to involve your kids in, turning your kitchen into a fun baking lab.
-
Time-Saving: In just about an hour (including prep and bake time), you’ll have a batch of these delicious crackers ready to munch on for snacks throughout the week.
Ingredients
For this delicious Chickpea Oat Crackers recipe, here’s what you’ll need:
- 400g (14 oz) can chickpeas, rinsed and drained: Look for high-quality brands like Eden Foods or Amy’s Kitchen for organic options.
- 1 cup rolled oats: Opt for gluten-free oats if that’s a dietary concern.
- 1/4 cup natural nut butter (almond, peanut, or tahini): I love using almond butter for a subtle sweetness, but feel free to choose your favorite!
- 1 teaspoon dried basil: Fresh herbs can also work if you have them on hand, adding a lively flavor.
- 1 teaspoon onion powder: This adds a savory depth; look for organic options if possible.
- 1 teaspoon salt: Adjust to your taste. I use sea salt for a flavor boost.
Prep Notes
- Make sure your nut butter is at room temperature for easier mixing.
- Gather all your ingredients before starting, to streamline the process.
Step-by-Step Instructions
-
Preheat and Prepare: Preheat your oven to 160 degrees Celsius (320 degrees Fahrenheit) fan forced, and line a baking tray with baking paper.
-
Mix it Up: In a food processor, add the rinsed and drained chickpeas, rolled oats, nut butter, and seasonings. Blend for about 2 minutes, or until the chickpeas are finely mashed and the mixture starts coming together into a dough.
-
Combine and Adjust: Scrape down the sides of the bowl as needed. If the dough seems too dry, add a small splash of water and pulse to combine until the dough comes together smoothly.
-
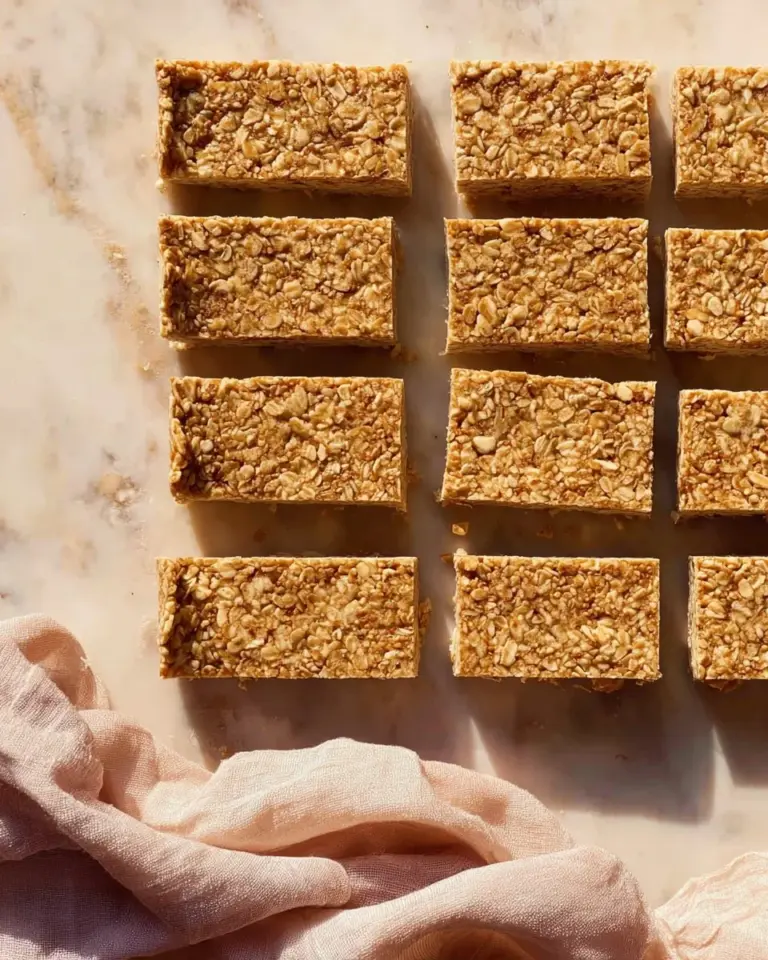
Shape the Crackers: Divide the dough into 4 to 5 portions. Roll each portion out thinly with a rolling pin on a floured surface (or between two sheets of baking paper to avoid sticking). Cut into your desired cracker shapes—squares, triangles, or even festive shapes for holidays!
-
Bake: Transfer the crackers to the prepared baking tray, ensuring they are evenly spaced. Bake for 25 minutes, or until lightly golden and crisp. The aroma wafting through your kitchen will be a delightful preview of the treats to come!
-
Cool and Store: Let the crackers cool completely before serving for maximum crunch. They can be stored in an airtight container for 1 to 2 weeks or frozen for up to 2 months. If you freeze them, simply refresh them in the oven for a few minutes!
Expert Tips & Tricks
-
Watch the Bake Time: Every oven is different, so keep an eye on your crackers towards the end of baking. A lightly golden color means they are done.
-
Storing: For optimal freshness, keep your Chickpea Oat Crackers in an airtight container in a cool, dry place. They can also be refrigerated for extra crispiness.
-
Make-Ahead: You can prepare the dough ahead of time, store it in the fridge for up to 2 days, then roll and bake when you’re ready.
-
Troubleshooting Common Problems: If your crackers crumble too easily, they may need more binding from nut butter. If they are too dense, consider adding a bit more water to your dough.
Serving Suggestions
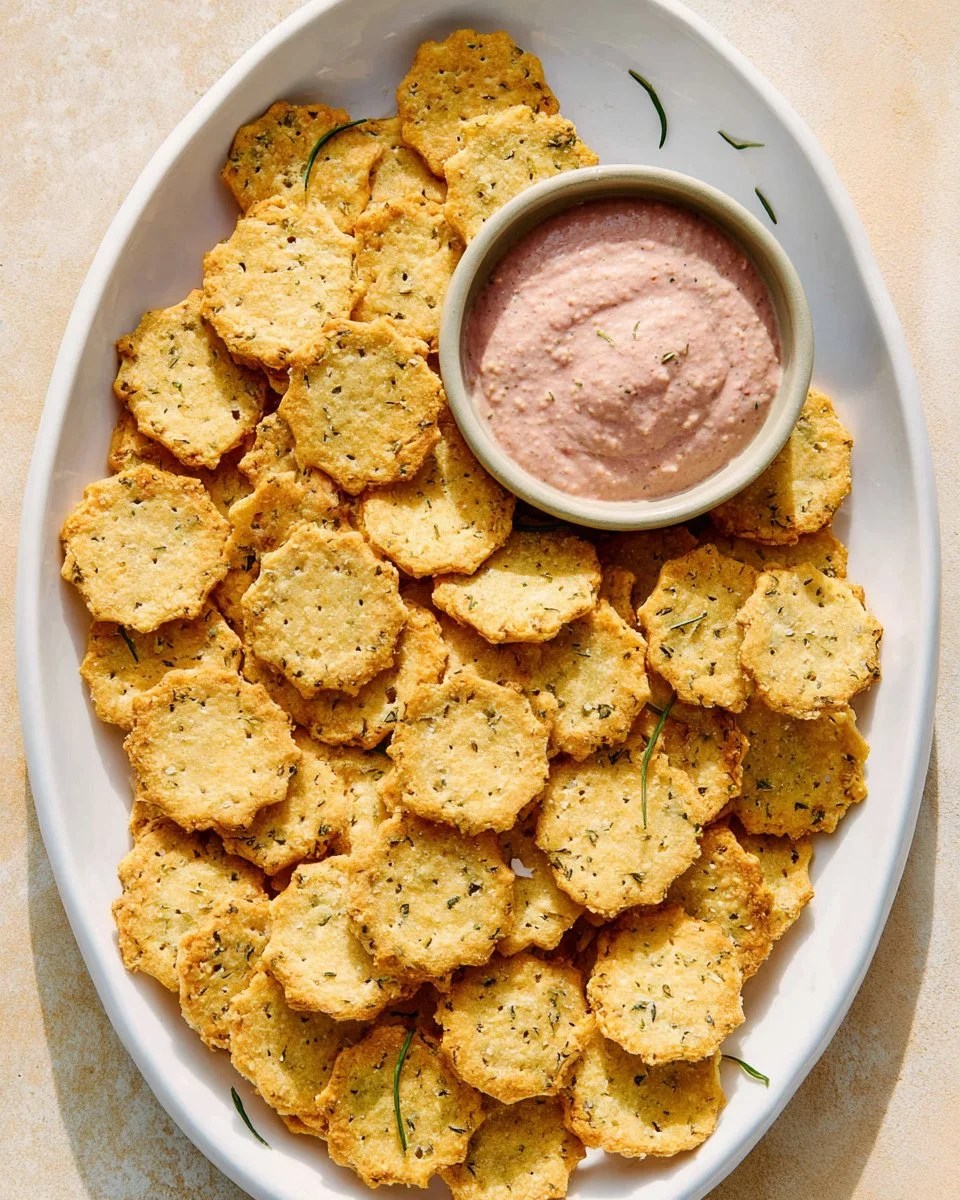
These Chickpea Oat Crackers are incredibly versatile! You can serve them alongside a vibrant hummus platter, stack them with slices of cheese and fresh herbs, or enjoy them with your favorite dips for a cozy movie night. Their delightful crunch makes them perfect for parties or family gatherings—just watch them disappear in a flash!
Variations & Substitutions
- Herb Infusion: Swap dried basil for dried rosemary or thyme for a unique flavor profile.
- Sweet Variation: Try mixing in a tablespoon of honey or maple syrup, alongside some cinnamon for a delicious sweet cracker!
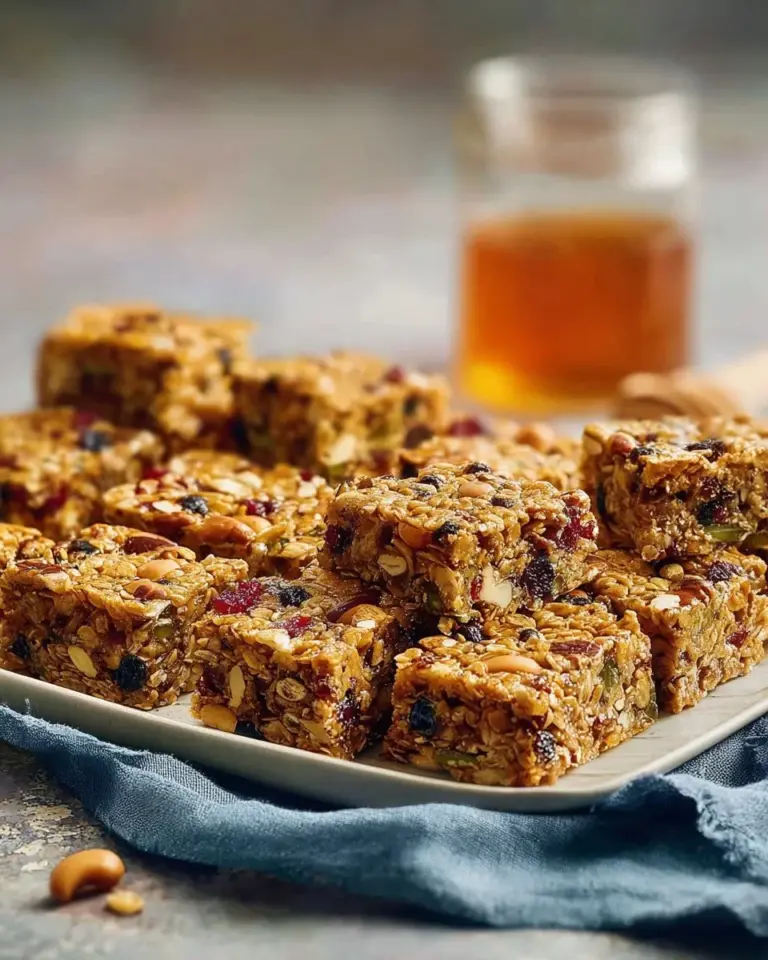
- Seed Power: Add sunflower seeds, flaxseeds, or sesame seeds into the dough for added texture and nutritional benefits.
Nutrition & Storage Info
- Prep Time: 15 minutes
- Cook Time: 25 minutes
- Total Time: 40 minutes
- Yield: Approximately 20-25 crackers
- Estimated Calories per Serving: About 45 calories
- Storage Instructions: Keep in an airtight container at room temperature for 1–2 weeks or freeze for up to 2 months.
FAQ Section
-
Can I use dried chickpeas instead of canned? Yes! Just make sure to soak and cook them beforehand.
-
What if I don’t have a food processor? You can use a blender, but the texture might vary. You can also mash the chickpeas by hand.
-
Can I make these crackers gluten-free? Absolutely! Use certified gluten-free oats, and they’ll be suitable for gluten-sensitive diets.
-
How can I adjust the salt if I have dietary restrictions? You can reduce or omit salt entirely—tasting the mix will help you decide!
-
Can I add cheese to the recipe? You can fold in finely grated cheese for a savory touch—just note it may change the texture.
-
What’s the best way to serve these? Pair them with a tasty dip like hummus, guacamole, or even salsa for an inviting appetizer!
-
Can I use an egg for binding? Yes! If you’re not vegan, adding a beaten egg can help bind everything together.
-
How do I ensure they stay crispy? Make sure they are completely cooled before sealing them in a container, and avoid moisture.
-
Can these be frozen? Yes! They freeze beautifully. Just refresh in the oven when you’re ready for a snack.
-
What’s the best way to store leftovers? Keep them in an airtight container in a cool, dry place—or refrigerate for extra crispiness!
Conclusion
These Chickpea Oat Crackers embody the perfect blend of health and taste, making them irresistible for snacking, sharing, or savoring alone. I wholeheartedly encourage you to give this recipe a try—you’ll wonder why you ever bought crackers again!
Please share your experiences in the comments below; I’d love to hear your feedback! And while you’re here, check out some of my other delightful recipes for more inspiration! Whether it’s dips, spreads, or sweet treats, there’s something for every taste on the blog.