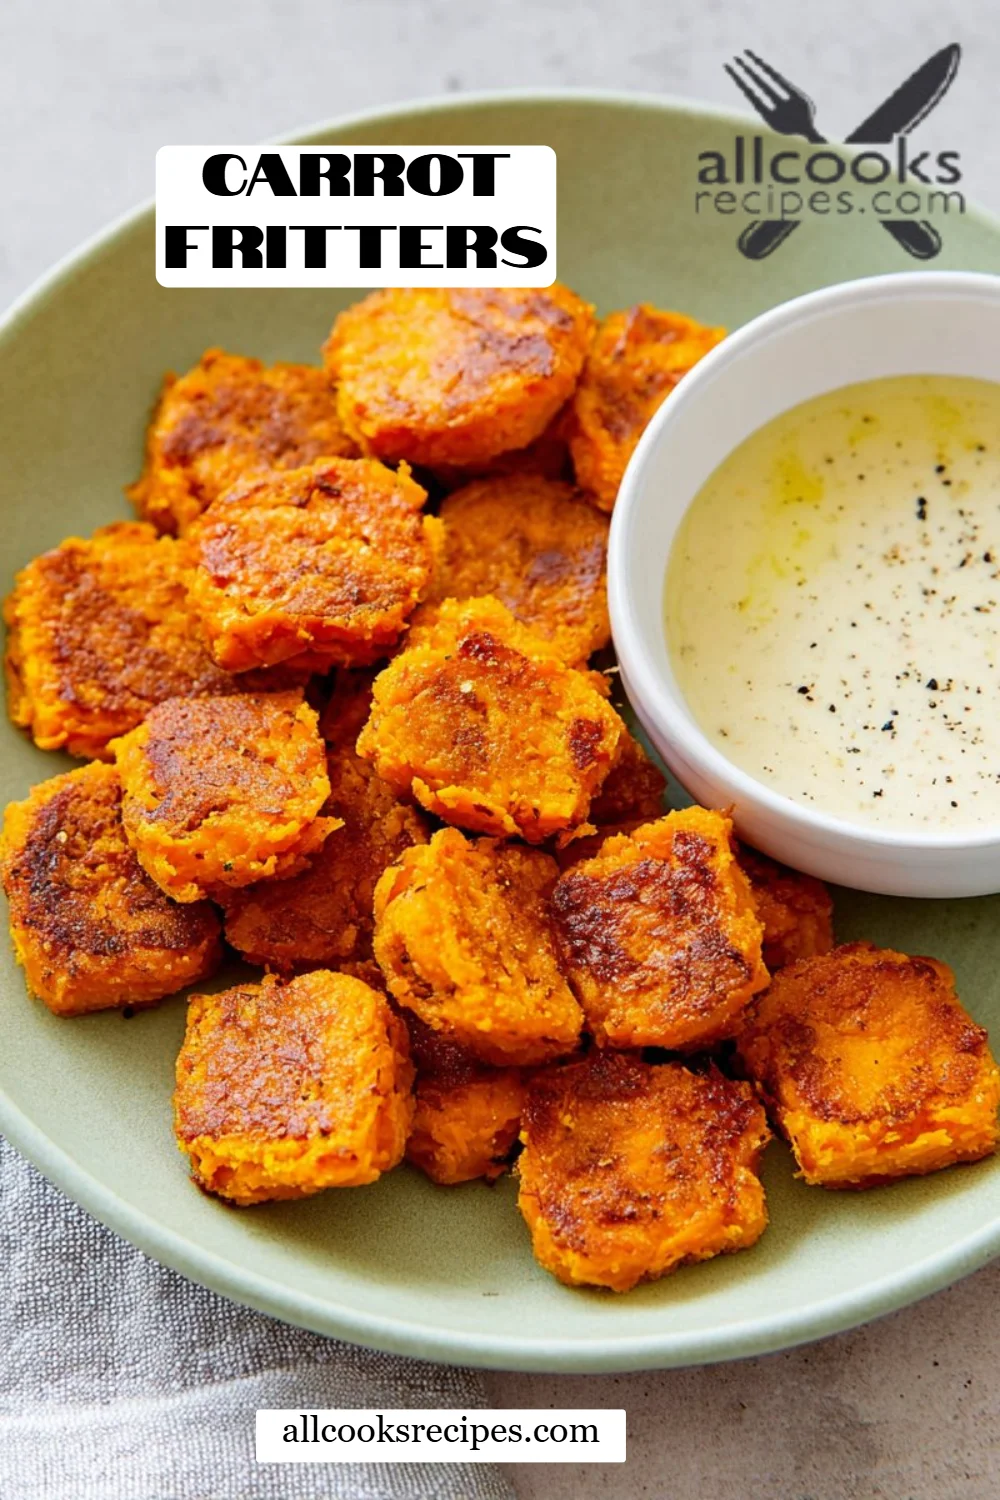
Irresistible Carrot Fritters: A Delicious Twist on a Classic Comfort Food
Growing up, the smell of freshly cooked fritters wafting from the kitchen was my favorite kind of homecoming. My mom had a magical knack for turning everyday ingredients into something special, and her carrot fritters were a family favorite. I still remember the first time I bit into one—golden brown on the outside, soft and savory on the inside. It was pure bliss!
These carrot fritters transform simple grated carrots into tiny, crispy delights that not only make my taste buds sing, but also carry the warmth of home-cooked love. They’re extraordinary because they’re not just another side dish; they’re a hearty snack, perfect for brunch or even a light dinner. What sets my recipe apart from others is the addition of creamy ricotta and earthy thyme, which elevate these fritters beyond the ordinary, ensuring every bite is packed with flavor and comfort.
Today, I’m excited to share the secrets behind these unforgettable carrot fritters, so you can create your own batch that will surely spark joy in your kitchen. Get ready to learn how to whip up a batch of these golden beauties that are sure to take you back in time!
What Are Carrot Fritters?
Carrot fritters are a delightful culinary invention that hails from various cultures, each adding their own twist. They often appear in Mediterranean and Eastern European cuisines, where they are cherished for their crispy exterior and tender core. The beauty of carrot fritters lies in their versatility: they can serve as a savory snack, an appetizer, or even a meatless main course.
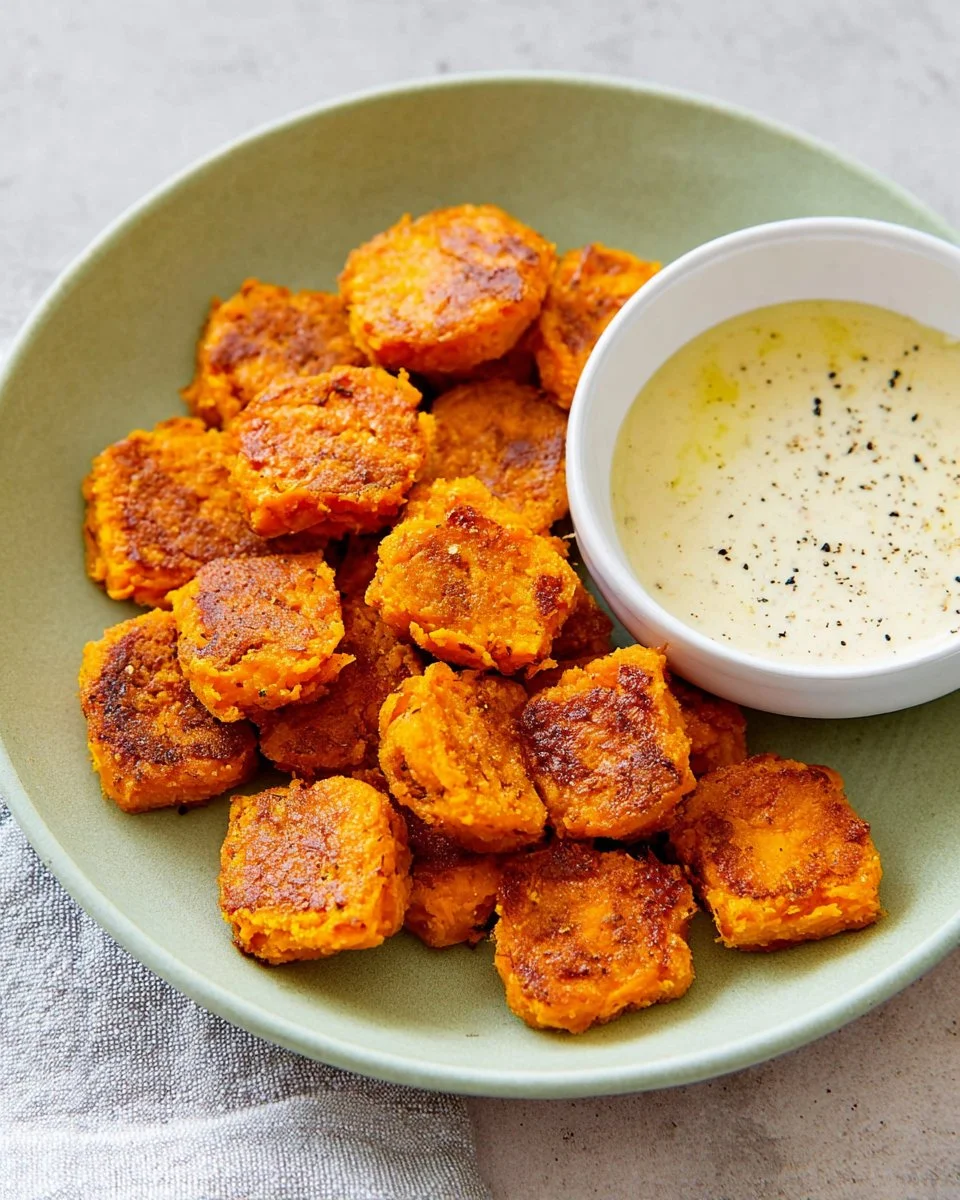
The taste? Imagine the sweetness of carrots mingling with the rich creaminess of ricotta—add in some aromatic herbs like thyme, and you’ve got a flavor profile that’s balanced and oh-so-satisfying. The texture is what really gets me—they’re crispy on the outside while maintaining a soft and tender heart.
These fritters are perfect for any occasion—whether you’re cooking for a casual weeknight dinner or impressing guests at a brunch gathering. Plus, they’re a fantastic way to sneak in some veggies!
Why You’ll Love This Recipe
1. Easy and Quick
This carrot fritters recipe is an easy recipe that can be whipped up in no time! With just a few simple steps, you can have delicious fritters on the table in about 30 minutes. Unlike those frozen or store-bought versions that often contain preservatives, you can feel good knowing what’s in every bite.
2. Cost-Effective
Making carrot fritters at home is easier on your wallet compared to dining out. Most of the ingredients are pantry staples, and you’ll find that you can make a large batch that is enough to feed the family without breaking the bank.
3. Customization Galore
One of the best parts about this recipe is how easily you can customize it. Love spices? Add a pinch of cumin or chili powder. Want a bit of crunch? Toss in some finely chopped bell peppers. The options are endless, making it a perfect recipe for experimentation!
4. Impressive Flavor without the Fuss
These fritters taste gourmet but are incredibly straightforward. You’ll impress your family and friends with a dish that has robust flavors and textures without spending hours in the kitchen.
5. Healthy and Wholesome
These fritters provide a healthy dose of vegetables, thanks to the carrots. This recipe makes it easy to enjoy guilt-free snacking while satisfying your cravings for something crispy and delicious.
Ingredients
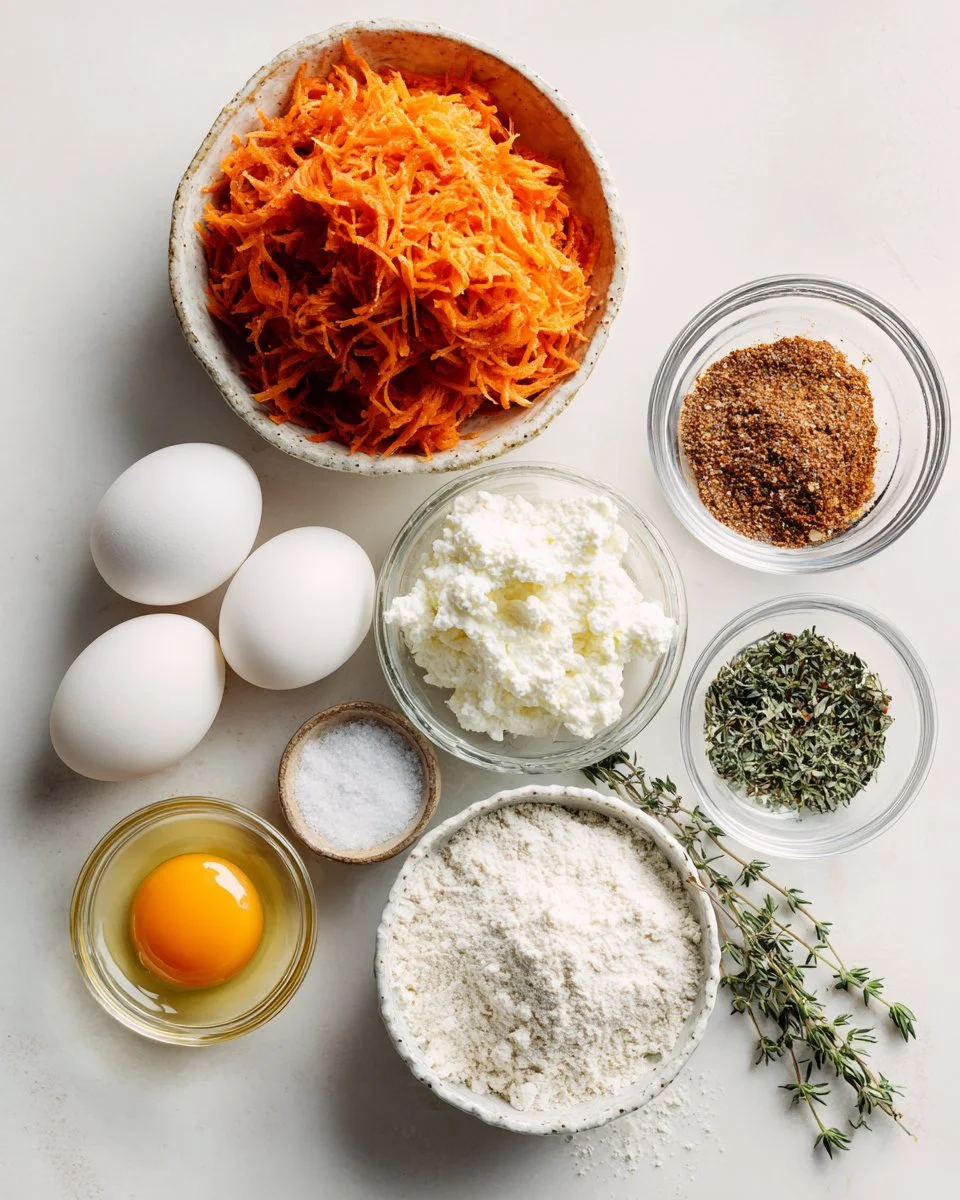
To make these scrumptious carrot fritters, you will need:
- 1 cup packed, finely grated carrots: Freshly grated is best for maximum moisture and sweetness.
- 1/2 cup ricotta cheese: For creaminess—use whole milk ricotta for a richer flavor.
- 1 large egg: Bind everything together—this should be at room temperature for easy mixing.
- 2 tablespoons wholemeal self-raising flour: For extra texture and a bit of whole grain goodness.
- 1/4 teaspoon garlic powder: To add depth; feel free to substitute with fresh garlic if you prefer.
- 1 teaspoon dried thyme: Alternatively, you can use fresh thyme—just double the amount for a more robust flavor.
Ingredient Notes
- Carrots: Opt for organic if possible for superior flavor, and take the time to finely grate them for the best texture.
- Ricotta: Can be substituted with cottage cheese or feta for a different flavor experience. If you want a dairy-free option, try using silken tofu blended until creamy.
- Flour: If you’re gluten-free, substitute with almond flour or gluten-free flour mix.
Step-by-Step Instructions
-
Prep the Carrots: Begin by finely grating the carrots. Use a fine grater—you want the texture to blend perfectly, like a sweet whisper in your fritters.
Chef’s Tip: Place the grated carrots in a clean kitchen towel and squeeze out any excess moisture. This will prevent your fritters from being soggy!
-
Mix Ingredients: In a large mixing bowl, combine the grated carrots, ricotta cheese, egg, wholemeal self-raising flour, garlic powder, and thyme. Stir gently with a silicone spatula or spoon until everything is well incorporated. The mixture should feel slightly thick, yet sticky.
Timing: This entire mixing process should take about 5 minutes.
-
Heat the Skillet: Put a non-stick skillet on medium heat and lightly spray it with cooking oil. It’s hot enough when water droplets sizzle upon contact.
-
Cook the Fritters: Using a tablespoon, scoop portions of the mixture into the skillet, spacing them out to avoid overcrowding. Flatten them slightly with the back of the spoon.
Timing: Let them cook for 1 to 2 minutes on each side. You want them to be golden brown—peek underneath to check!
-
Enjoy Warm: These fritters are best served warm! Enjoy them plain or with your favorite dip.
-
Storage: Any leftovers can be cooled and stored in an airtight container in the fridge for up to 3 days, or frozen for up to 2 months. To reheat, simply warm them in a skillet or air fryer until crispy.
Common Mistake: Don’t overcrowd the pan—this will lower the skillet’s temperature and prevent that sought-after crispy exterior.
Expert Tips & Tricks
-
Don’t rush the cooking: Allow each fritter to turn golden brown on each side. This not only enhances the flavor but also gives that irresistible crunch.
-
Make Ahead: You can prep the batter ahead of time and store it in the fridge for a few hours before cooking. However, don’t let it sit for too long to avoid losing its freshness.
-
Test for seasoning: Feel free to cook a small fritter first to test the seasoning. You can adjust your spices as desired.
-
Storage Secret: To keep these fritters crisp after reheating, you can pop them in the air fryer for just 3-5 minutes at 350°F.
-
Watch the Heat: If your fritters are browning too quickly, lower the heat to medium-low to ensure they’re cooked through without burning.
-
Leftover Ideas: If you have leftover fritters, try them in a salad, or as a filling for a sandwich—add a little avocado and some hot sauce for a delicious twist!
Serving Suggestions
Pair your carrot fritters with a fresh yogurt dipping sauce, tzatziki, or even a sweet chili sauce for a delightful contrast. For a complete meal, serve them alongside a crisp green salad or steamed veggies. Their bright colors and delightful crunch make them perfect for lunchboxes or casual gatherings, and they’re always a hit at brunch parties!
Variations & Substitutions
- Spicy Garlic Fritters: Add a pinch of cayenne or red pepper flakes to the batter for a kick of heat.
- Herbed Fritters: Swap dried thyme for freshly chopped dill or parsley for a different flavor profile.
- Cheesy Goodness: Experiment by incorporating small chunks of cheese like feta or sharp cheddar for pockets of deliciousness.
For dietary adaptations, substitute the ricotta with a dairy-free cream cheese for vegan fritters, or use gluten-free flour for a gluten-free option. You can also incorporate seasonal veggies like zucchini or corn for a refreshing change.
Nutrition & Storage Info
- Prep Time: 10 minutes
- Cook Time: 20 minutes
- Total Time: 30 minutes
- Yield: Approximately 12 fritters
- Estimated Calories: About 70 calories per fritter
Storage Instructions
- Room Temp: Best enjoyed fresh but can be kept at room temperature for up to 2 hours.
- Fridge: Store any leftovers in an airtight container for up to 3 days.
- Freezer: Can be frozen for up to 2 months. Reheat in the oven or air fryer for best results.
FAQ Section
-
Can I make carrot fritters ahead of time? Yes, you can prepare the batter a few hours in advance, but don’t refrigerate for too long. Cooked fritters can be reheated easily.
-
How do I make them gluten-free? Simply swap the wholemeal self-raising flour with a gluten-free flour blend or almond flour.
-
What can I serve with carrot fritters? These fritters are delicious with yogurt dip, salsa, or simply paired with a fresh salad.
-
Can I double the recipe? Absolutely! This recipe scales well, so if you have a crowd to please, go for it!
-
Do they freeze well? Yes, once cooled, you can freeze them for up to 2 months. Reheat in an oven or air fryer for optimal texture.
-
What if my fritters are too wet? If the mixture feels too wet, add a bit more flour until you reach a manageable consistency.
-
Can I add other veggies? Yes! Feel free to mix in ingredients like finely chopped bell peppers or zucchini for more flavor and nutrition.
-
How do I know when they are done cooking? Look for a golden-brown color and a crispy texture. They should feel firm to the touch.
-
What’s the best way to store leftovers? Store in an airtight container in the fridge for up to 3 days.
-
Can I bake these instead of frying? You can bake them at 375°F (190°C) until golden brown, flipping halfway through for even cooking.

Conclusion
These carrot fritters are more than just a simple snack—they’re a slice of nostalgia, a burst of flavor, and a way to bond with family and friends over delicious food. I encourage you to try making them at home; I’m confident that they will become a staple in your kitchen too! Share your thoughts and experiences in the comments; I love hearing from you! And if you’re on the hunt for more delightful recipes, be sure to check out my blog for more irresistible ideas that celebrate the joy of cooking. Enjoy your cooking adventure!