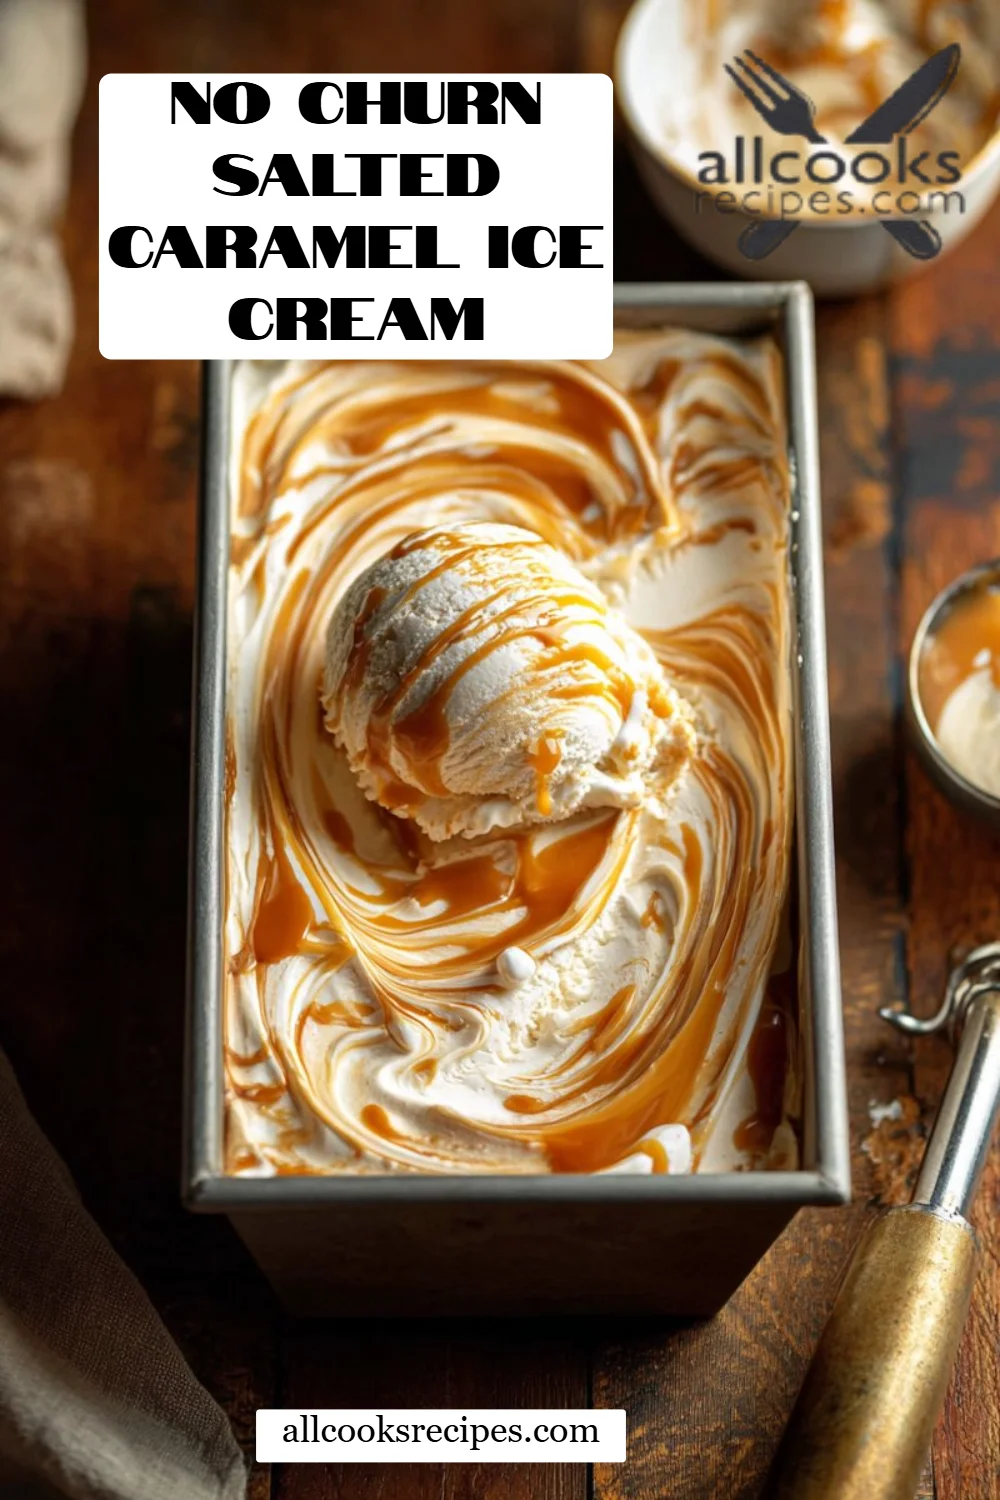
Delightful No Churn Salted Caramel Ice Cream: An Easy Recipe to Indulge Your Sweet Tooth
Every summer, like clockwork, my family would gather in the backyard, the air thick with the sweet scent of flowers and the hum of laughter. As a child, I always looked forward to my mom’s homemade dessert—her famous No Churn Salted Caramel Ice Cream. It wasn’t just a treat; it was a ticket back to those blissful, carefree days spent under the sun.
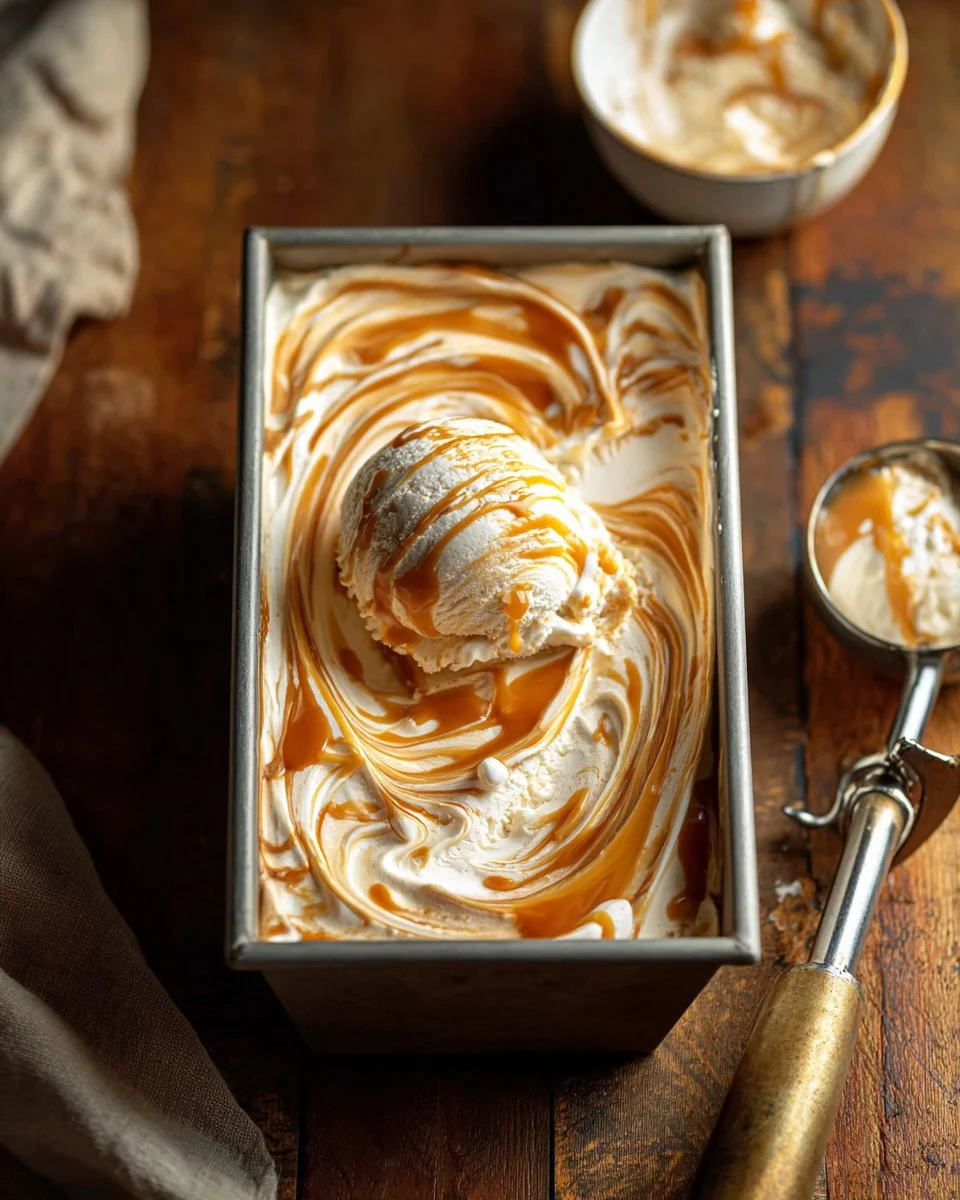
What makes this No Churn Salted Caramel Ice Cream so special? It’s creamy, dreamy, and incredibly easy to whip up without an ice cream maker! The combination of rich, decadent caramel swirled throughout a velvety base, finished with a hint of salt, creates a dance of flavors that’s simply irresistible.
Unlike the store-bought versions that often chuck in artificial flavors and preservatives, this homemade recipe allows you to know exactly what’s going into it—real ingredients that are both delicious and comforting. Trust me, your taste buds will thank you for choosing this homemade delight over the mass-produced kind!
By the end of this blog post, you’ll be equipped with everything you need to recreate this nostalgic dessert and maybe even start some new family traditions of your own.
What Are No Churn Salted Caramel Ice Cream?
No Churn Salted Caramel Ice Cream is a simple dessert that marries the richness of caramel with the smooth texture of homemade ice cream, no ice cream maker required! The origins of this delightful treat are found in the quest for accessible, indulgent desserts—where the charm of ice cream-making meets convenience in our busy lives.
Imagine a scoop of this ice cream: as you dig in, you’ll notice its creamy texture melting seamlessly in your mouth, while the salty undertones balance perfectly with the sweet caramel—buttery and luscious, with each bite feeling like a warm hug.
This recipe is perfect for summer barbecues, cozy family dinners, or just when you need a sweet moment to yourself.
Why You’ll Love This Recipe
-
Easy and Quick: This No Churn Salted Caramel Ice Cream requires minimal prep time. It’s the ultimate in effortless desserts! You’ll only need about 15 minutes to mix everything, and the hard part is waiting for it to freeze.
-
Cost-Effective: While store-bought salted caramel ice cream can be pricey, making this delight at home is far more budget-friendly! Plus, you can customize the ingredient quality to suit your preferences, which can save you even more.
-
Unique Flavors at Your Fingertips: You can adapt this recipe to suit your taste buds! Want a coffee infusion? Add some espresso powder! Prefer chocolate? Toss in some cocoa powder! The options are limitless.
-
Impressive Enough for Guests: Serving this homemade ice cream will make you look like a culinary genius! It’s creamy, rich, and undeniably good—your friends will be raving about it long after the last scoop is gone.
-
Difficulty Level: No advanced skills or fancy equipment required—perfect for novice bakers or busy parents. The step-by-step instructions will guide you every step of the way!
Ingredients Section
Here’s what you’ll need to create your No Churn Salted Caramel Ice Cream. I always recommend using high-quality ingredients for the best results!
-
2 cups heavy whipping cream, cold: Make sure it’s cold to achieve those beautiful stiff peaks. If you want to go dairy-free, you can substitute with coconut cream.
-
1 can sweetened condensed milk: Opt for full-fat for the creamiest results. Brands like Eagle Brand or Nestle are tried and true!
-
1 teaspoon vanilla extract: Use pure vanilla extract for its rich flavor—trust me, it makes a difference!
-
1/4 teaspoon kosher salt: Balances the sweetness beautifully; seasoned salt enhances the flavor even more!
-
1 cup caramel sauce: Homemade or store-bought, it’s your call! If store-bought, go for brands like Smucker’s or Werther’s Originals for a rich, buttery taste.
Prep Notes
- Ensure your heavy whipping cream is extremely cold before starting.
- Use room temperature butter if you’re making homemade caramel sauce—it’ll blend smoothly!
Step-by-Step Instructions
-
Chill Your Loaf Pan: Place a 9×5-inch loaf pan in the freezer to chill. This helps in forming a firmer ice cream.
-
Whip the Cream: In a stand mixer, whisk the heavy cream starting at low speed and gradually increasing to medium to avoid splatter. Continue to mix on high speed until stiff peaks form—this usually takes about 3-5 minutes. (Chef’s Tip: Check for stiff peaks by lifting the whisk straight up—it should hold its shape!)
-
Mix Ingredients: In a separate bowl, combine sweetened condensed milk, vanilla extract, and salt. Stir in 1 cup of the whipped cream for a lighter consistency, mixing gently until well combined without deflating the whipped cream.
-
Fold Gently: Carefully fold the sweetened condensed milk mixture into the remaining whipped cream. Be gentle to keep that airy texture.
-
Layering: Pour half of the mixture into the chilled loaf pan. Drizzle half of the caramel sauce over it, letting it pool beautifully.
-
Final Layer: Add the remaining ice cream mixture on top and drizzle with the rest of the caramel sauce. (Chef’s Tip: You can reserve some caramel for drizzling when serving for a professional touch!)
-
Swirl: Use a knife or skewer to swirl the caramel into the mixture. Do this gently for a marbled look.
-
Freeze: Cover the pan and freeze for at least 5 hours, or until fully set. The longer you freeze, the firmer it will be!

Expert Tips & Tricks
-
Storage Recommendations: Store your No Churn Salted Caramel Ice Cream covered with wax paper or plastic wrap in the freezer to prevent ice crystals.
-
Make Ahead Instructions: Feel free to make this ice cream a few days before you need it. It can last up to two weeks in the freezer, but trust me, it won’t last that long!
-
Troubleshooting: If your ice cream isn’t firming up, it might need a longer time in the freezer. Additionally, check to see if the heavy cream was sufficiently whipped; this is crucial for a light texture.
-
Common Mistakes: Avoid over-mixing after you fold the sweetened condensed milk into the whipped cream. It’s all about retaining that airy lightness!
Serving Suggestions
Pair your decadent No Churn Salted Caramel Ice Cream with warm brownies for a delightful hot-and-cold combination, or serve it atop a slice of apple pie for a classic dessert twist. For added flair, consider drizzling extra caramel sauce and sprinkling some sea salt on top for a stunning presentation—all the more impressive when hosting! This ice cream is perfect for summer BBQs, family gatherings, or cozy winter nights.
Variations & Substitutions
-
Flavor Combinations: Love peanut butter? Swirl in some peanut butter for a nutty surprise! Add crushed Oreos for a fab cookies and cream version. The sky’s the limit!
-
Dietary Adaptations: For dairy-free, swap heavy cream with coconut cream and use vegan caramel. For a lighter version, substitute with Greek yogurt instead of heavy cream.
-
Seasonal Variations: Try adding pumpkin spice in the fall for a festive twist, or fresh berries in the spring for a refreshing update!
Nutrition & Storage Info
- Prep Time: 15 minutes
- Cook Time: 0 minutes (but freezing will take at least 5 hours)
- Total Time: 5 hours and 15 minutes (mostly waiting!)
- Yield: About 8 servings (1 scoop each)
- Estimated Calories: Approximately 250 calories per serving
- Storage Instructions: Store at room temperature for 10-15 minutes to soften before serving. In the fridge, for a few days; in the freezer for up to two weeks.
FAQ Section
-
Can I use low-fat cream instead?
- While you can use low-fat options, it may alter the creaminess significantly. Best to stick with heavy cream for the best results!
-
What if I don’t have a loaf pan?
- You can use any freezer-safe container; just make sure it’s airtight.
-
Can I make this without an electric mixer?
- Yes, but it will take a little more elbow grease! Just be sure to whip the cream until stiff peaks form—using a hand whisk will work.
-
How do I know when it’s set?
- The ice cream should be firm to the touch; if you press it, it should hold its shape.
-
Is it okay to use homemade caramel sauce?
- Absolutely! Homemade adds a personal touch and is often richer in flavor.
-
How can I prevent ice crystals from forming?
- Make sure to store the ice cream in an airtight container and avoid frequent opening of the freezer.
-
Can I add mix-ins?
- Definitely! But be cautious not to over mix. Fold them in gently before freezing.
-
What’s the best way to serve it?
- Allow the ice cream to sit at room temperature for 5-10 minutes before scooping for the perfect consistency.
-
Can I layer it with fudge or cookie crumble?
- Yes! Get creative and layer it with whatever you fancy.
-
Is this recipe kid-friendly?
- Yes! It’s simple enough for kids to help with, and who wouldn’t want to scoop out their own delicious ice cream?
Conclusion
In conclusion, this No Churn Salted Caramel Ice Cream is more than just a sweet treat—it’s an avenue to create lasting memories, just like I did as a kid. I encourage you to give this recipe a try; I promise you will not regret it! Share your experiences and any tweaks you make in the comments below.
If you enjoyed this recipe, don’t miss my other delightful dessert concoctions, like the Easy Chocolate Swirl Brownies or Homemade Berry Sorbet!
Thank you for joining me today; happy ice cream making!

No Churn Salted Caramel Ice Cream
Ingredients
Method
- Chill a 9x5-inch loaf pan in the freezer.
- In a stand mixer, whisk the heavy cream, gradually increasing speed to medium and then to high until stiff peaks form (about 3-5 minutes).
- In a separate bowl, combine the sweetened condensed milk, vanilla extract, and kosher salt. Stir in 1 cup of whipped cream to lighten the mixture.
- Gently fold the sweetened condensed milk mixture into the remaining whipped cream while retaining the airy texture.
- Layer half the mixture into the chilled loaf pan, drizzle half of the caramel sauce over it.
- Add the remaining ice cream mixture on top and drizzle with the rest of the caramel sauce.
- Swirl the caramel into the mixture using a knife or skewer for a marbled effect.
- Cover the pan and freeze for at least 5 hours, or until set.