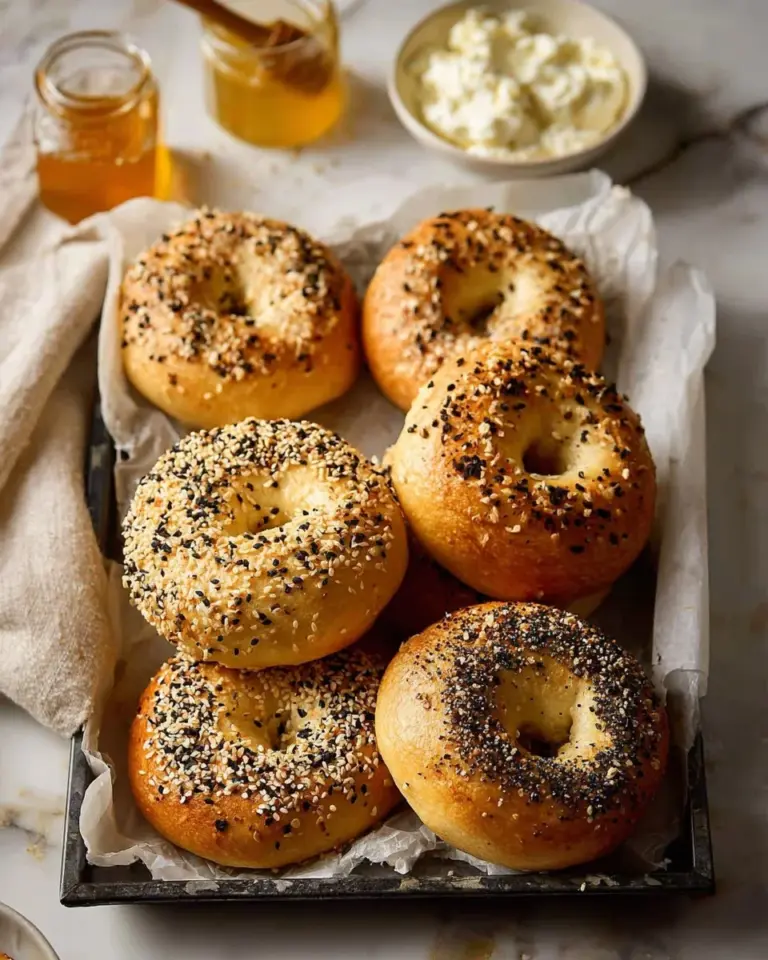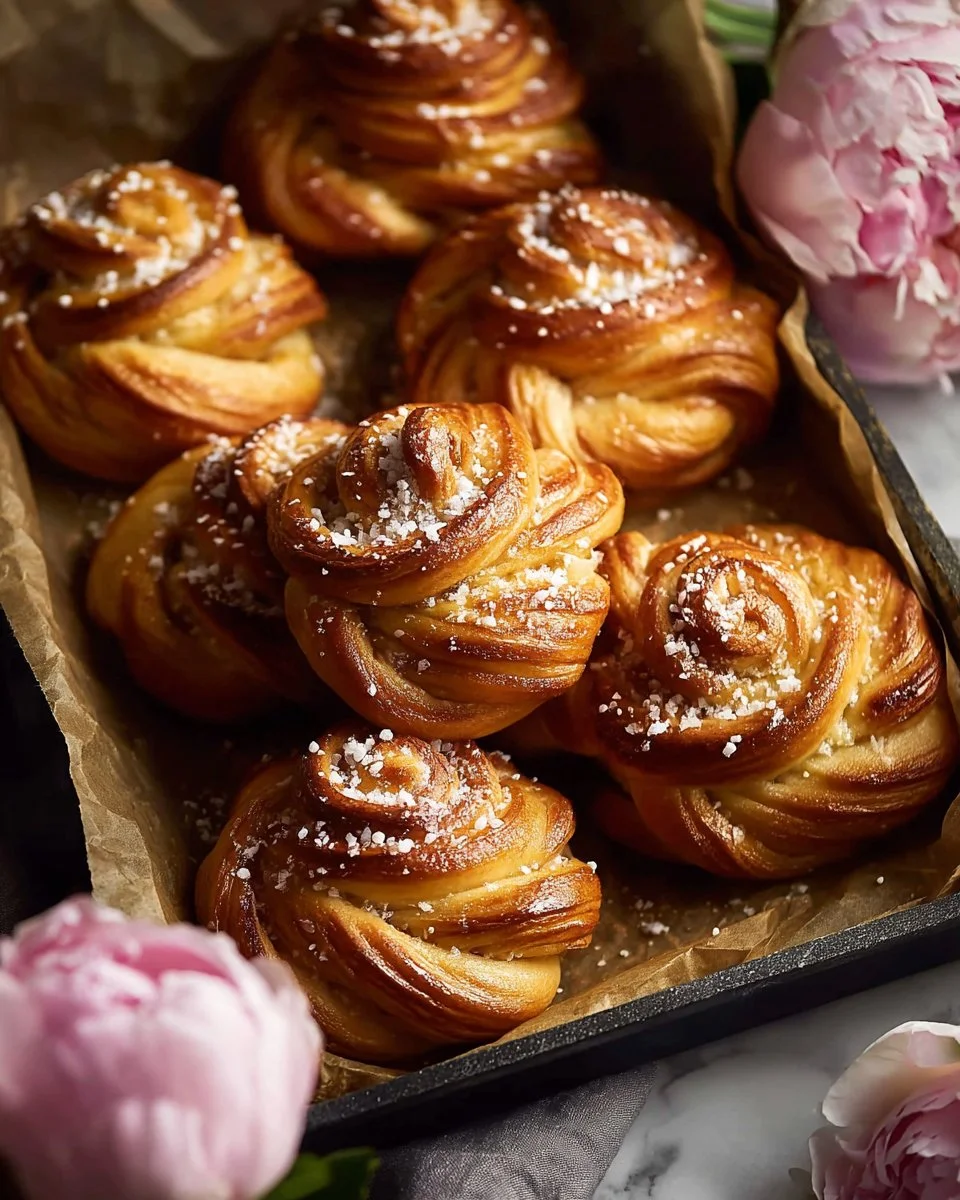
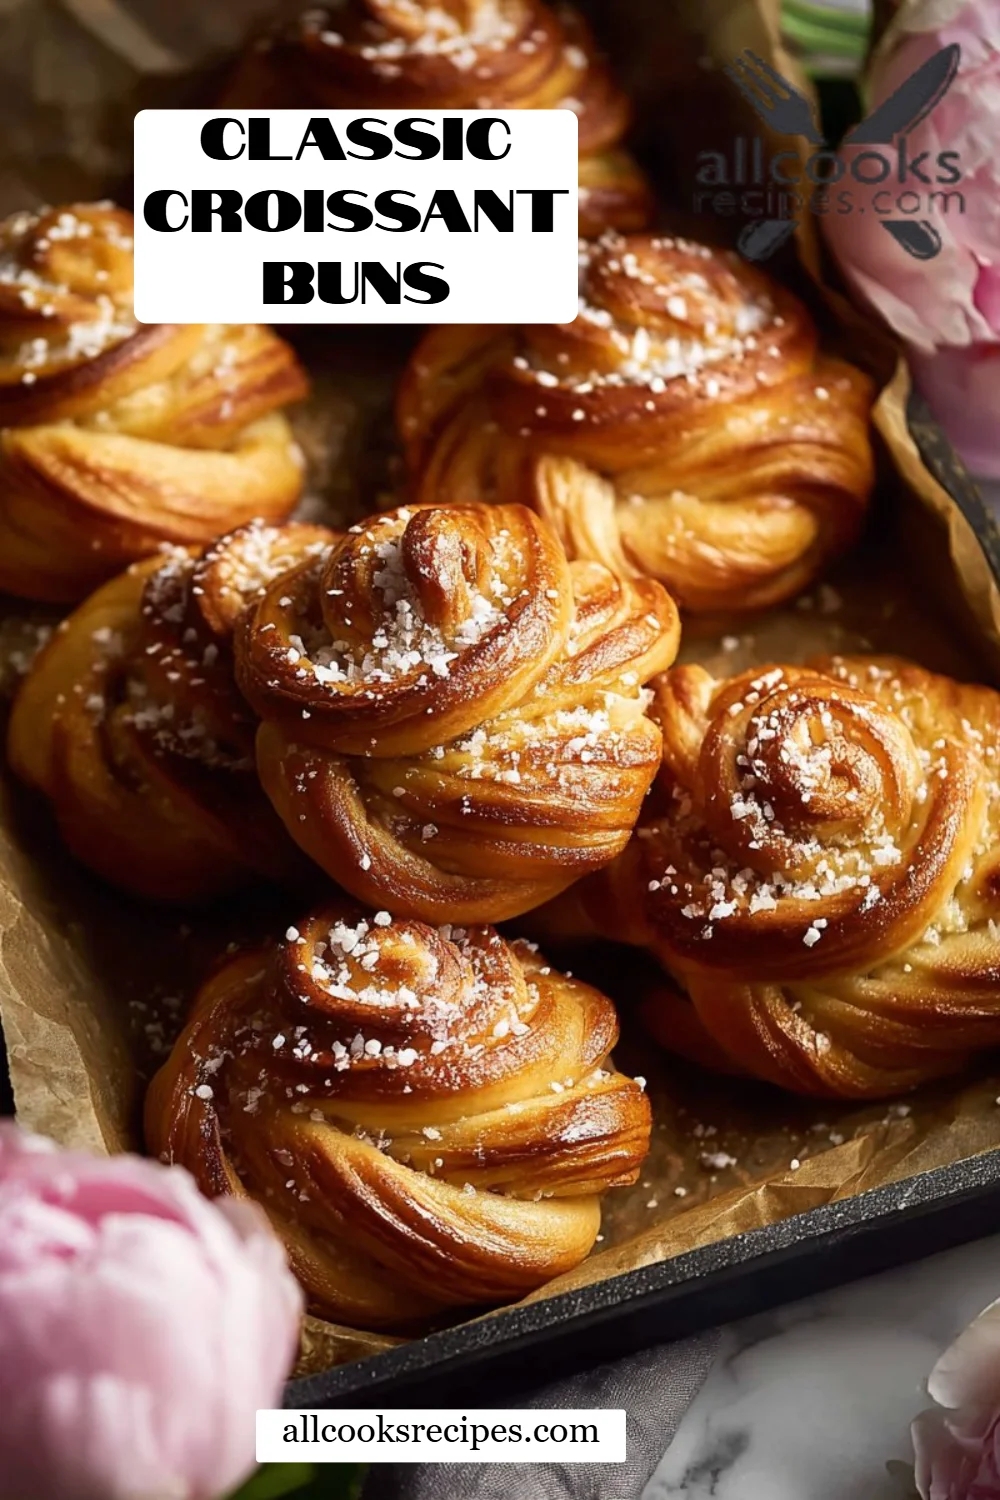
Heavenly Classic Croissant Buns: A Delightful Twist on Tradition
Have you ever had that moment when a single bite of a pastry transports you straight back to your childhood? For me, it’s the scent of freshly baked croissants drifting from my kitchen on a Saturday morning. Those flaky, buttery layers remind me of Saturday mornings spent with my family, the chatter and giggles blending perfectly with the comforting aroma wafting from the oven. It’s with those sweet memories in my heart that I present to you my take on Classic Croissant Buns.
These delicious buns are unlike any store-bought pastry you’ve ever had. With their soft, fluffy interiors and slightly crisp tops, they boast all the qualities of a traditional croissant but in a bun format that makes them wildly fun to make and eat. Plus, making them from scratch means you get to control the quality of ingredients and customize the filling to your heart’s content. Maintain the integrity of those family kitchen memories without sacrificing modern convenience.
In this post, I promise you’ll not only learn how to create these delightful Classic Croissant Buns from start to finish but also discover why every bite is worth the effort. Let’s dive in and make some unforgettable memories together!
What Are Classic Croissant Buns?
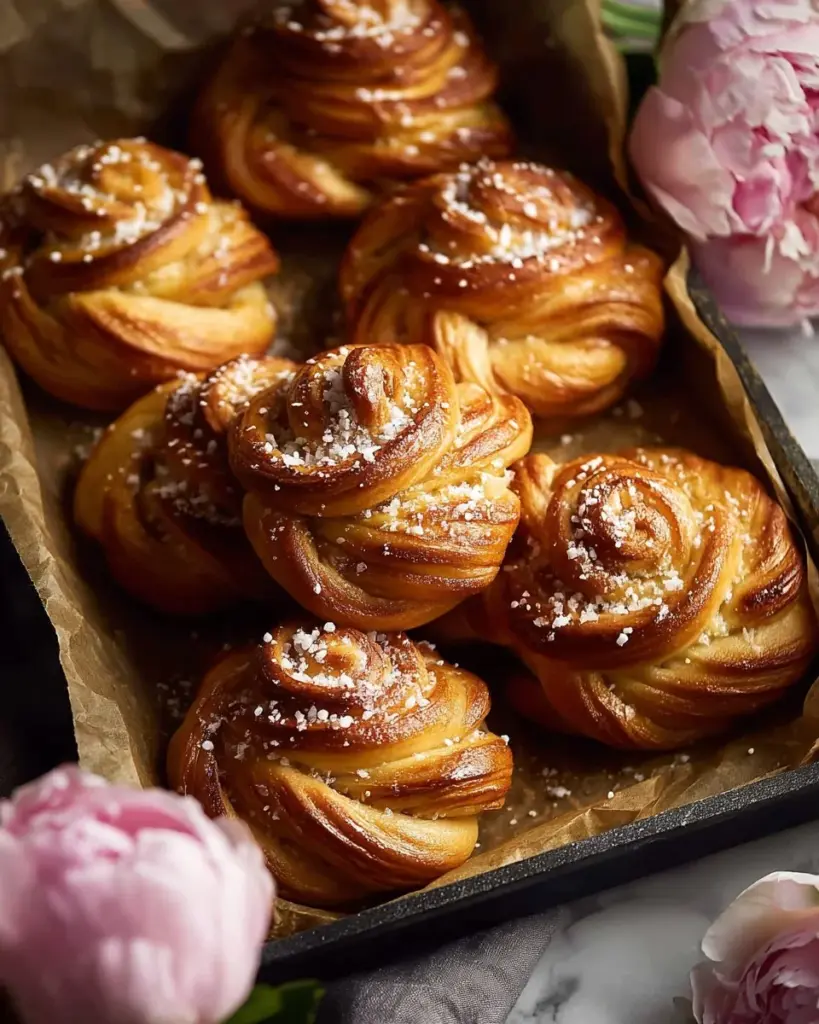
Rooted in French tradition, croissant buns combine the layered flaky pastry of a croissant with the soft and tender qualities of a bun. The result is a delightful pastry that offers a satisfying bite of delicate textures and flavors. The flaky exterior gives way to a light, airy interior that melts in your mouth, while the simple fillings elevate them to gourmet levels.
Often enjoyed at breakfast or as a sweet treat, these buns are versatile enough to be served alongside coffee or tea, making them perfect for brunch gatherings or cozy evenings at home. What sets them apart is not just their unique taste and texture but also the fact that they invite you to get creative. Whether you fancy classic cinnamon and sugar or adventurous fillings like chocolate or fruit preserves, the possibilities are endless.
Why You’ll Love This Recipe
-
Taste Like a Dream: Trust me when I say, these Classic Croissant Buns will be the highlight of your breakfast spread. Each bite is an explosion of rich, buttery flavor paired with the perfect balance of sweetness from the filling. They taste far more decadent than anything from a bakery!
-
Cost-Effective: Sure, gourmet treats can be pricey, but when you make them at home, you save big! With just a handful of ingredients—most of which you likely already have on hand—you can craft a dozen of these heavenly buns for a fraction of the cost.
-
Customization is Key: You can jazz these buns up with your favorite flavors! Think chocolate chip, almond paste, or fresh fruits. The filling options are only limited by your imagination—this recipe opens the door to experimentation.
-
Fun and Engaging Process: Yes, they might take some time, but trust me, the process of lamination—folding butter into dough to create those lovely layers—adds an element of art to baking. Each step is fulfilling and rewarding!
-
Impress Your Friends and Family: Imagine their faces when they see you roll out these beautifully crafted buns and serve them fresh from the oven. The compliments you’ll receive will make all your hard work worthwhile!
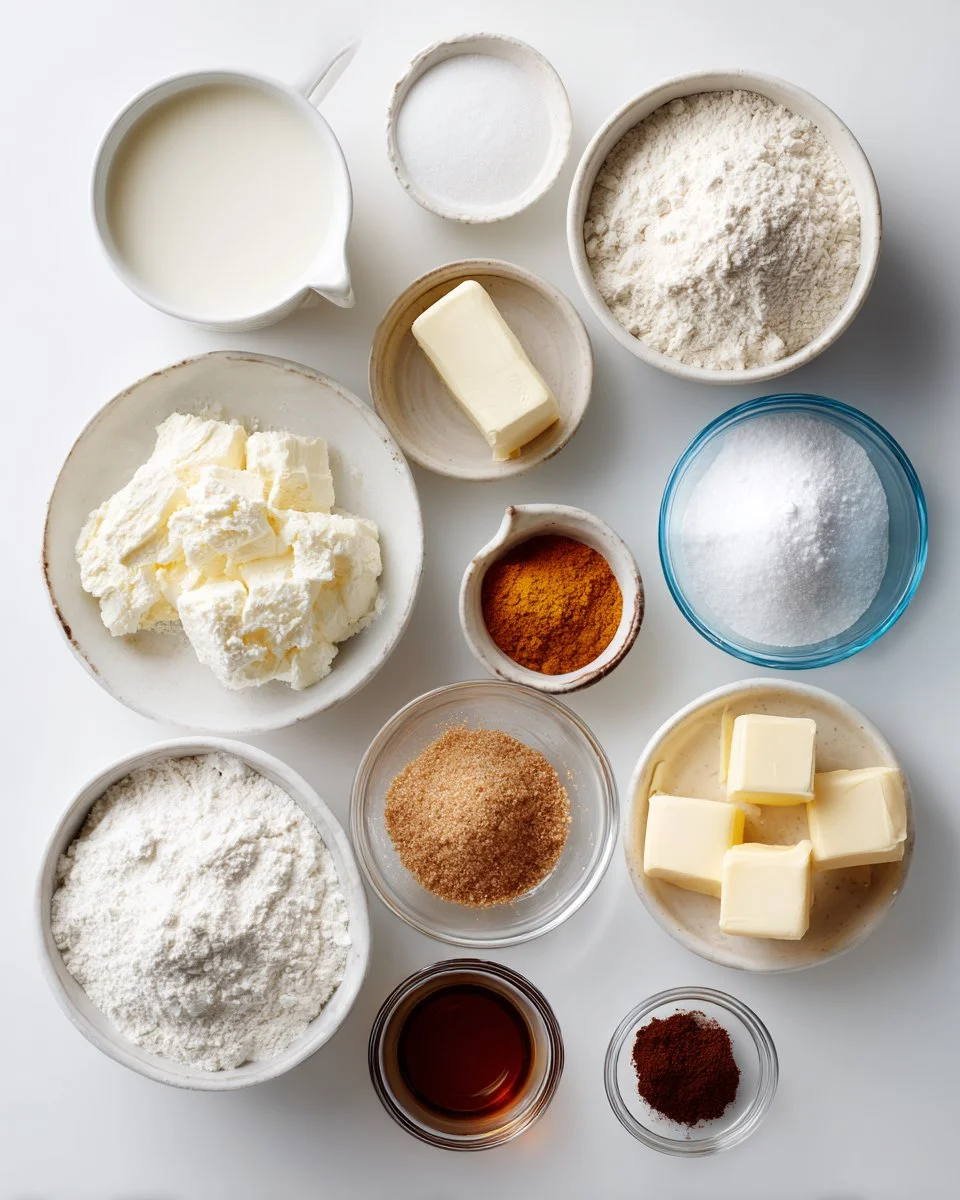
Ingredients
- 6 tbsp lukewarm milk: A cozy, inviting liquid—make sure it’s not too hot to kill the yeast!
- 2 tsp Saf-Instant Yeast: Grab for instant yeast; it’s super easy to work with and doesn’t require proofing.
- 2/3 cup flour (for preferment): You can use all-purpose flour, but King Arthur’s Bread Flour works best for texture.
- 1 cup milk (for dough): Full-fat milk lends richness; feel free to substitute with any milk you prefer.
- 3 cups King Arthur Bread Flour: King Arthur is the gold standard for making these buns incredibly fluffy.
- 3.5 tbsp sugar: Sweetness is what we crave!
- 2.5 tsp salt: Essential for flavor balance, don’t skip it!
- 0.5 tbsp vanilla extract: Adds a warm note to the dough.
- 1/2 tbsp softened butter: For enriching the dough!
- 22 tbsp unsalted butter (cold, for butter block): Use high-quality butter for best flavor; it’s crucial for that flaky texture.
- 1/2 cup granulated sugar (for filling): Sweetens the filling beautifully.
- 1/4 cup brown sugar (for filling): Brings moisture and depth to the sweet mixture.
- 1 tbsp freshly grated orange zest: For a fragrant zing!
- 1.5 tsp ground cinnamon: Cozy spice that melds perfectly with sugar.
- 1/4 tsp salt (for filling): Brightens the flavors.
- 3 tbsp melted butter (for coating): To brush the buns before baking, ensuring a golden finish.
Feel free to experiment with alternative milks, sweeteners, or gluten-free flour blends to suit dietary restrictions.
Step-by-Step Instructions
-
Create the Poolish (Flavor Base): In a bowl, combine 6 tbsp lukewarm milk, 2 tsp Saf-Instant Yeast, and 2/3 cup flour. Cover and let it rest for 2-3 hours, or better yet, overnight in the fridge if you want maximum flavor.
-
Mix the Dough: Into the poolish, add 1 cup milk, 3 cups King Arthur Bread Flour, 3.5 tbsp sugar, 2.5 tsp salt, 0.5 tbsp vanilla extract, and 1/2 tbsp softened butter. Stir until incorporated, let it rest for about 30 minutes, and then knead until smooth and elastic—this should take about 5-10 minutes. Let it rise in a warm area until doubled in size, approximately 1-2 hours.
-
Prepare the Butter Block: While your dough rises, take chilled butter (22 tbsp) and beat it with a rolling pin between parchment paper until it’s all spread out into a rectangle. Chill it again to keep it cold.
-
Laminate the Dough: Roll your risen dough into a rectangle large enough to encase the butter block. Layer the butter, fold the dough like a book, and roll it out again. Repeat the folding and rolling process 3-4 times, chilling for 30 minutes between lamination rounds.
-
Prepare the Filling: In a bowl, mix together 1/2 cup granulated sugar, 1/4 cup brown sugar, 1 tbsp freshly grated orange zest, 1.5 tsp ground cinnamon, and 1/4 tsp salt.
-
Assemble the Buns: Roll out the dough into a large rectangle, brush it with 3 tbsp of melted butter, and sprinkle the filling evenly across. Roll into a log, cut into sections, and place in a muffin tin to rise a final time for about 30 minutes.
-
Bake: Preheat your oven to 375°F (190°C). Bake the buns for 45-60 minutes or until golden brown on top. Let them cool upside down for a few minutes before serving for a sticky-sweet surprise.

Expert Tips & Tricks
- Butter Quality Matters: The butter you choose can significantly influence the flavor; try European-style butter for that extra rich taste.
- Perfect Rising Environment: Create a warm, draft-free area for dough to rise. An oven preheated for just a minute and turned off works wonders.
- Storage: Once cooled, you can store these buns at room temperature in an airtight container for up to 3 days. For longer storage, freeze them wrapped in plastic, and they’ll keep for up to 2 months.
- Make-Ahead Instructions: You can prepare the dough and store it in the fridge overnight. The next morning, take it out, let it come to room temperature, shape, and bake.
- Troubleshooting: If your buns don’t rise well, it could be due to old yeast or a too-cold environment. Always check yeast’s expiration date and ensure a comfortable temperature for proofing.
Serving Suggestions
Want to elevate your serving game? Pair these Classic Croissant Buns with a dollop of whipped cream, fresh berries, or a drizzle of maple syrup for a Sunday brunch-styled treat. I love adding a pot of homemade fruit preserves on the side for an extra special touch. These buns also fit beautifully on a holiday breakfast table or as treats for a cozy family gathering.
Variations & Substitutions
Feeling adventurous? Here are some delightful variations:
- Nutty Version: Add a layer of chopped nuts or almond paste under the filling for added crunch and flavor.
- Chocolate Lovers: Substitute half the sugar in your cinnamon filling with chocolate chips or chunks for a rich, gooey treat.
- Seasonal Additions: For fall, incorporate pumpkin spice instead of cinnamon, or swap in holiday spices like nutmeg or cloves during Christmas.
- Dietary-Friendly Adjustments: If gluten-free, you can use a gluten-free flour blend and adjust the liquid accordingly—just make sure it contains xanthan gum for a better texture.
Nutrition & Storage Info
- Prep Time: 1 hour
- Cook Time: 60 minutes
- Total Time: Approximately 2-3 hours (including rising)
- Yield: 12 servings
- Estimated Calories: 350 calories per bun (estimated)
- Storage Instructions: Room temp for 3 days; fridge for longer freshness, and freeze for up to 2 months.
FAQ Section
-
Can I use whole wheat flour instead?
Absolutely! Just note that the texture may become denser. You might want to use a mix of all-purpose and whole wheat for best results. -
How do I know if my dough has risen enough?
The dough should double in size and feel puffy and airy. You can do the "poke test"—press your finger into the dough, and if the indentation remains, it’s ready. -
Can I make this in advance?
Yes, you can prepare the dough the night before and store it in the fridge. Shape and bake in the morning! -
What should I do if my buns don’t rise?
Check your yeast’s expiration date; if it’s old, it likely won’t activate. Also, ensure you’re allowing the dough to rise in a warm, draft-free area. -
Can I freeze these buns?
Yes! After baking and cooling, wrap in plastic and freeze. They can be reheated straight from the freezer—just pop them in the oven at 350°F until warm. -
What do I do if my dough is too sticky?
It’s always best to knead in a little extra flour gradually, but be careful not to add too much to avoid a dry dough. -
How can I tell when my buns are done baking?
The tops should be a rich golden brown, and when tapped, they should sound hollow. -
Can I add fruits to the filling?
Yes, finely chopped fruit like strawberries or apples would be a wonderful addition. Just remember to adjust the sugar levels accordingly. -
Why are my layers not flaky?
There may be two reasons: the butter block was too warm, or the dough was overworked. Keep butter cold and handle the dough gently. -
Can I make these without filling?
Absolutely! You can make classic butter buns by skipping the filling for a buttery treat instead.
Conclusion
These Classic Croissant Buns are not just a recipe; they’re an experience—a blend of time, love, and irresistible flavors that truly celebrate the best of home baking. I encourage you to give this recipe a try, and I promise you’ll fall in love with the process as much as the end result. If you decide to recreate these luscious buns at home, I’d love to hear your feedback! Did you tweak the recipe? Share your experiences in the comments below!
Don’t forget to check out my other delicious recipes on the blog for more delightful baking adventures! Happy baking!
Classic Croissant Buns
Ingredients
Method
- In a bowl, combine 6 tbsp lukewarm milk, 2 tsp Saf-Instant Yeast, and 2/3 cup flour. Cover and let it rest for 2-3 hours, or overnight in the fridge for maximum flavor.
- Into the poolish, add 1 cup milk, 3 cups King Arthur Bread Flour, 3.5 tbsp sugar, 2.5 tsp salt, 0.5 tbsp vanilla extract, and 1/2 tbsp softened butter. Stir until incorporated, let it rest for about 30 minutes, then knead until smooth and elastic (5-10 minutes). Let it rise until doubled in size, approximately 1-2 hours.
- While your dough rises, beat the chilled butter (22 tbsp) with a rolling pin between parchment paper until it spreads out into a rectangle. Chill again to keep cold.
- Roll your risen dough into a rectangle large enough to encase the butter block. Layer the butter, fold the dough like a book, and roll out again. Repeat the folding and rolling process 3-4 times, chilling for 30 minutes between each round.
- In a bowl, mix together 1/2 cup granulated sugar, 1/4 cup brown sugar, 1 tbsp freshly grated orange zest, 1.5 tsp ground cinnamon, and 1/4 tsp salt.
- Roll out the dough into a large rectangle, brush with 3 tbsp of melted butter, and sprinkle the filling evenly. Roll into a log, cut sections, and place in a muffin tin to rise for about 30 minutes.
- Preheat your oven to 375°F (190°C). Bake the buns for 45-60 minutes or until golden brown on top. Let cool upside down for a few minutes before serving.