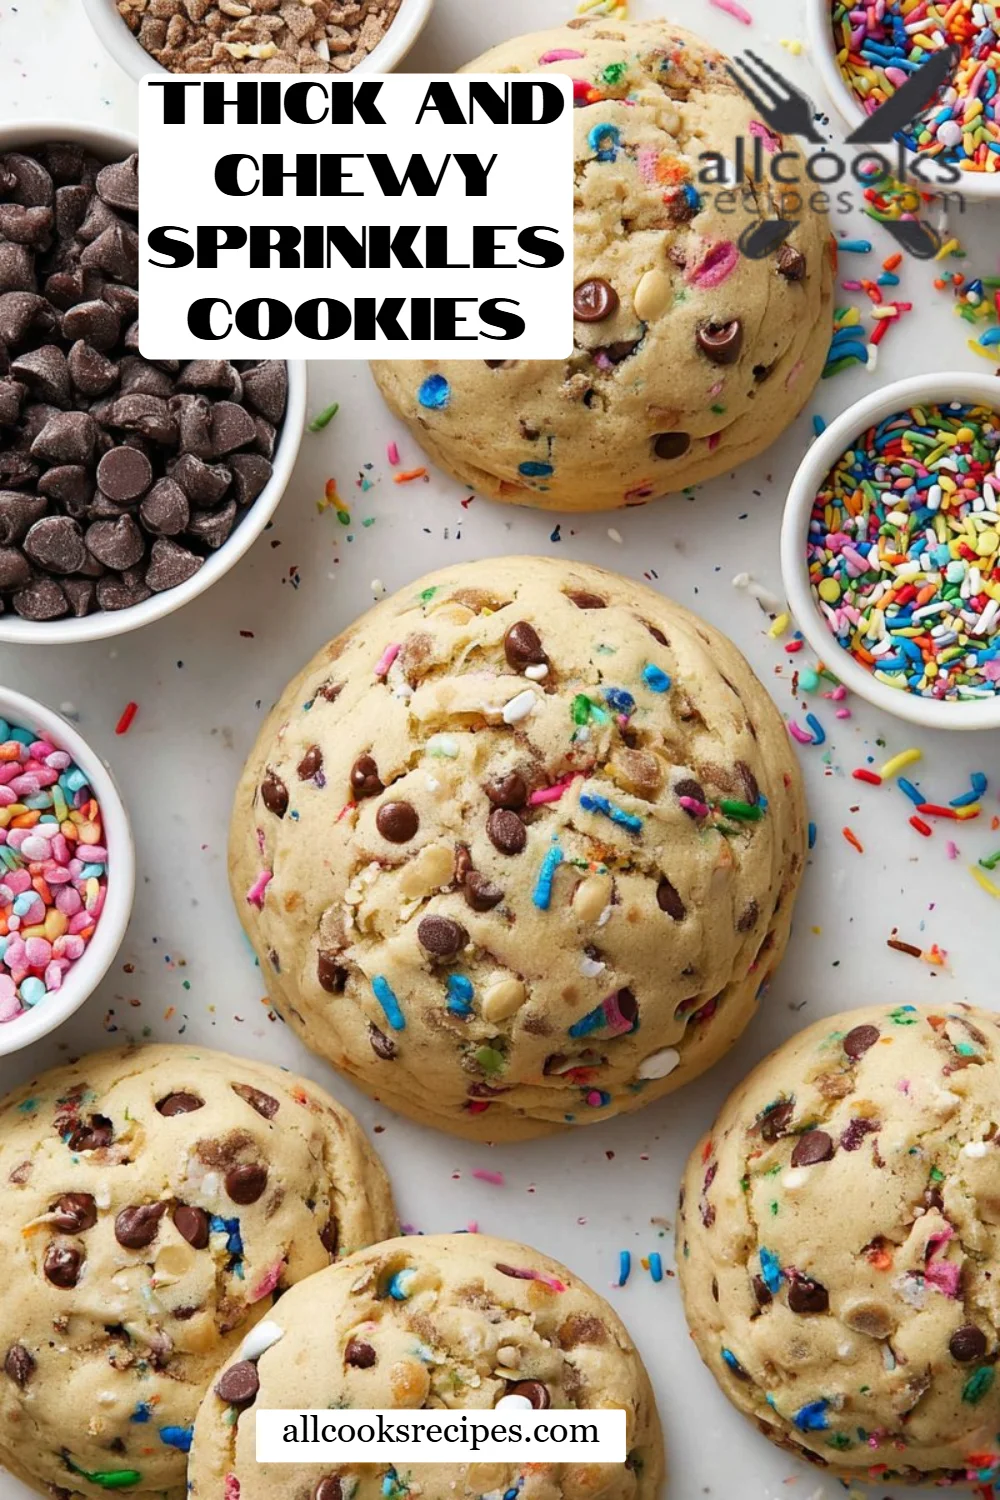
Irresistibly Thick and Chewy Sprinkles Cookies: A Sweet Delight for Every Occasion
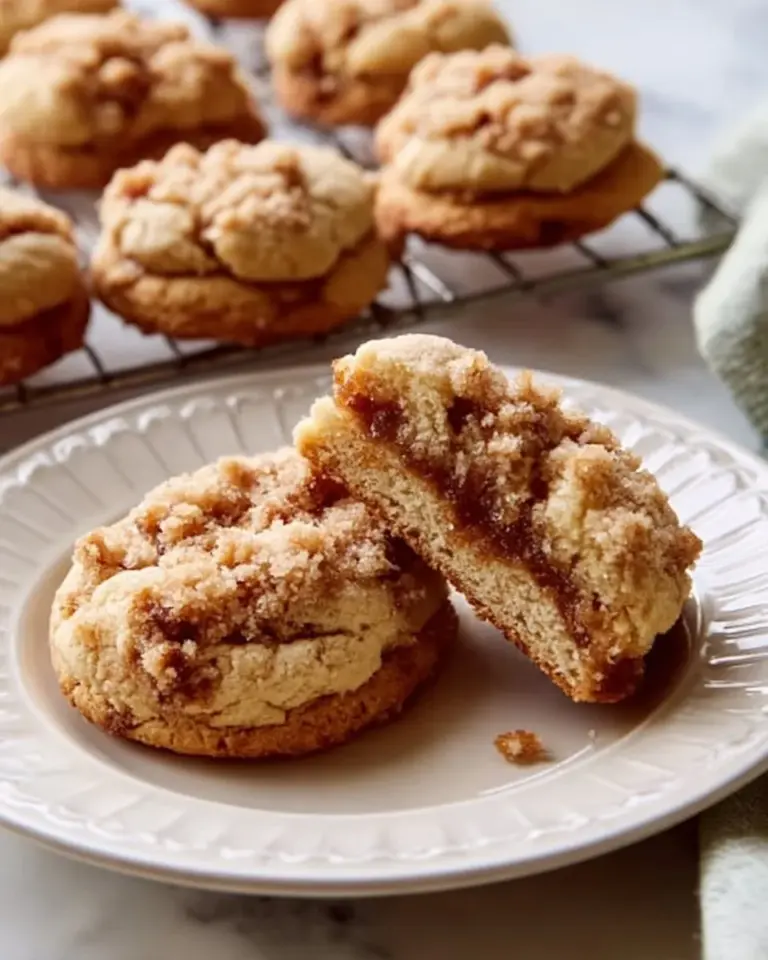
As a child, my fondest memories revolved around the kitchen—welcoming the aroma of freshly baked cookies that wafted through the air like a warm hug. The highlight was always when my mom pulled out her famous Thick and Chewy Sprinkles Cookies from the oven. With their colorful sprinkles and deliciously gooey center, they were more than just cookies; they were little bites of joy that sparked laughter, stories, and endless joy.
What sets these cookies apart is not just their irresistibly thick and chewy texture but also the balance of flavors from the semi-sweet and white chocolate chips, complemented by bursts of vibrant sprinkles. Unlike many store-bought cookies loaded with unrecognizable ingredients, this homemade version ensures each bite is pure bliss—with love and warmth mixed in.
Today, I’m excited to share the secrets behind my treasured recipe. You’ll learn how to create these delightful cookies that promise to be the star of any gathering—whether it be a cozy family night or a cheerful birthday bash. Get ready to bring a smile to your faces and create new sweet memories!
What are Thick and Chewy Sprinkles Cookies?
Originating from the classic sugar cookie affair, Thick and Chewy Sprinkles Cookies elevate the tried-and-true cookie into a celebration of flavors and colors! The dough is beautifully rich and thick, creating a cookie experience that’s both chewy in the center and slightly crisp on the edges. Each bite delivers a delightful sweetness balanced by the playful pops of sprinkles, while mini chocolate chips introduce an added layer of decadence.
These cookies are perfect for any occasion—whether it’s a whimsical birthday party, a cozy movie night in, or simply an afternoon treat with a good cup of coffee. They bring comfort and joy, reminding us of the simple pleasures in life. Making these cookies is not just about following a recipe; it’s about indulging in the sweet magic of a homemade treat. So roll up your sleeves and prepare yourself for a delightful baking adventure!
Why You’ll Love This Recipe
-
Unparalleled Flavor: The combination of rich butter, brown sugar, and a trio of chocolate chips creates a flavor profile that will leave you wanting more. While store-bought cookies can sometimes be bland, these bring a burst of flavor in every bite.
-
Thick and Chewy Perfection: There’s something undeniably satisfying about sinking your teeth into a cookie that’s both thick and chewy. Each bite is like a comforting embrace—deliciously satisfying!
-
Cost-Effective: Baking at home not only gives you control over the ingredients but also proves to be far more economical than purchasing gourmet cookies. With just a few simple staples, you can create a batch of delightful cookies for a fraction of the cost.
-
Customization Galore: One of the best parts of this recipe is the flexibility it offers. Feel free to switch up the chocolate chips for nuts, use different colored sprinkles, or even add a hint of citrus zest for a unique twist!
-
Easy to Follow: With minimal prep time and straightforward steps, even beginner bakers can whip up these cookies. You don’t need to be a professional baker to impress your friends and family with these delightful treats!
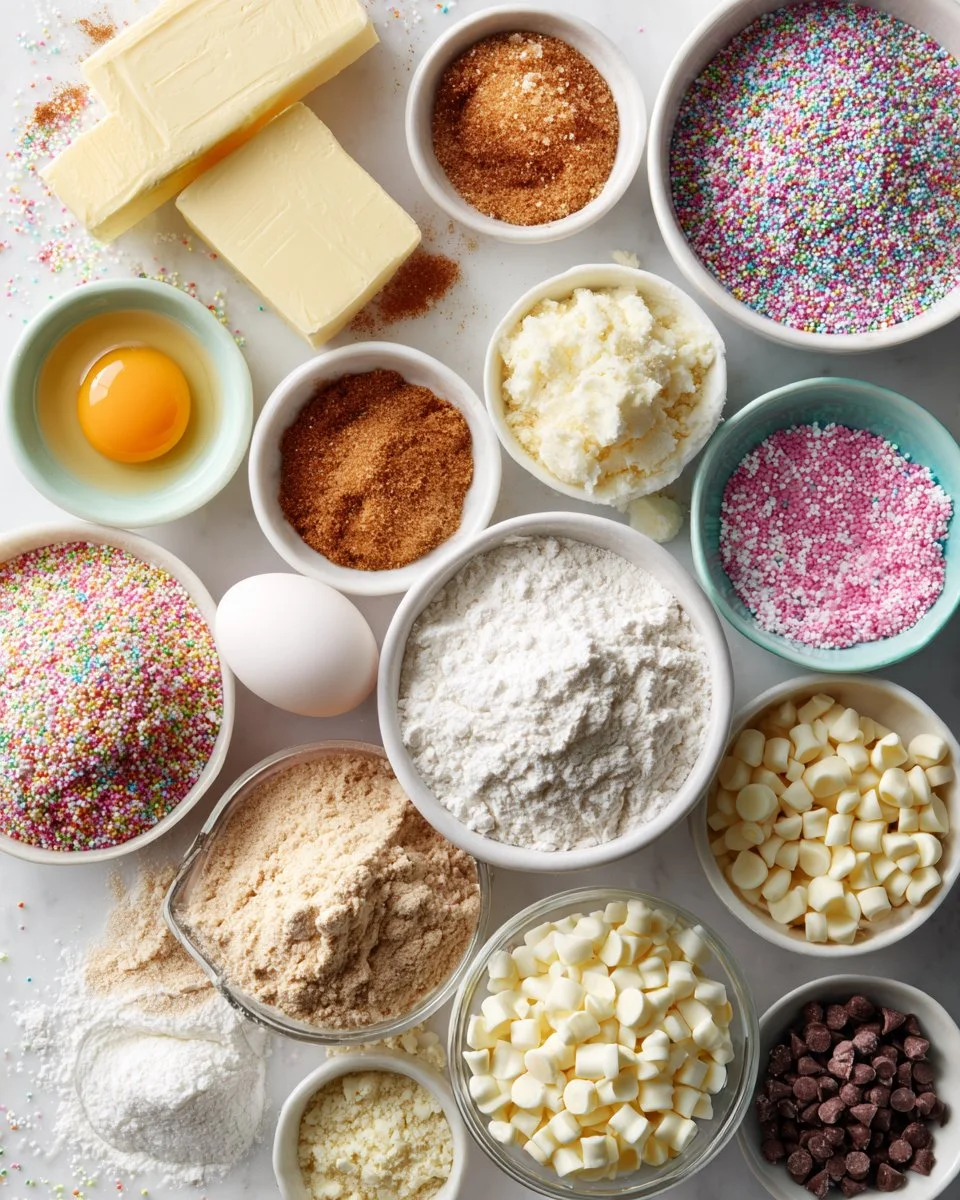
Ingredients Section
To whip up a batch of these delightful Thick and Chewy Sprinkles Cookies, you’ll need the following ingredients:
- 3/4 cup unsalted butter, cold, diced (Always use high-quality butter for the richest flavor—Kerrygold is a fantastic choice!)
- 1 cup light brown sugar, packed
- 1/4 cup granulated sugar
- 1 large egg, room temperature (Remove from the fridge 30 minutes prior)
- 1 large egg yolk, room temperature
- 2 teaspoons vanilla extract (Vanilla bean paste works great for an extra kick!)
- 2 1/4 cups all-purpose flour
- 2/3 cup cake flour (Using cake flour gives a tender crumb, so don’t skip it!)
- 1 teaspoon kosher salt
- 1 teaspoon baking powder
- 1/2 teaspoon baking soda
- 1 cup sprinkles (Rainbow jimmies are my personal favorite, for that classic look!)
- 1/2 cup mini semi-sweet chocolate chips
- 1/2 cup white chocolate chips
Prep Notes: Ensure your butter is cold and diced to make the mixing process easier. Room temperature eggs will blend seamlessly into the dough.
Step-by-Step Instructions
-
Preheat and Prepare: Preheat your oven to 400°F (204°C). While the oven warms, line two baking sheets with parchment paper and set aside. This step is crucial to prevent the cookies from sticking.
-
Cream the Butters: In a stand mixer fitted with a paddle attachment, beat together the cold butter, brown sugar, and granulated sugar on medium speed until the mixture is creamy and there are no visible chunks of butter, approximately 2-3 minutes.
-
Add the Eggs: Incorporate the room temperature egg and egg yolk into the mixture. Mix well until fully combined, scraping down the bowl as needed for an even mixture.
-
Flavor it Up: Pour in the vanilla extract and give it another good mix until everything is nicely blended and smooth.
-
Combine Dry Ingredients: In a separate bowl, whisk together the all-purpose flour, cake flour, salt, baking powder, and baking soda.
-
Mix it All Together: With the stand mixer on low speed, slowly gradually add the flour mixture to the wet ingredients until mostly combined. What you want is a crumbly dough—not fully mixed at this point!
-
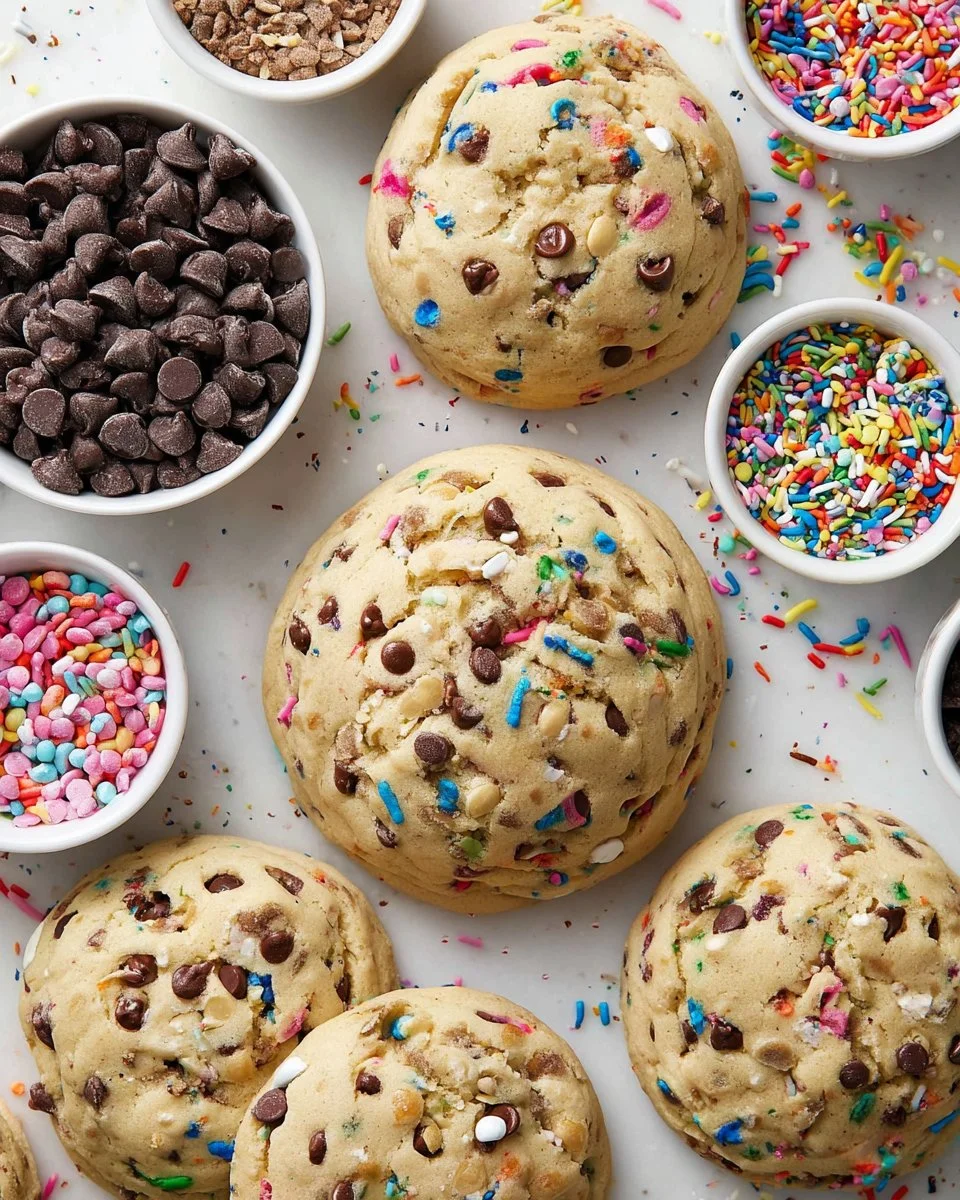
Fold in the Extras: Gently fold in the sprinkles, mini semi-sweet chocolate chips, and white chocolate chips using a spatula. Ensure they are evenly distributed throughout the dough.
-
Shape the Cookies: Using a 1/3 cup measure or your hands, shape the dough into 8 large balls (approximately 6 ounces each). Ensure they’re tall and thick for that soft and chewy texture!
-
Bake and Cool: Place 4 cookie dough balls on each baking sheet, spacing them out evenly. Bake for about 10-12 minutes until the edges are golden brown but the centers still look slightly underbaked. This is key to that chewy interior!
-
Let Them Rest: Remove from the oven and allow the cookies to cool on the baking sheet for about 10 minutes before transferring them to a wire rack. Enjoy them warm for the best experience!
Expert Tips & Tricks
-
Chill Your Dough: If you’re short on time, there’s no need to chill the dough, but if possible, let it rest in the fridge for at least 30 minutes to improve the flavors and texture.
-
Adjust Baking Times: Ovens can vary! If your cookies seem to brown too fast, reduce the temperature slightly and bake a couple of minutes longer. Watch for that golden edge.
-
Storage Recommendation: Store leftover cookies in an airtight container at room temperature for up to 4 days, or freeze for up to a month—although I doubt they’ll last that long!
-
Make-ahead Instructions: You can prepare the dough in advance. Shape into balls and freeze them on a baking sheet before transferring to a ziplock, ready to bake whenever the craving hits.
-
Troubleshooting: If your cookies spread too much, it could be that your butter was too soft, or your flour measurements were off; measuring by weight is more accurate.
Serving Suggestions
These cookies are a delightful treat on their own but can be remarkably enhanced with various accompaniments. Pair them with a cold glass of milk or a dollop of whipped cream atop a dessert plate. You could even serve them alongside a warm cup of cocoa, homemade ice cream, or a scoop of vanilla bean gelato for an indulgent treat.
Presentation-wise, stack them high and sprinkle more colorful sprinkles on top for a fun aesthetic. Perfect for birthdays or cheerful gatherings, they will surely be the highlight of any table!
Variations & Substitutions
One of the greatest joys of baking is tailoring recipes to suit your taste. Here are a few fun twists:
-
Flavor Combinations: Swap in flavored extracts like almond or maple instead of vanilla, or add citrus zest for a refreshing twist.
-
Dietary Needs: Looking for a gluten-free option? Replace all-purpose flour with a 1:1 gluten-free baking flour. For a dairy-free version, ensure you use plant-based butter substitutes and dairy-free chocolate chips.
-
Seasonal Variations: For different seasons, think about adding festive sprinkles—red and green for Christmas, pastel for Easter, or perhaps even themed colors for birthdays!
Nutrition & Storage Info
- Prep Time: 20 minutes
- Cook Time: 12 minutes
- Total Time: 32 minutes
- Yield: About 8 large cookies
- Estimated Calories: Approximately 300 calories per cookie
- Storage Instructions: Keep cookies at room temperature in an airtight container for up to 4 days. For longer storage, place cookies in the freezer and seal tightly for up to one month.
FAQ Section
-
Can I freeze the dough?
Yes, you can freeze the cookie dough! Just form your dough into balls and freeze them on a baking sheet. Once firm, transfer them to a ziplock bag for later baking! -
What can I substitute for eggs?
If you need an egg substitute, try using a flax egg (1 tablespoon of ground flaxseed mixed with 2.5 tablespoons of water) or 1/4 cup unsweetened applesauce for each egg. -
Why are my cookies spreading too much?
Overcreaming the butter, too much liquid, or not enough flour can all cause spreading. Chilling the dough can help keep them from spreading too much during baking. -
How can I make these cookies softer?
To achieve a softer texture, be careful not to overbake them! Slightly underbaked cookies will continue to cook on the baking sheet and maintain their soft, chewy texture. -
Can I use other types of chocolate chips?
Absolutely! Feel free to use dark chocolate, milk chocolate, or even flavored chips like mint or peanut butter to create different flavor profiles. -
How many cookies does this recipe make?
This recipe yields about 8 large cookies, but you can easily make smaller ones if desired! -
How can I store leftover cookies?
Store them in an airtight container at room temperature for up to 4 days, or freeze them for longer preservation. -
Why do you use cake flour?
Cake flour gives a tender crumb to cookies, providing that delightful chewy texture which sets them apart from traditional cookie recipes. -
Can I add nuts to this recipe?
Absolutely! Chopped nuts such as walnuts or pecans add a nice crunch and flavor. Adjust the chocolate chip ratio accordingly! -
What if my dough is too dry?
If you find your dough too dry, adding a tiny bit of milk or extra melted butter can help moisten it for easier handling.
Conclusion
These Thick and Chewy Sprinkles Cookies are not just a delightful treat but a way to create heartwarming memories in your kitchen. The combination of their chewy texture, stunning visual appeal, and delightful taste makes them a standout for any celebration. I encourage you to try baking them yourself, tweak the recipe to your liking, and share your results!
I’d love to hear about your baking experiences and any variations you come up with. And don’t forget to check out my related recipes on the blog for more sweet inspirations. Happy baking!

Thick and Chewy Sprinkles Cookies
Ingredients
Method
- Preheat your oven to 400°F (204°C). While the oven warms, line two baking sheets with parchment paper and set aside.
- In a stand mixer fitted with a paddle attachment, beat together the cold butter, brown sugar, and granulated sugar on medium speed until the mixture is creamy, approximately 2-3 minutes.
- Incorporate the room temperature egg and egg yolk into the mixture and mix well until fully combined.
- Pour in the vanilla extract and mix until everything is nicely blended and smooth.
- In a separate bowl, whisk together the all-purpose flour, cake flour, salt, baking powder, and baking soda.
- With the stand mixer on low speed, slowly add the flour mixture to the wet ingredients until mostly combined, creating a crumbly dough.
- Gently fold in the sprinkles, mini semi-sweet chocolate chips, and white chocolate chips using a spatula.
- Using a 1/3 cup measure or your hands, shape the dough into 8 large balls (approximately 6 ounces each).
- Place 4 cookie dough balls on each baking sheet, spacing them out evenly.
- Bake for about 10-12 minutes until the edges are golden brown but the centers still look slightly underbaked.
- Remove from the oven and allow the cookies to cool on the baking sheet for about 10 minutes before transferring them to a wire rack.