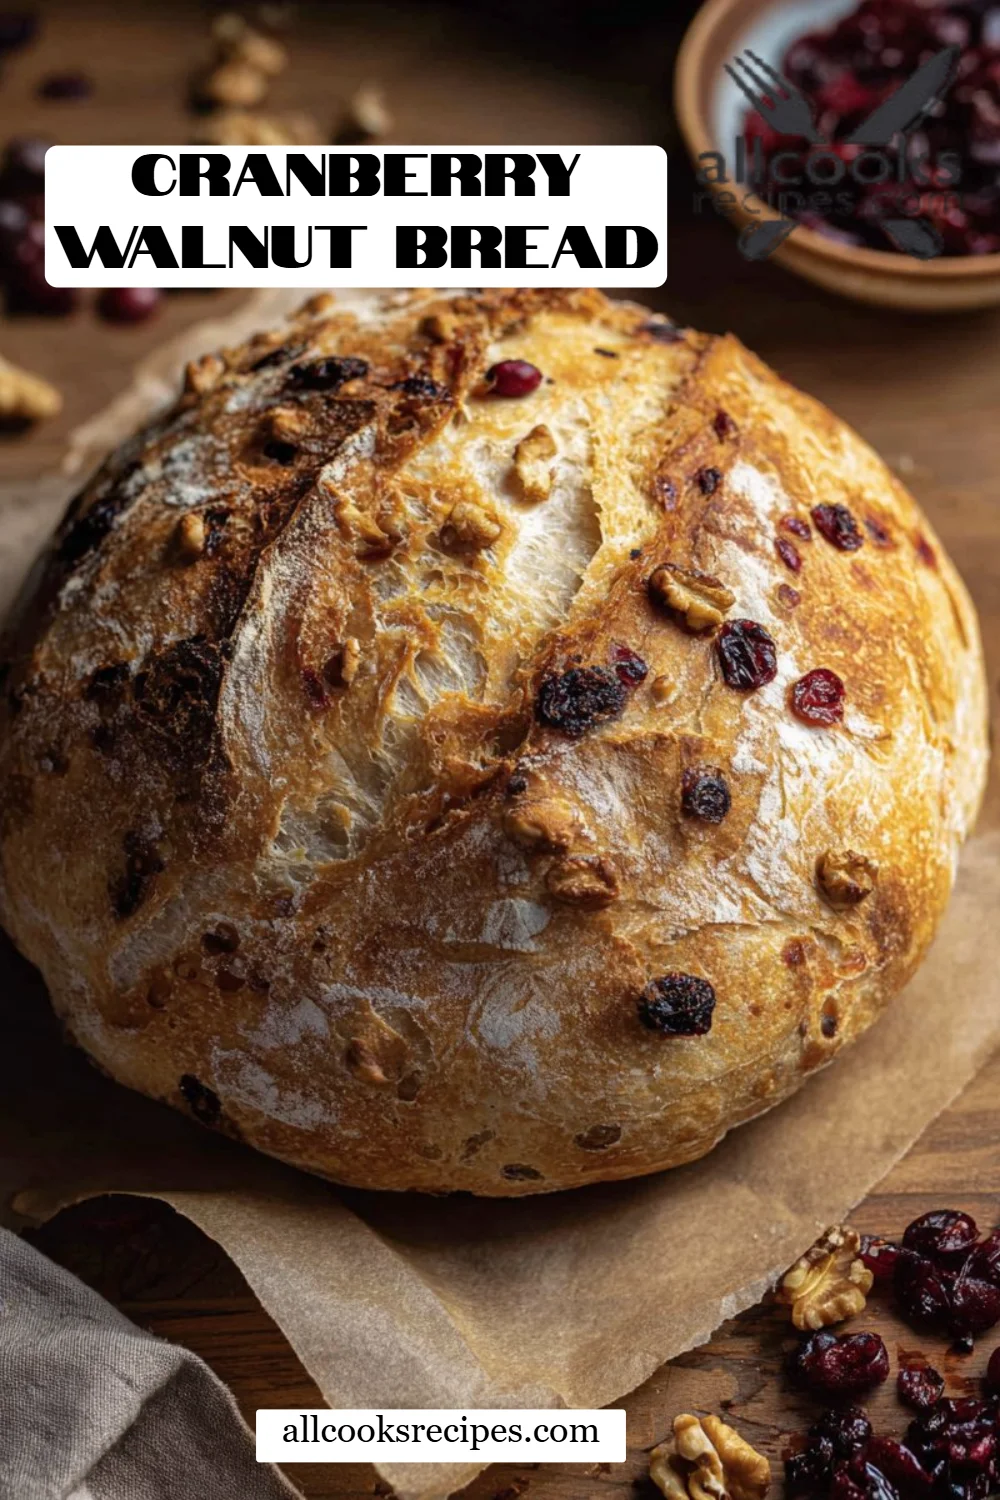
Heavenly Cranberry Walnut Bread: A Harvest of Flavor and Comfort
As the leaves start to turn golden and the air gets that crisp autumn chill, my thoughts inevitably drift to the warm, inviting scent of homemade Cranberry Walnut Bread wafting through my kitchen. I still remember the first time I baked this bread with my grandmother. She had this knack for transforming simple ingredients into something truly magical, and every bite was a comforting hug. The tangy burst of cranberries paired with the crunchy toasted walnuts made it hard to resist a second slice—who am I kidding, I often went for thirds!
What makes these loaves particularly special is their perfect balance of sweetness and nutty richness, not to mention the delightful texture that makes each bite an experience. Compared to store-bought versions, my recipe stands out because it uses only natural ingredients, ensuring you get that homemade flavor without any preservatives. Whether you’re cozying up for a family gathering or simply want to fill your home with the scent of baking, this Cranberry Walnut Bread is the perfect companion.
In this post, you’ll not only master the art of making this beloved bread but also discover tips and tricks to customize it to your preference. Let’s dive in!
What Are Cranberry Walnut Bread?
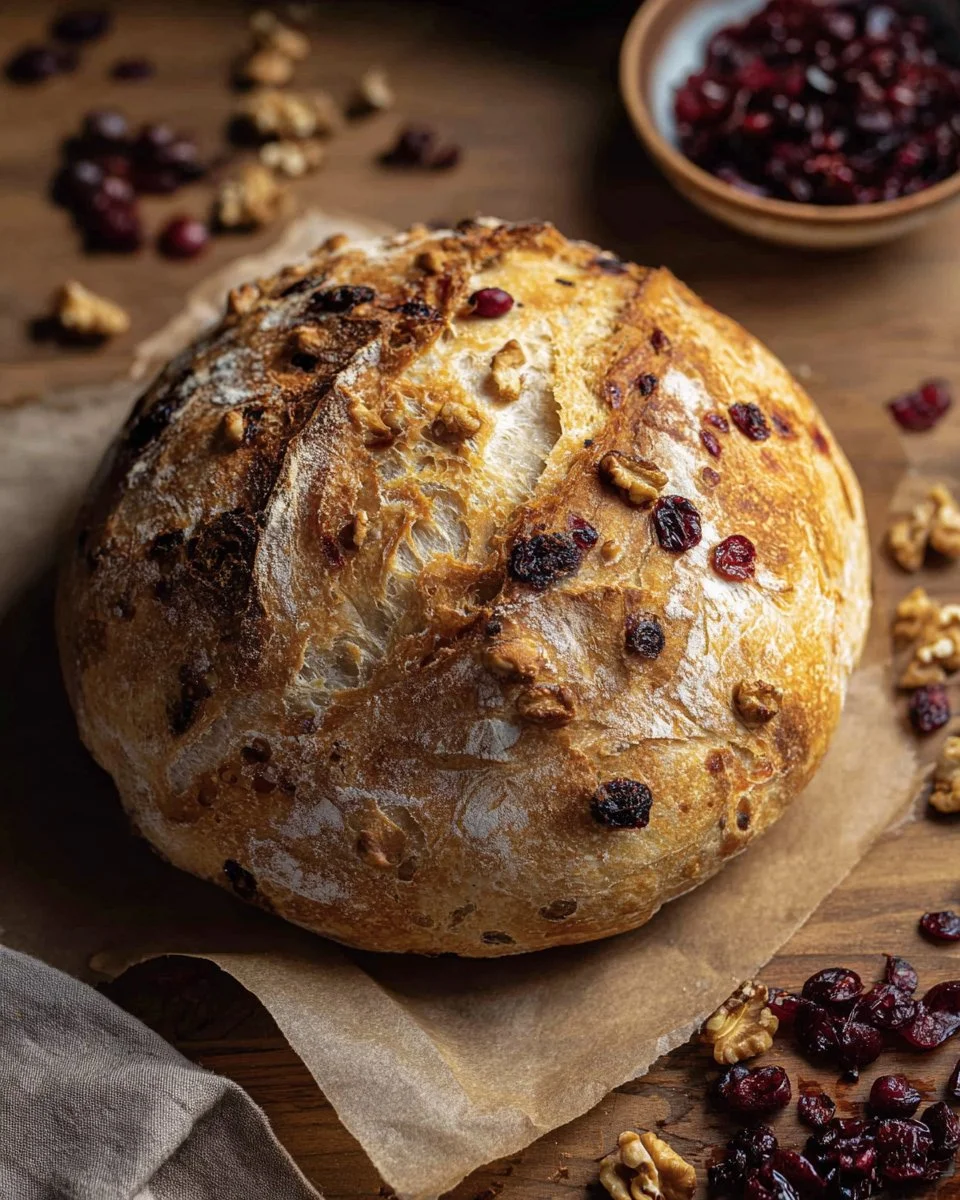
Cranberry Walnut Bread is a delightful blend of flavors and textures that harks back to traditional baking roots. Originating from regions where both nuts and berries thrive, this bread was often enjoyed during harvest seasons, bringing communities together to celebrate the bounties of nature.
This bread is not just a simple carb; it’s a treat that’s slightly sweet, with the tangy cranberries cutting through the richness of the toasted walnuts. The tender, chewy crust gives way to a soft interior that’s dotted with these delightful ingredients, providing a satisfying crunch.
Whether you’re looking for a cozy breakfast option, a warm snack with your afternoon tea, or an ideal side for holiday meals, Cranberry Walnut Bread fits the bill. It embodies the spirit of togetherness and autumn—perfect for sharing with loved ones around the table.
Why You’ll Love This Recipe
-
Flavor Explosion: The contrast between the sweet, tart cranberries and the nutty crunch of walnuts creates a symphony of flavor. Unlike store-bought varieties, this homemade recipe allows you to control the balance, using the highest-quality ingredients.
-
Budget-Friendly: Making your own bread can save you a pretty penny. The ingredients are simple and affordable, allowing you to whip up several loaves for the price of one store-bought version.
-
Customization Options: Feel like being adventurous? You can swap out cranberries for blueberries or add a pinch of savory herbs for a twist. Need it gluten-free? Use almond or coconut flour. The possibilities are limitless!
-
Simple and Satisfying: While baking bread may seem intimidating, this recipe is surprisingly easy. The long rise time does most of the work for you. It’s a no-fuss approach that delivers exceptional results without excessive kneading or monitoring.
-
The Perfect Gift: Who doesn’t love a homemade treat? Package this gorgeous loaf in a cute bread bag, and you have the ideal gift for friends, neighbors, or holiday hosts that’s sure to leave them raving.
Ingredients Section
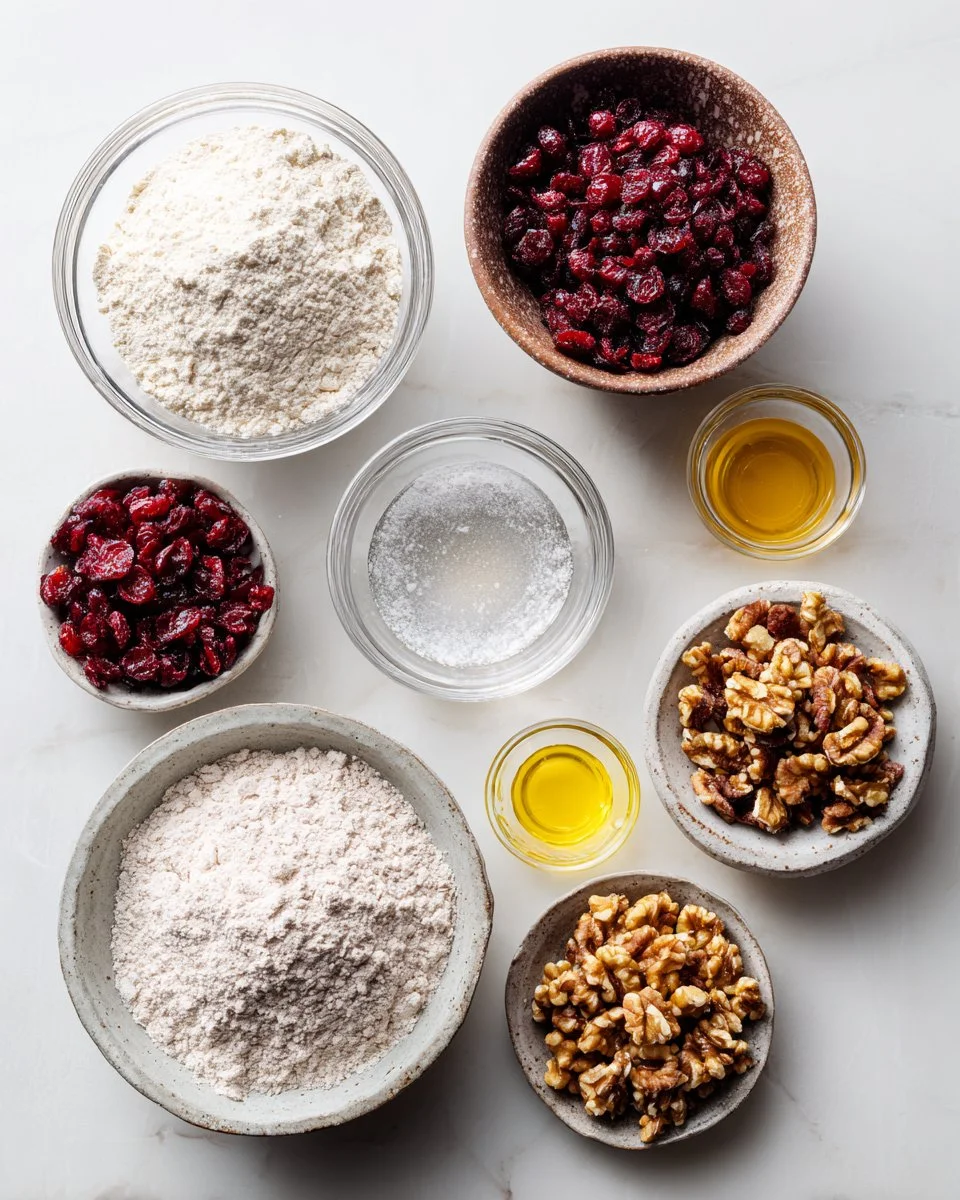
Here’s what you’ll need to make your own Cranberry Walnut Bread:
- 3 cups all-purpose flour: Provides structure. For a gluten-free option, swap with a 1-to-1 gluten-free flour blend.
- 1 teaspoon kosher salt: Enhances flavor. Don’t skimp on this; it’s essential!
- 1 teaspoon rapid-rise yeast: Aids in quick fermentation. If you prefer traditional yeast, use 2 teaspoons but remember to activate it in warm water first.
- 1 1/2 cups water, room temperature: For proper dough hydration. Avoid cold water, which can slow yeast activity.
- 2 tablespoons honey: Adds natural sweetness and browning. Maple syrup makes for a delightful alternative.
- 1 cup dried cranberries: The star of the show! Use unsweetened for a more tart flavor or opt for sweetened for a classic taste.
- 1/2 cup walnuts, roughly chopped: Toasting the nuts before adding is optional but recommended for more depth of flavor.
Prep Notes: Ensure your water is at room temperature to activate the yeast properly. And if using butter in other recipes, bring it to room temperature as well!
Step-by-Step Instructions
-
Mix the Dry Ingredients: In a large mixing bowl, combine 3 cups all-purpose flour, 1 teaspoon kosher salt, and 1 teaspoon rapid-rise yeast. Whisk together until well combined. This ensures an even distribution of the yeast and salt.
-
Combine Wet Ingredients: Add 1 1/2 cups room-temperature water and 2 tablespoons honey to the dry mixture. Mix until a shaggy dough forms, and don’t worry about perfect smoothness!
-
Fold in Cranberries and Walnuts: Gently fold in 1 cup dried cranberries and 1/2 cup chopped walnuts until evenly distributed in the dough.
-
First Rise: Pour the dough into a clean, greased bowl. Cover tightly with plastic wrap and let rise at room temperature for about 18 hours. You’ll know it’s ready when it has doubled in size and looks bubbly.
-
Shape the Dough: Once risen, flour a piece of parchment paper and turn out the dough onto it. Stretch and fold it to shape into a ball. Lightly spray the top with nonstick cooking spray before covering it again with plastic.
-
Rest Again: Allow it to rest for an additional 30 minutes.
-
Preheat and Score: Preheat your oven to 450°F with a Dutch oven inside. When you’re ready to bake, score the top of your dough with a sharp knife in the shape of an "X".
-
Bake: Once the oven is hot, carefully transfer the dough with the parchment into the Dutch oven. Cover and bake for 30 minutes. Then, uncover and continue to bake for another 15 minutes, or until the top is a beautiful golden brown.
-
Cool Before Serving: Remove the bread from the Dutch oven and let it cool on a wire rack for 30 minutes before slicing.
Chef’s Tips: Use a serrated bread knife to slice for the best results. And remember, bread gets better with time, so don’t rush it!

Expert Tips & Tricks
-
Storage: If you manage to have leftovers, store them tightly wrapped in plastic at room temperature for up to 3 days, or in the fridge for 5 days. For longer storage, slice and freeze for up to 3 months.
-
Make-Ahead: You can prepare the dough and refrigerate it for up to 24 hours. Just remember to bring it back to room temperature before shaping.
-
Troubleshooting: If your dough doesn’t rise, ensure your yeast is fresh, as expired yeast can lead to flat bread.
-
Flavor Infusion: For an added touch, consider adding a tablespoon of orange zest for a citrusy twist!
-
Walnut Toasting: If you choose to toast your walnuts, do so in a dry pan over medium heat for 5-7 minutes, stirring frequently until aromatic. This intensifies their flavor.
Serving Suggestions
Cranberry Walnut Bread is incredibly versatile. Serve it warm with a pat of creamy butter for breakfast, or with a drizzle of honey as an afternoon snack. It pairs beautifully with cheese platters, especially soft cheeses like Brie or goat cheese. Try it alongside a steaming bowl of soup or as an accompaniment to festive holiday meals—this bread is sure to impress.
For a stunning presentation, slice it diagonally and arrange on a rustic wooden board, garnished with fresh rosemary or cranberries for a holiday touch!
Variations & Substitutions
- Spices: Consider adding 1 teaspoon of cinnamon or nutmeg if you’re feeling festive.
- Fruits and Nuts: Swap out cranberries for dried cherries or even fresh blueberries for a different flair. Pecans can substitute walnuts if you prefer.
- Gluten-Free: You can achieve a gluten-free loaf by using almond flour and a gluten-free blend. Just be sure to adjust for liquid content as needed.
Nutrition & Storage Info
- Prep Time: 30 minutes (plus 18 hours rise time)
- Cook Time: 45 minutes
- Total Time: 18 hours 30 minutes
- Yield: Serves 10-12 slices
- Estimated Calories: 180 calories per slice (based on 12 servings)
- Storage Instructions: Room temperature for up to 3 days, fridge for 5 days, or freeze for up to 3 months.
FAQ Section
1. Can I use fresh cranberries instead of dried?
Yes, you can! However, fresh cranberries are much more tart, so you might want to increase the honey to balance the flavors.
2. What can I substitute for honey?
You can use maple syrup, agave nectar, or even brown sugar in equal proportions.
3. How do I know if my yeast is still good?
To test, mix the yeast with warm water and a pinch of sugar. If it bubbles after 10 minutes, it’s still active!
4. Can I make this recipe in a standard loaf pan?
You can, but the baking time will differ. Bake in a greased loaf pan for about 35-40 minutes or until it sounds hollow when tapped.
5. Do I have to use a Dutch oven?
While a Dutch oven creates the ideal steam environment for crust formation, you can use a regular baking sheet. Just place a pan with hot water at the bottom of your oven for steam.
6. How can I reduce the sweetness?
Simply use fewer cranberries or choose unsweetened dried fruit.
7. Can I add different spices?
Absolutely! Feel free to include pumpkin spice or even a pinch of cardamom for a unique flavor profile.
8. What if my bread turned out too dense?
This can happen due to insufficient hydration or mixing. Ensure the dough is wet enough and is mixed just until incorporated.
9. How can I prevent sticking when removing from the Dutch oven?
Use parchment paper to line the Dutch oven or ensure it’s well greased.
10. Can I add seeds like sunflower or chia?
Yes! You can fold in seeds for added texture and nutrition—experiment to see what you prefer.
Conclusion
Cranberry Walnut Bread is more than just a recipe; it’s a cherished memory, a warm invitation for family and friends to gather, and a delightful experience for your taste buds. I hope you’ll try your hand at this delicious creation because it truly is a slice of comfort and joy!
If you enjoyed this recipe, please let me know! Share your feedback or any variations you tried in the comments below. I’d also love for you to explore other warm, comforting recipes on my blog, like my Easy Homemade Banana Bread or my Pumpkin Spice Loaf.
Happy baking!

Cranberry Walnut Bread
Ingredients
Method
- In a large mixing bowl, combine the flour, kosher salt, and rapid-rise yeast. Whisk until well combined.
- Add the room temperature water and honey to the dry mixture. Mix until a shaggy dough forms.
- Gently fold in the dried cranberries and chopped walnuts until evenly distributed.
- Pour the dough into a greased bowl. Cover tightly with plastic wrap and let rise at room temperature for about 18 hours.
- After the dough has risen, flour a piece of parchment paper and turn the dough out onto it. Shape it into a ball.
- Lightly spray the top with nonstick cooking spray and cover again with plastic.
- Allow the dough to rest for an additional 30 minutes.
- Preheat your oven to 450°F with a Dutch oven inside.
- Score the top of the dough with a sharp knife in the shape of an 'X'.
- Carefully transfer the dough using the parchment into the hot Dutch oven. Cover and bake for 30 minutes.
- Uncover and bake for another 15 minutes or until the top is golden brown.
- Remove the bread from the Dutch oven and let it cool on a wire rack for 30 minutes before slicing.