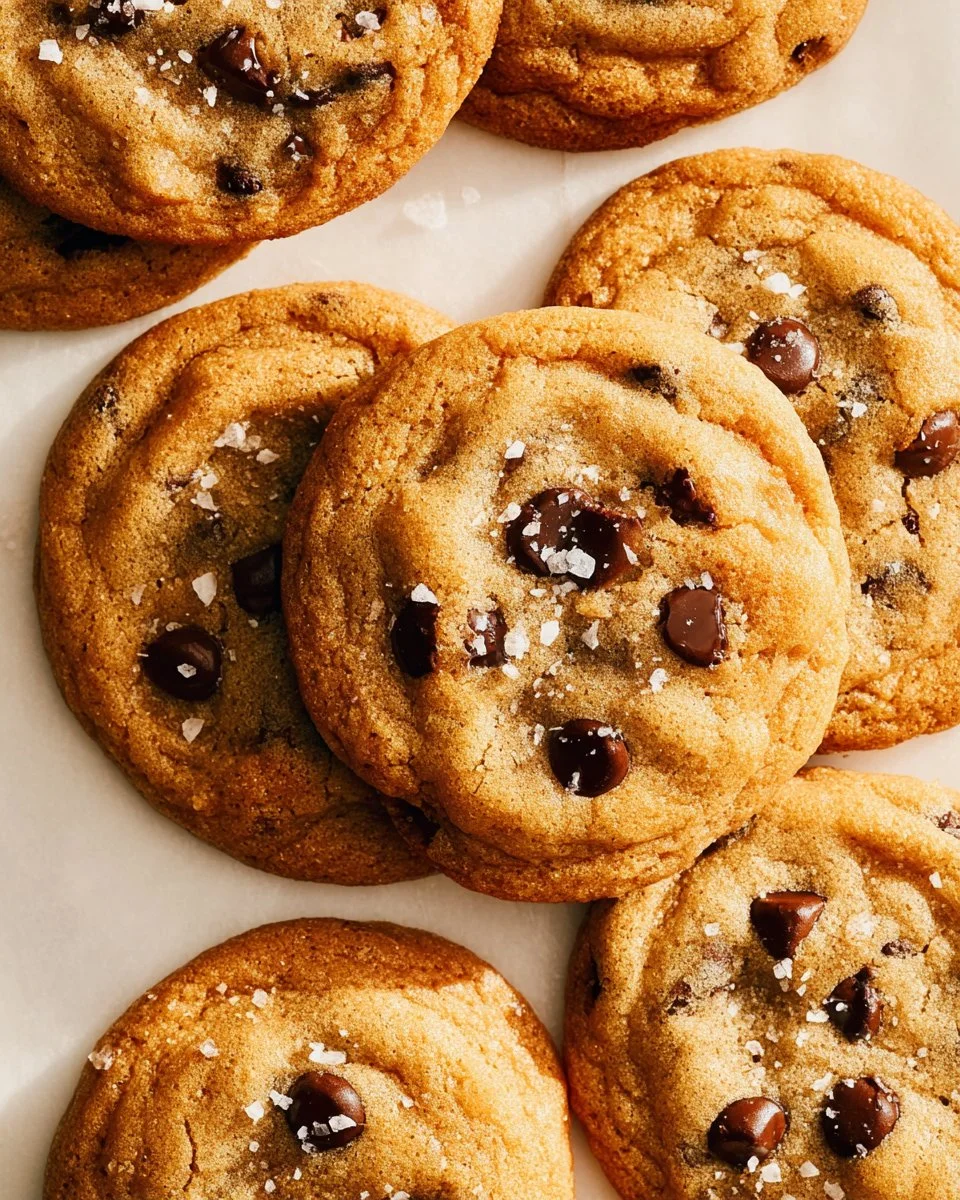
Irresistibly Extra-Chewy Chocolate Chip Cookies: A Love Letter to Classic Baking
There’s something magical about the smell of freshly baked cookies wafting through the house, right? I remember the days when I’d come home from school and be greeted by the scent of chocolate gooeyness and sweetness—my mom’s signature Extra-Chewy Chocolate Chip Cookies were cooling on the counter. Those moments were more than just about the cookies; they were about love, warmth, and a bond that only a shared treat can create. This recipe has been a staple in our family, passed down through generations, and each batch brings back a wave of sweet nostalgia.
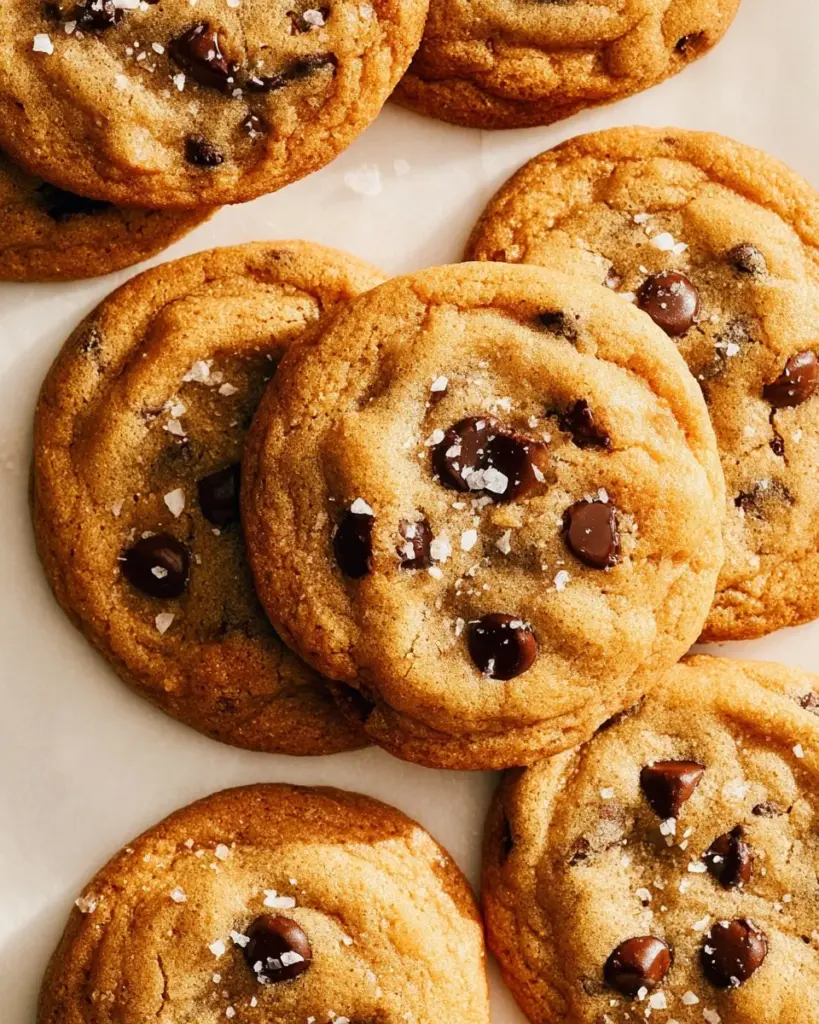
What sets these cookies apart? They’re not just your average chocolate chip cookies; these bad boys boast a chewy center with slightly crispy edges, perfect for dunking into a glass of milk or enjoyed solo (though, let’s be honest, who can resist a double dip?). With a carefully tweaked ratio of fats and sugars, along with a few chef-approved techniques, this recipe is designed to make your cookies stand out from the store-bought or bakery versions.
So, if you’re ready to embark on a delightful baking adventure, take a deep breath and roll up your sleeves! In this post, I’m excited to share my cherished recipe for Extra-Chewy Chocolate Chip Cookies, along with tips and tricks that will guarantee success every time. Let’s make those warm memories together, one cookie at a time!
What Are Extra-Chewy Chocolate Chip Cookies?
Extra-Chewy Chocolate Chip Cookies are not just any cookie; they represent a tender balance of flavors and textures that make them truly irresistible. Originating from classic American cuisine, these cookies have evolved through countless family kitchens, with each generation adding its own secret touch. The result? A cookie that’s crispy on the outside but delightfully chewy in the center—a texture that brings an unforgettable bite to every cookie lover’s experience.
With rich, melting chocolate chips, buttery undertones, and a hint of vanilla, the flavor profile is nothing short of heavenly. The key to their unique texture lies in the careful handling of the dough and the ingredient ratios—an art form in itself! These cookies are perfect for any occasion—holiday gatherings, casual get-togethers, or simply to enjoy with a cup of coffee after a long day.
Ready to learn how to create the perfect batch of these mouthwatering treats? Let’s dive into the recipe that will bring joy not just to your taste buds, but also warmth to your heart.
Why You’ll Love This Recipe
Creating these Extra-Chewy Chocolate Chip Cookies is an experience you won’t forget, and here are a few reasons why they’ll steal your heart (and your friends’!):
-
Irresistibly Chewy: Unlike typical cookies that can turn brittle, this recipe ensures your cookies come out chewy and delicious. The magic happens with the combination of fats and the mixing method (more on that later!).
-
Endless Customization: Want to throw in some walnuts for crunch? Or perhaps substitute half the chocolate chips for white chocolate? The flexibility of this recipe lets you tailor your cookies to your taste buds or dietary needs.
-
Cost-Effective & Budget Friendly: Baking at home is a fraction of the cost of store-bought cookies, plus you get to enjoy the therapeutic process of creating something delicious from scratch.
-
Easy to Make, Yet So Rewarding: Even if you’re a novice in the kitchen, this recipe comes together quickly and simply. No complicated techniques—just good, old-fashioned baking.
-
Family Favorite Guaranteed: Trust me, after bringing these to any gathering, you’ll be bombarded with compliments and requests for your secret recipe—turning cookies into a bridge for connection and joy!
Ready to roll up your sleeves and bake the best batch of cookies ever? Let’s get into the ingredients!

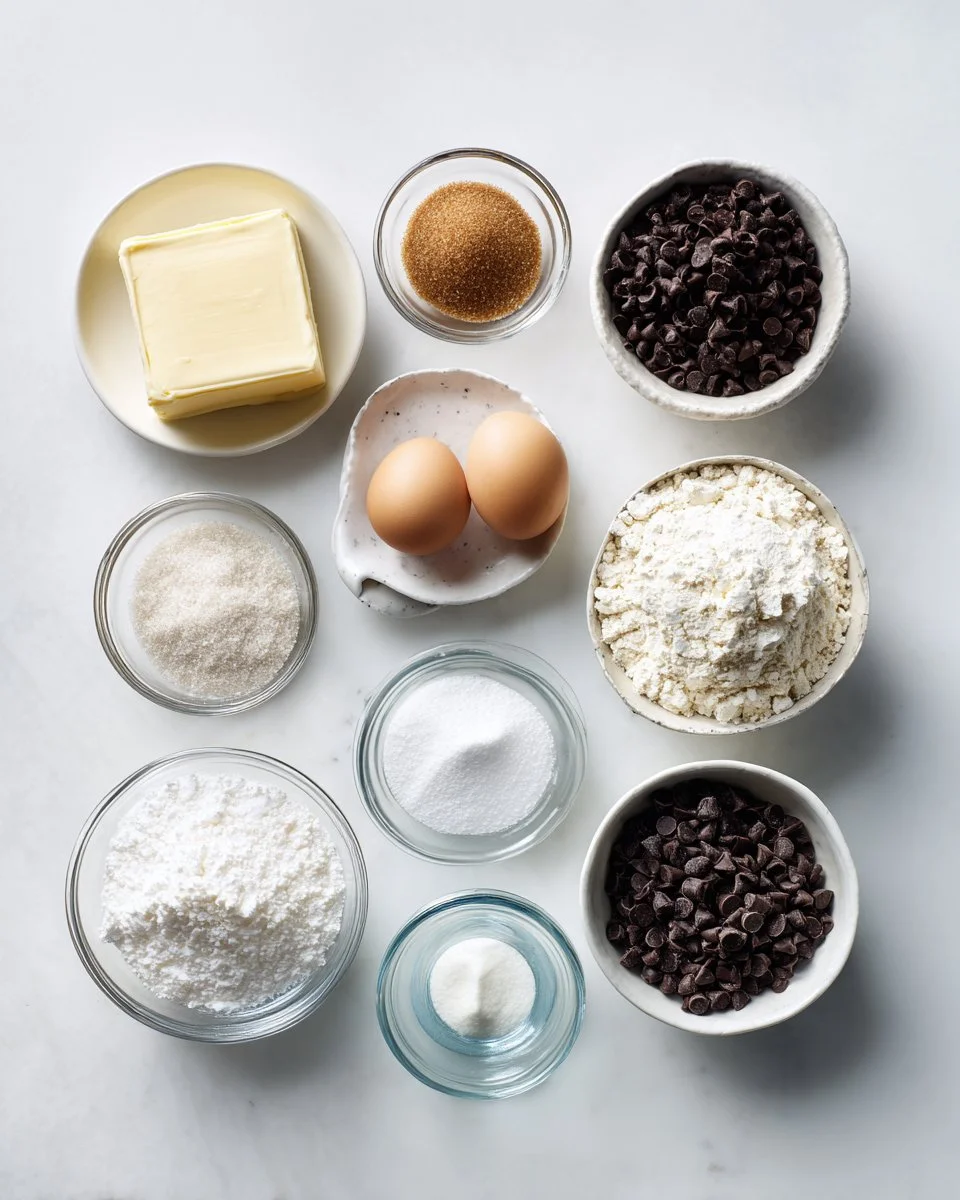
Ingredients Section
Here’s what you’ll need to bring these Extra-Chewy Chocolate Chip Cookies to life:
- 1 cup salted butter (room temperature, for that rich flavor)
- 3/4 cup packed brown sugar (lightly packed, for a deeper sweetness)
- 1/2 cup granulated sugar (to balance the flavors)
- 1 tsp kosher salt (to amplify the sweetness)
- 1 tsp baking soda (for that perfect rise)
- 1 large egg (room temperature, helps bind ingredients)
- 1 tbsp vanilla extract (the secret to baking joy)
- 2 1/3 cups + 2 tsp all-purpose flour (precise measurements matter!)
- 2 cups milk or semisweet chocolate chips (plus extra for topping)
Ingredient Notes:
- Quality Matters: Always opt for high-quality chocolate chips. Brands like Ghirardelli or Guittard are my favorites for their rich, melty goodness.
- Room Temperature Ingredients: Make sure your butter and egg are at room temperature before beginning—this helps create a smooth dough and permission for better mixing.
This is a foundation that has given me great results over the years. Now, let’s transform these simple ingredients into mouthwatering cookies!
Step-by-Step Instructions
-
Preheat your oven to 350ºF. Forgetting this step can lead to inconsistent baking, so let’s get it right!
-
Combine Ingredients: In the bowl of your stand mixer, add the room-temperature butter, brown sugar, granulated sugar, kosher salt, and baking soda. Start on low speed until it comes together, then increase to medium-high, and beat for a FULL 5 MINUTES. Yes, you read that correctly! This crucial step adds air to the dough and prevents spreading.
Chef’s Tip: Pause the mixer halfway to scrape down the sides for an even consistency.
-
Mix in the Egg and Vanilla: Beat in the large egg and vanilla extract. Mix just until combined—overbeating can lead to tough cookies.
-
Incorporate the Flour: Pause the mixer, then add the all-purpose flour, turning it on low. Beat just until the flour is fully incorporated. Again, don’t overdo it!
-
Add the Chocolate Chips: With the mixer still on low, stir in the chocolate chips until evenly distributed.
-
Shape the Dough: Scoop the dough into two-tablespoon-sized balls—aim for uniformity! Pinch the balls upwards to shape them into tall little "snowmen" to minimize spreading.
-
Arrange on Baking Sheets: Place the dough balls on parchment-lined baking sheets, ensuring they’re about 3 inches apart.
-
Bake: Put them in the preheated oven and bake for 8-11 minutes. The edges should be golden, while the center still appears soft and slightly paler.
-
Finishing Touch: Immediately after removing them from the oven, bang the pan on the countertop to deflate the cookies (trust me on this!), then gently reshape. Top with a few extra chocolate chips, pressing them in slightly, which also helps flatten them.
-
Cooling Time: Let the cookies cool for two minutes on the baking sheet before transferring them to wire racks.
-
Optional Touch: A sprinkle of flaky sea salt on top adds a gourmet touch!
And voilà! You have a tray full of chewy delights!

Expert Tips & Tricks
-
Use Chilled Dough: If you’re not baking right away, chill the dough for about 30 minutes. It helps maintain that chewy texture and can deepen the flavor.
-
Storage Recommendations: Keep your cookies in an airtight container at room temperature. They can also be frozen and enjoyed later—just separate layers with parchment!
-
Make-Ahead Instructions: You can prepare the dough in advance and store it wrapped in plastic wrap. It stays good in the fridge for up to a week or frozen for about three months.
-
Troubleshooting: If your cookies spread too much, try reducing the fat slightly or chilling the dough next time.
-
Don’t skip the salt: The salt enhances sweetness and creates a gorgeous contrast of flavors that elevates your cookies.
-
Experiment with chocolate: Lately, I’ve been loving dark chocolate chips for their richness—definitely worth a try!
Serving Suggestions
These Extra-Chewy Chocolate Chip Cookies are as versatile as they are delicious! Pair them with a tall glass of cold milk for that timeless snack experience, or serve with a scoop of vanilla ice cream for a decadent dessert. For a lovely presentation, stack them on a cake stand or wrap them in cellophane for a thoughtful gift.
They’re perfect for any occasion, whether it’s a cozy movie night, a holiday gathering, or an impromptu get-together with friends. The cookie tug-of-war will never be the same once these are in the mix!
Variations & Substitutions
- Nutty Variation: Mix in chopped walnuts or pecans for an irresistible crunch that complements the chocolate.
- Seasonal Flavors: During fall, try adding a touch of cinnamon or pumpkin spice for a festive twist!
- Dietary Needs: For a gluten-free option, substitute the all-purpose flour with a gluten-free blend. Just check for xanthan gum in the blend!
- Flavor Boosts: Experiment with different extracts like almond or hazelnut for a unique flavor twist.
Nutrition & Storage Info
- Prep Time: 15 minutes
- Cook Time: 10 minutes
- Total Time: 25 minutes
- Yield: Approximately 24 cookies (depends on size)
- Estimated Calories per Serving: 150 (depending on size)
- Storage:
- Room Temperature: Up to 5 days in an airtight container.
- Refrigerator: Keeps well for up to 1 week.
- Freezer: Freeze baked cookies for up to 3 months; dough can be frozen for up to 3 months too!
FAQ Section
1. Why are my cookies spreading too much?
- If your cookies spread excessively, the dough may be too warm or there may be too much fat in the mixture. Chilling the dough helps!
2. How can I keep my cookies from turning hard?
- Ensure you don’t over-beat the dough and take them out while they still look a little soft in the center; they’ll firm up as they cool.
3. Can I use unsalted butter instead?
- Yes, but make sure to add a pinch more salt to balance the flavors!
4. What can I use instead of flour?
- Try using a gluten-free flour blend!
5. How long will these cookies last?
- These cookies can last up to 5 days at room temperature.
6. Can I double this recipe?
- Absolutely! Just remember to use a large enough bowl for mixing and separate baking sheets.
7. Is it better to use dark or milk chocolate chips?
- It depends on your preference! Dark chocolate offers a richer taste, while milk chocolate provides a classic sweetness.
8. Can I freeze the dough?
- Yes, you can freeze cookie dough. Just portion them out and wrap them tightly. Bake straight from the freezer, just adding an extra minute or two to the time.
9. What’s the best way to store baked cookies?
- Store in an airtight container at room temperature to maintain that chewy texture.
10. Can I add more chocolate chips?
- Feel free! More chocolate is always a good idea in my book!
Conclusion
These Extra-Chewy Chocolate Chip Cookies are not just a treat; they’re a bridge that connects generations, friends, and family through shared love and memories baked into each bite. I encourage you to try this recipe and bring your loved ones into the kitchen; let’s create something special together.
I’d love to hear your thoughts—did you make them? What did your friends or family think? Drop a comment below! Don’t forget to check out my other delicious recipes on the blog for more mouth-watering inspiration. Happy baking!
Extra-Chewy Chocolate Chip Cookies
Ingredients
Method
- Preheat your oven to 350ºF.
- In the bowl of your stand mixer, add the room-temperature butter, brown sugar, granulated sugar, kosher salt, and baking soda. Start on low speed until it comes together, then increase to medium-high, and beat for a FULL 5 MINUTES. This crucial step adds air to the dough and prevents spreading.
- Beat in the large egg and vanilla extract until just combined.
- Pause the mixer, then add the all-purpose flour, turning it on low. Beat just until the flour is fully incorporated.
- With the mixer still on low, stir in the chocolate chips until evenly distributed.
- Scoop the dough into two-tablespoon-sized balls and shape them into tall little 'snowmen' to minimize spreading.
- Place the dough balls on parchment-lined baking sheets, ensuring they’re about 3 inches apart.
- Put them in the preheated oven and bake for 8-11 minutes. The edges should be golden, while the center still appears soft and slightly paler.
- Immediately after removing them from the oven, bang the pan on the countertop to deflate the cookies, then gently reshape. Top with a few extra chocolate chips, pressing them in slightly.
- Let the cookies cool for two minutes on the baking sheet before transferring them to wire racks.
- Optional: A sprinkle of flaky sea salt on top adds a gourmet touch.