Spring has always held a special place in my heart—the blooming flowers, the fresh air, and, of course, the excitement of Easter. One of my favorite childhood memories is crafting festive treats with my family, a tradition that fueled my love for cooking. Today, I’m thrilled to share a delightful recipe that embodies that joyful spirit: Easter Bunny Coconut Tails. These sweet, whimsical confections are not only adorable but also incredibly delicious!
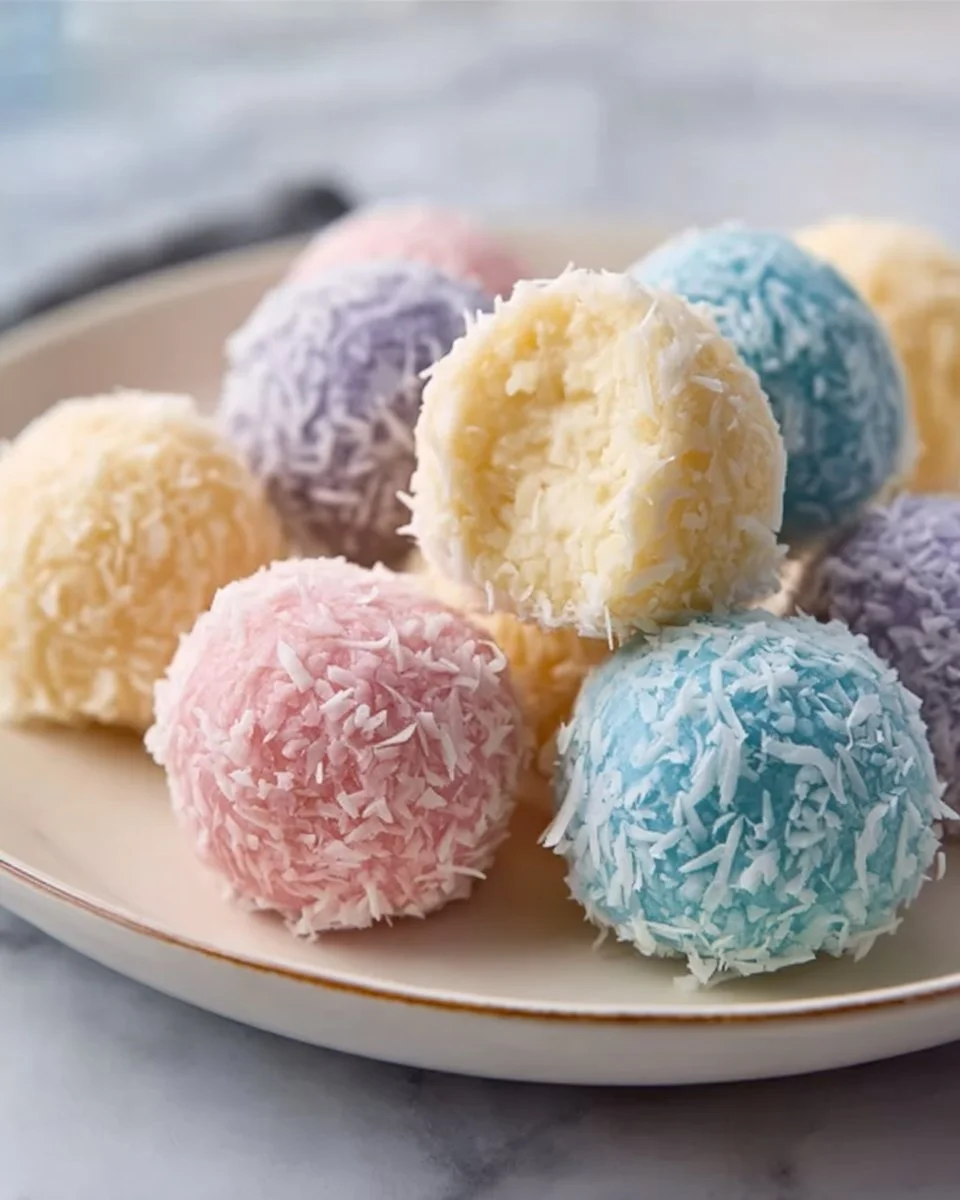
What makes these coconut tails so special? They’re a fun, creative way to celebrate Easter, bringing smiles to kids and adults alike. Imagine biting into a soft, sweet coconut center, dipped in rich chocolate, with cute little candy eyes and fluffy tails—pure joy in every bite! Unlike store-bought treats that can be overly sweet and artificial, this easy recipe combines the pure taste of shredded coconut with creamy sweetened condensed milk, creating a mouthwatering flavor that feels like home.
In this post, you’ll learn how to create these enchanting coconut tails that are sure to become a beloved tradition in your home, just as they have in mine. So, grab your apron and let’s get baking!
What Are Easter Bunny Coconut Tails?
Easter Bunny Coconut Tails have roots in classic coconut confections, often seen around springtime gatherings. These playful bites capture the essence of Easter with their whimsical charm, making them a delightful addition to your holiday spread.
Each tail offers a chewy yet light texture, with the sweetness of coconut perfectly balanced by the rich chocolate coating. The addition of colorful candy eyes and fluffy bunny tails elevates these treats into adorable little morsels that evoke childhood memories of Easter egg hunts and family gatherings.
These coconut tails are perfect for any Easter celebration or springtime event. Whether you’re hosting a gathering, looking for treats to fill Easter baskets, or just wanting to indulge in something sweet, these beauties will not disappoint!
Why You’ll Love This Recipe
Quick and Easy: This recipe is incredibly simple, making it a fantastic option for those who might be short on time—or for kids eager to help in the kitchen. With approximately 15-20 minutes of prep time and 30 minutes of chilling, you’ll have adorable treats ready to impress!
Cost-Effective: Compared to pricey artisanal sweets or store-bought alternatives, making Easter Bunny Coconut Tails at home allows you to save money without skimping on flavor or quality. Most of these ingredients are pantry staples.
Customizable: Want to make them gluten-free or dairy-free? You can easily swap the sweetened condensed milk for a coconut-based version, and use dark or vegan chocolate for dipping. Plus, you can experiment with flavors—add a touch of almond extract or a sprinkle of lemon zest for a unique twist!
Impressive Presentation: These treats are as fun to look at as they are to eat! Their playful design will wow your guests at any Easter brunch, and the kids will love helping decorate them, making this a perfect family activity.
Family Tradition: This recipe is great for creating lasting memories, and there’s something special about making these together. You’ll find yourself reminiscing about your own Easter celebrations as you bring this recipe to life.

Ingredients
- 2 cups shredded coconut: Opt for unsweetened coconut if you desire more control over sweetness; however, sweetened works perfectly for this recipe.
- 1 cup sweetened condensed milk: Choose quality brands like Eagle Brand for a creamy texture.
- 1 teaspoon vanilla extract: Pure vanilla extract adds a depth of flavor. Consider using Madagascar bourbon vanilla for a more intense aroma.
- 1/2 cup powdered sugar: This helps bind the mixture and enhances sweetness; sifting it first ensures a smooth consistency.
- Chocolate for dipping: Semi-sweet chocolate chips or melting wafers work wonderfully—Ghirardelli or Guittard are excellent choices.
- Candy eyes: These add a whimsical touch! You can find them in the baking section of most grocery stores.
- Mini marshmallows or white chocolate for tails: Use mini marshmallows for a fluffy tail, or melt white chocolate for a more sophisticated look.
Prep Notes: Ensure that the sweetened condensed milk and butter (if using) are at room temperature for a smooth mixture.
Step-by-Step Instructions
Prep the Coconut Mixture: In a large bowl, combine 2 cups shredded coconut, 1 cup sweetened condensed milk, 1 teaspoon vanilla extract, and 1/2 cup powdered sugar. Mix until all ingredients are well combined. Chef’s Tip: It’s easier to mix with your hands!
Shape the Balls: Form the mixture into small balls—about 1 inch in diameter—and place them on a baking sheet lined with parchment paper. Visual Cue: The mixture should stick together well without crumbling.
Chill: Freeze the balls for about 30 minutes to firm up. This helps the chocolate coating adhere better.
Melt the Chocolate: Meanwhile, melt your chocolate according to package instructions. Chef’s Tip: Use a microwave in short bursts—15-20 seconds at a time—to avoid burning it.
Dip into Chocolate: Once the balls are firm, take each one and dip it into the melted chocolate, ensuring they are fully coated. Use a fork to lift them out, letting the excess chocolate drip off.
Decorate: Place them back on the parchment paper and immediately add candy eyes and mini marshmallows or white chocolate for tails. Tip: Work quickly before the chocolate sets!
Set and Serve: Allow the chocolate to set at room temperature for about 20-30 minutes before serving. Chef’s Tip: For quicker setting, place them in the fridge for 10 minutes.
Expert Tips & Tricks
- Storage Recommendations: Store your Easter Bunny Coconut Tails in an airtight container at room temperature for up to 5 days, or in the fridge for up to a week. For longer storage, freeze them for up to 3 months.
- Make-Ahead Instructions: You can prepare the coconut balls in advance and then dip them in chocolate a day before your celebration.
- Common Issues: If your chocolate seizes, add a teaspoon of coconut oil to smooth it out.
- Don’t Skip Freezing: It’s vital; if they’re too soft when dipped, they may fall apart.
- Use Quality Ingredients: It really makes a difference in the overall flavor and texture of your treats!
Serving Suggestions
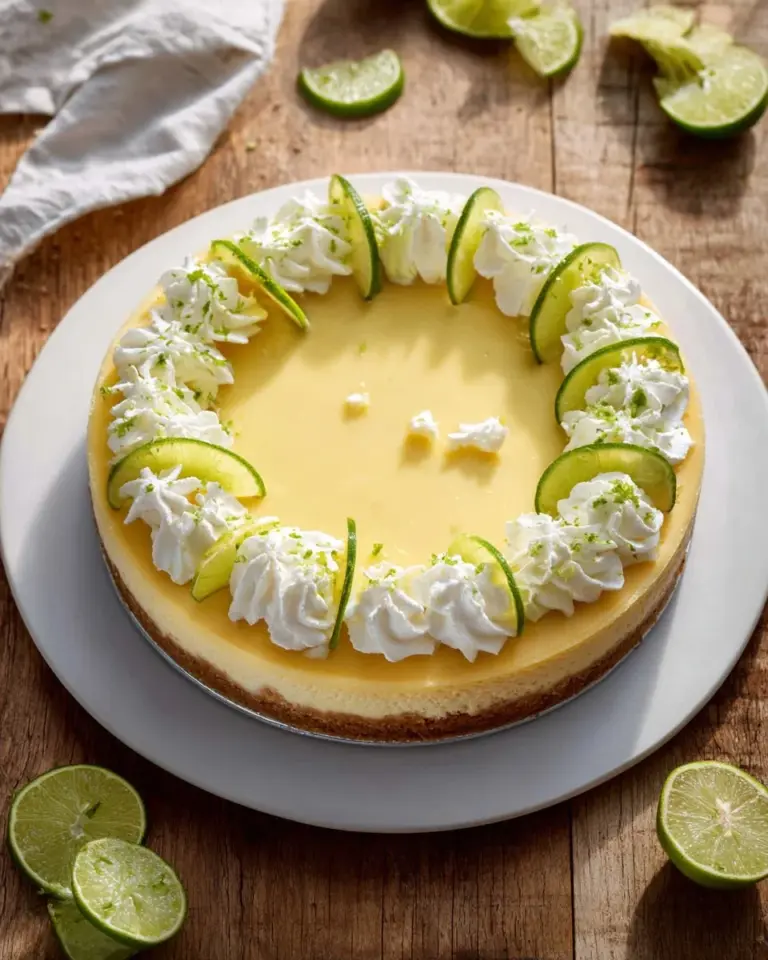
These adorable Easter Bunny Coconut Tails are perfect on their own, but why not elevate your Easter spread? Pair them with bright fruit salads, a refreshing lemon tart, or even alongside an Easter-themed cheese platter. For presentation, arrange them in a cute basket with colorful shredded paper, or place them on a decorative cake stand for a delightful centerpiece. They’re fabulous for family gatherings or neighborhood Easter egg hunts!
Variations & Substitutions
- Flavor Combinations: For a tropical twist, try adding a splash of rum extract or crushed pineapple.
- Dietary Adaptations: Use coconut cream instead of sweetened condensed milk for a vegan version; simply replace the chocolate with dairy-free alternatives.
- Seasonal Variations: Think about adding a pumpkin spice blend in the fall or using pastel-colored candy for springtime festivities!
Nutrition & Storage Info
- Prep Time: 15 minutes
- Cook Time: 30 minutes (plus chilling)
- Total Time: 45 minutes
- Yield: 20 servings (approximately, depending on size)
- Estimated Calories: 150 per tail (varies based on chocolate used)
- Storage Instructions: See Expert Tips above for storage and freezing options.
FAQ SECTION
Can I use unsweetened coconut?
- Yes! Unsweetened coconut gives you more control over the sweetness, and you can adjust the sugar if needed.
How do I store leftover tails?
- Keep them in an airtight container at room temperature for up to 5 days, or refrigerate them for longer freshness.
What type of chocolate is best for dipping?
- Semi-sweet chocolate chips work wonderfully, but feel free to use dark chocolate for a richer flavor!
Can I make these ahead of time?
- Absolutely! Prepare the coconut mixture and shape the balls the day before, then dip in chocolate the day of your event.
How long do they last in the freezer?
- They can be frozen for up to 3 months. Just let them thaw in the fridge when you’re ready to enjoy!
Can I use a different type of milk?
- You can substitute sweetened condensed milk with coconut milk, though the texture may vary slightly.
What if my chocolate hardens too quickly?
- Simply reheat it gently over a double boiler or in the microwave with a touch of coconut oil to bring it back to a drippable consistency!
Are Easter Bunny Coconut Tails gluten-free?
- Yes, all the ingredients are naturally gluten-free, making them a perfect treat for everyone!
Can I omit the powdered sugar?
- The powdered sugar helps achieve the right consistency, but if you prefer to leave it out, consider using a bit more sweetened condensed milk.
What other decorations can I use?
- Get creative! Use sprinkles, edible glitter, or different types of candies for more fun and color.

Conclusion
Easter Bunny Coconut Tails are not just a recipe; they’re a way to celebrate, connect with family, and create lasting memories. I can guarantee that once you make these delightful treats, they will become a cherished part of your holiday traditions. I’d love to hear how they turn out for you! Please drop a comment or share your photos on my blog.
Also, be sure to check out my other festive recipes for Easter celebrations—from fluffy hot cross buns to vibrant carrot cake.
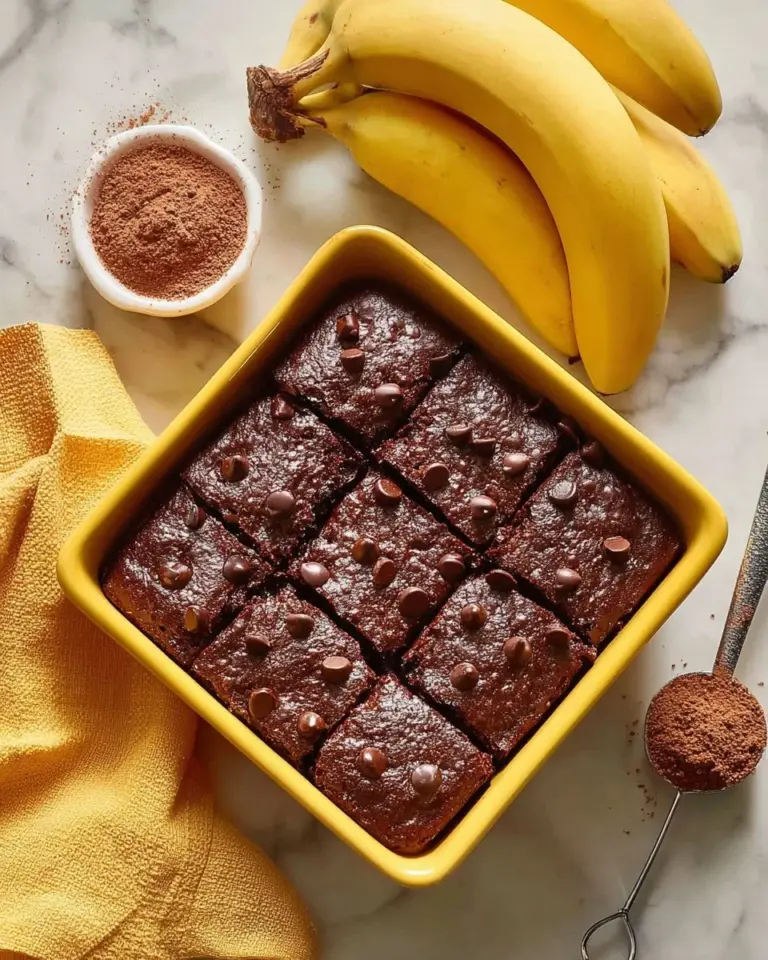
Irresistible Walnut Brown Butter Banana Brownies – The Perfect Comfort Treat!
Happy baking!

Easter Bunny Coconut Tails
Ingredients
Method
- In a large bowl, combine shredded coconut, sweetened condensed milk, vanilla extract, and powdered sugar. Mix until well combined.
- Form the mixture into small balls about 1 inch in diameter and place them on a parchment-lined baking sheet.
- Freeze the balls for about 30 minutes to firm up.
- Melt the chocolate according to package instructions.
- Once firm, dip each ball into the melted chocolate until fully coated.
- Place them back on the parchment paper and immediately add candy eyes and mini marshmallows or white chocolate for tails.
- Allow the chocolate to set at room temperature for about 20-30 minutes before serving, or place in the fridge for quicker setting.