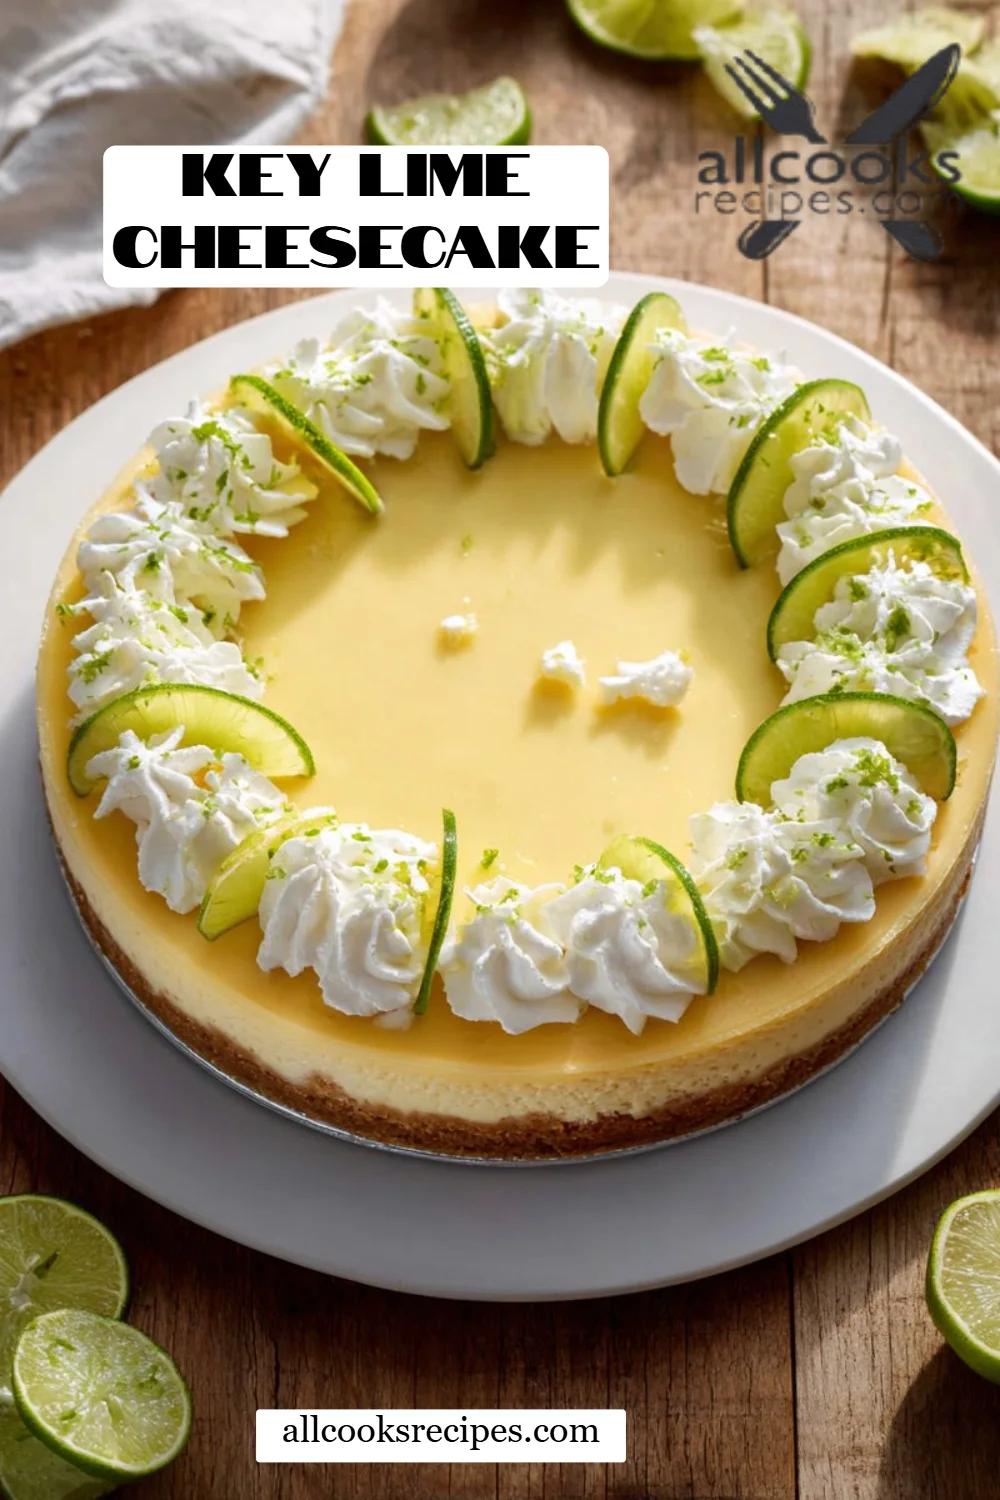
Zesty and Creamy Key Lime Cheesecake: A Slice of Sunshine
Ah, Key Lime Cheesecake – the mere thought of it makes my taste buds do a happy dance! Growing up in a family that prized homemade desserts, my mother would whip up her famous Key Lime Cheesecake every summer. With its bright, tangy flavor and smooth, creamy texture, every bite felt like a mini-vacation to the tropics. I still remember gathering with family on the patio, warm breezes drifting through the air as we indulged in this delightful dessert, laughter echoing all around.
This recipe isn’t just another cheesecake; it’s a labor of love that draws from cherished family memories while delivering the ultimate comfort food experience. Trust me, this Key Lime Cheesecake stands out from the rest: it boasts the perfect balance of sweetness and tartness, combined with an irresistibly buttery graham cracker crust.
In this post, I will share my tried-and-true recipe, including expert tips and variations to elevate it to new heights. By the end, you’ll be ready to create a sunshine-filled dessert that is sure to win hearts and taste buds alike!
What Are Key Lime Cheesecakes?
Key Lime Cheesecake has its roots in the sunny Florida Keys, where the key lime fruit originated. These tiny, aromatic limes have a unique tangy flavor, setting them apart from traditional Persian limes. The cheesecake itself combines rich cream cheese with these vibrant limes, resulting in a sweet yet pleasantly tart dessert that is both refreshing and indulgent. The texture is creamy with a light, fluffy finish that melts in your mouth.
The unique fusion of creamy cheesecake and the zesty brightness of key limes makes this dessert an instant hit at any gathering. It’s an absolute must for summer picnics, birthday parties, or simply to treat yourself on a warm afternoon. Trust me, once you make this decadent dessert, you’ll find yourself coming back to it time and time again!
Why You’ll Love This Recipe
1. Irresistible Flavor Combination
This Key Lime Cheesecake brings together the sweetness of cream cheese, the tartness of key lime juice, and the buttery crunch of a graham cracker crust. What could be better?
2. Homemade vs. Store-Bought
Let’s face it, store-bought cheesecakes often lack that homemade charm. This recipe allows you to control the ingredients and flavor profile, ensuring a fresher taste that’s hard to beat.
3. Cost-Effective Indulgence
Making your own cheesecake can save you a chunk of change compared to those pricey restaurant desserts. And the best part? You’ll actually make enough for several servings, so everyone can indulge!
4. Easy Customization
Feeling adventurous? This recipe is PERFECT for customization! You can experiment with different citrus fruits or even add a swirl of berry puree for a vibrant twist.
5. Relaxed Cooking Experience
With a total time investment of just under four hours (including chilling), you’ll feel like a master chef without spending all day in the kitchen. Plus, this recipe is beginner-friendly, so don’t worry if you’re new to baking!
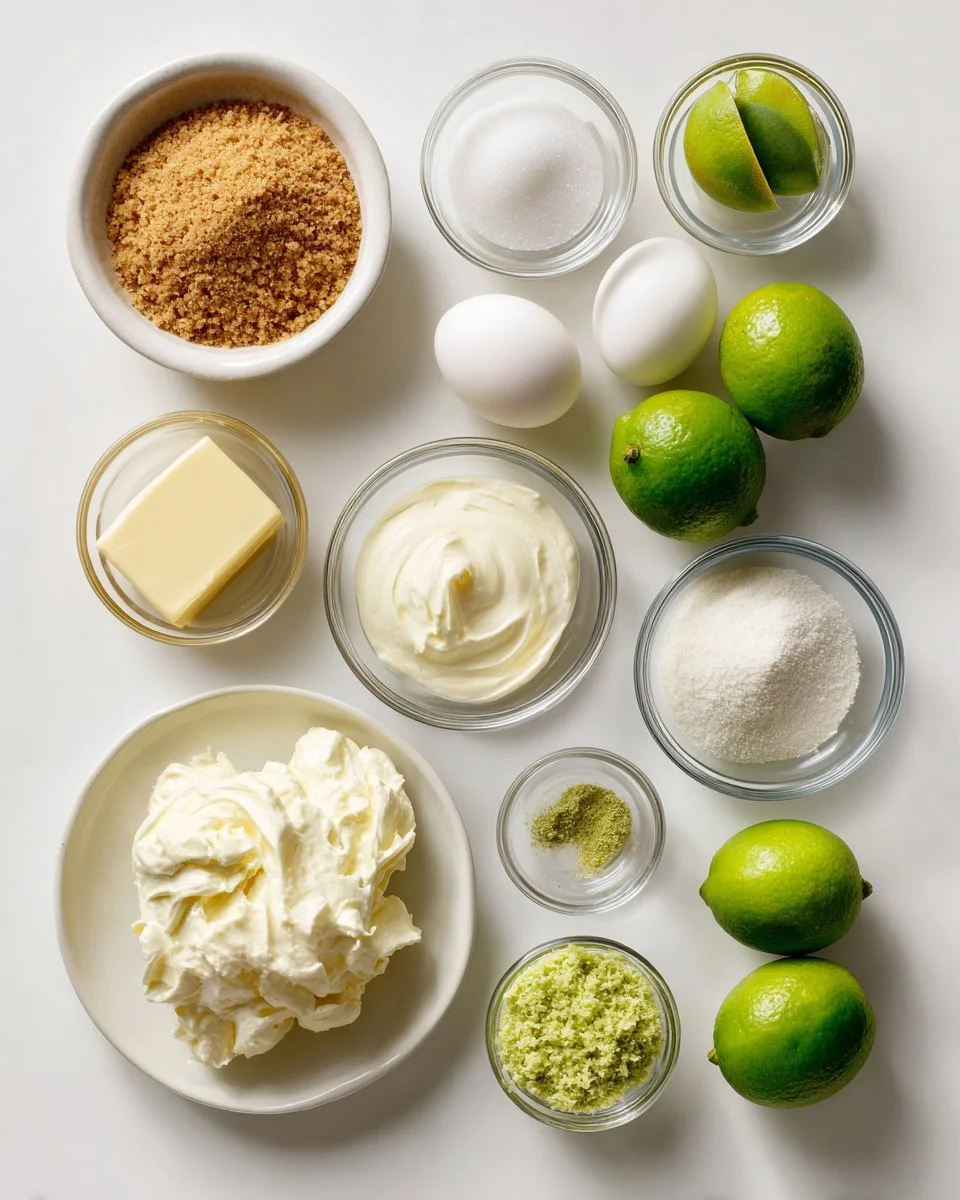
Ingredients
- 1 cup graham cracker crumbs: Use finely crushed for the best crust. You can also sub with digestive biscuits for a slight variation.
- 1 tablespoon granulated sugar: This adds a touch of sweetness to the crust.
- 3 tablespoons unsalted butter, melted: Ensure this is at room temperature before melting for even mixing.
- 16 ounces cream cheese, room temperature: Brands like Philadelphia are highly recommended for a rich flavor.
- 2/3 cup granulated sugar: For adding sweetness to the creamy filling.
- 1/3 cup sour cream, room temperature: This adds depth and creaminess to the texture.
- 1 teaspoon vanilla extract: Pure vanilla extract is always a great choice for flavor.
- 2 large eggs, room temperature: This ensures a smooth batter.
- 6 tablespoons key lime juice: Fresh is best, but bottled can work in a pinch!
- 1 teaspoon key lime zest: For that zesty kick.
- Whipped cream, for garnish: Light and airy, adds a perfect touch to each slice.
- Fresh key limes, for garnish: A final touch of freshness!
Make sure to take those cold ingredients out before you start – room temperature ingredients mix much smoother and yield better results.
Step-by-Step Instructions
-
Preheat Oven: Preheat your oven to 350°F (175°C). Line the bottom of a 7-inch springform pan with parchment paper for easy removal later.
-
Make the Crust: In a medium mixing bowl, combine graham cracker crumbs, 1 tablespoon of sugar, and melted butter until everything is well-mixed. Firmly press this mixture into the bottom of the lined springform pan. For added support, wrap aluminum foil around the bottom and sides of the pan.
-
Prepare the Filling: Using an electric mixer, beat the cream cheese until smooth. Gradually incorporate 2/3 cup of sugar, sour cream, and vanilla extract, blending until it’s completely smooth.
-
Add Eggs: Add the eggs one at a time on low speed until fully mixed in. Then, pour in the key lime juice and zest; mix it all together until you have a uniform batter.
-
Assemble for Baking: Pour the cheesecake filling over the crust, spreading it out evenly. Place the springform pan in a larger pan and pour hot water into the larger pan, filling it halfway up the sides of the springform pan. This creates a steam environment that helps the cheesecake bake evenly.
-
Bake the Cheesecake: Bake your cheesecake for 70-80 minutes or until the edges are golden brown and the center jiggles slightly. Be careful not to overbake – it will firm up as it cools.
-
Cooling Time: Once baked, let the cheesecake cool on a wire rack. After it’s cooled to room temperature, refrigerate for at least 4 hours (or overnight for the best texture).
-
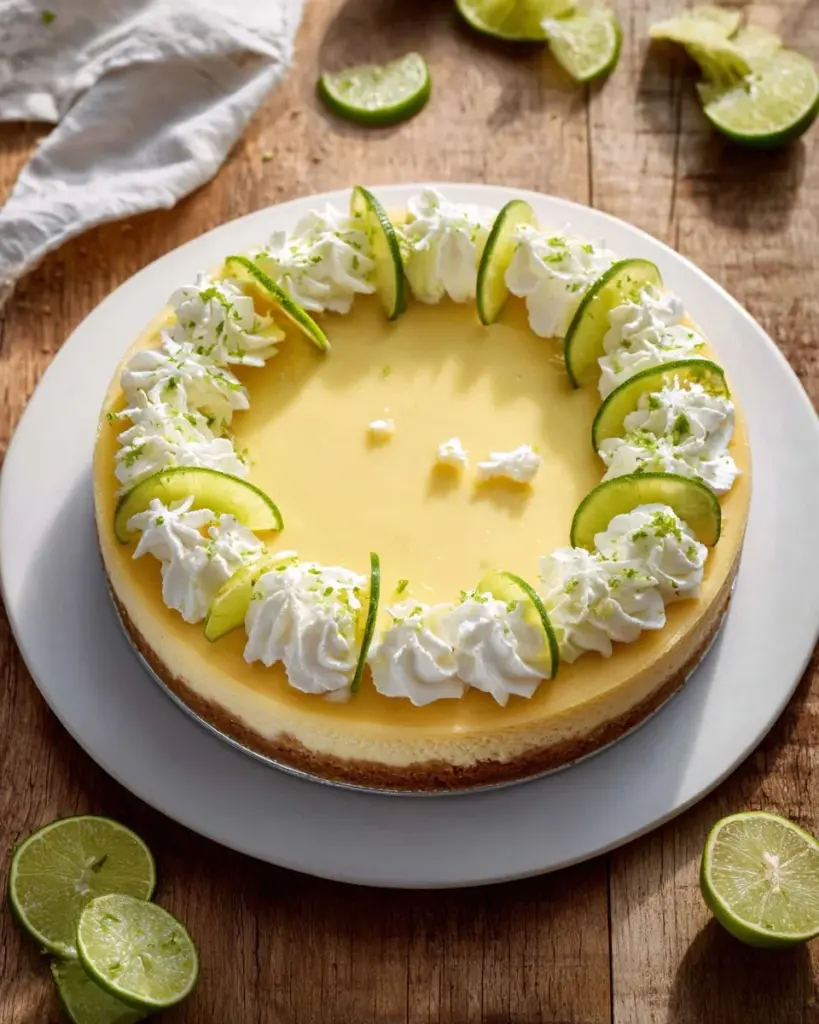
Garnish and Serve: Right before serving, garnish with a dollop of whipped cream, a sprinkle of zest, and sliced fresh key limes. Your Key Lime Cheesecake is now ready to impress!
Chef’s Tips:
- Properly room-temperature ingredients lead to a smoother mixture.
- If cracks form on top, don’t fret! A topping of whipped cream will cover any imperfections.
Expert Tips & Tricks
-
Chill the Cream Cheese: For a smooth filling, ensure your cream cheese is softened to room temperature before mixing.
-
Don’t Overmix: When combining your eggs, mix just until incorporated to prevent excess air that can cause cracks during baking.
-
Use a Water Bath: This method you used in Step 5 is crucial for achieving that silky texture. It prevents the cheesecake from drying out.
-
Storage: Store any leftovers in the fridge for up to 5 days in an airtight container. You can freeze it for up to 3 months by tightly wrapping individual slices in plastic wrap, then in foil.
-
Make-Ahead Instructions: This cheesecake can be made a day in advance! Just allow it to cool completely before chilling overnight.
-
Troubleshooting: If your cheesecake cracks, it may have been overbaked. To avoid, check for a slight jiggle in the center before removing it from the oven.
Serving Suggestions
This Key Lime Cheesecake is perfect for summer cookouts or holiday gatherings. Serve it alongside fresh fruit, like strawberries or raspberries, to complement its flavors. Consider pairing it with a refreshing drink like iced tea or sparkling water infused with lime.
For presentation, consider a sprinkle of graham cracker crumbs on top, or even a drizzle of lime curd for an added touch of elegance. It’s a showstopper, and your guests will surely want the recipe!
Variations & Substitutions
- Different Citrus: Swap key limes for fresh lemons or oranges for a different zesty flavor.
- Gluten-Free: Use gluten-free graham crackers for the crust for a gluten-free version.
- Vegan Alternative: Try using vegan cream cheese and a substitute for eggs, such as flaxseed or silken tofu.
- Holiday Variations: In fall, mix in a pinch of cinnamon for a cozy twist!
Nutrition & Storage Info
- Prep Time: 20 minutes
- Cook Time: 70-80 minutes
- Total Time: 4+ hours (including cooling)
- Yield: Makes 8 slices
- Estimated Calories per Slice: Approximately 320 calories
- Storage Instructions:
- Room Temp: If serving right after baking, let it cool for about an hour.
- Refrigerator: Keep it airtight in the fridge for up to 5 days.
- Freezer: Can be frozen for up to 3 months; thaw in the fridge overnight before serving.
FAQ Section
-
Can I use regular limes instead of key limes?
Absolutely! However, keep in mind that regular limes are slightly less tart than key limes, but they will still work. -
How do I know when my cheesecake is done?
Look for a slightly jiggly center and golden edges. It will firm up as it cools. -
What if my cheesecake cracks while baking?
A little crack is typical and can be covered up with whipped cream. Just avoid overmixing the filling! -
Can I make this cheesecake ahead of time?
Yes! It’s great for making a day or two in advance, just be sure to refrigerate it after cooling. -
How do I prevent a soggy crust?
Make sure to press the crumbs firmly and bake the crust for about 10 minutes before adding the filling for a firmer base. -
Is there a substitute for sour cream?
Absolutely! Greek yogurt works brilliantly in place of sour cream. -
What’s the best way to slice the cheesecake?
Dip a sharp knife in warm water, then wipe it dry before slicing to create clean cuts. -
Can I add toppings to my cheesecake?
Yes! Fresh berries, lime curd, or even a drizzle of chocolate sauce make fantastic toppings. -
What’s the best way to store leftovers?
Refrigerate any leftovers in an airtight container for up to 5 days. -
Can I freeze this cheesecake?
Yes! Just slice it, wrap each piece tightly in plastic wrap, and store in a freezer-safe container for up to 3 months.
Conclusion
This Key Lime Cheesecake is not just a dessert; it’s a slice of summertime joy that brings back cherished memories and creates new ones. With its creamy texture and zesty flavor, it’s bound to be a crowd-pleaser.
I can’t wait for you to share your baking experiences! Be sure to drop a comment to let me know how yours turned out, and don’t forget to check out my other desserts like classic New York Cheesecake and No-Bake Chocolate Cheesecake. Happy baking, friends!
Key Lime Cheesecake
Ingredients
Method
- Preheat your oven to 350°F (175°C). Line the bottom of a 7-inch springform pan with parchment paper for easy removal later.
- In a medium mixing bowl, combine graham cracker crumbs, 1 tablespoon of sugar, and melted butter until everything is well-mixed. Firmly press this mixture into the bottom of the lined springform pan.
- Using an electric mixer, beat the cream cheese until smooth. Gradually incorporate 2/3 cup of sugar, sour cream, and vanilla extract, blending until it’s completely smooth.
- Add the eggs one at a time on low speed until fully mixed in. Then, pour in the key lime juice and zest; mix until you have a uniform batter.
- Pour the cheesecake filling over the crust, spreading it out evenly. Place the springform pan in a larger pan and pour hot water into the larger pan, filling it halfway up the sides of the springform pan.
- Bake your cheesecake for 70-80 minutes or until the edges are golden brown and the center jiggles slightly. Be careful not to overbake.
- Once baked, let the cheesecake cool on a wire rack. After it’s cooled to room temperature, refrigerate for at least 4 hours (or overnight for the best texture).
- Right before serving, garnish with a dollop of whipped cream, a sprinkle of zest, and sliced fresh key limes.