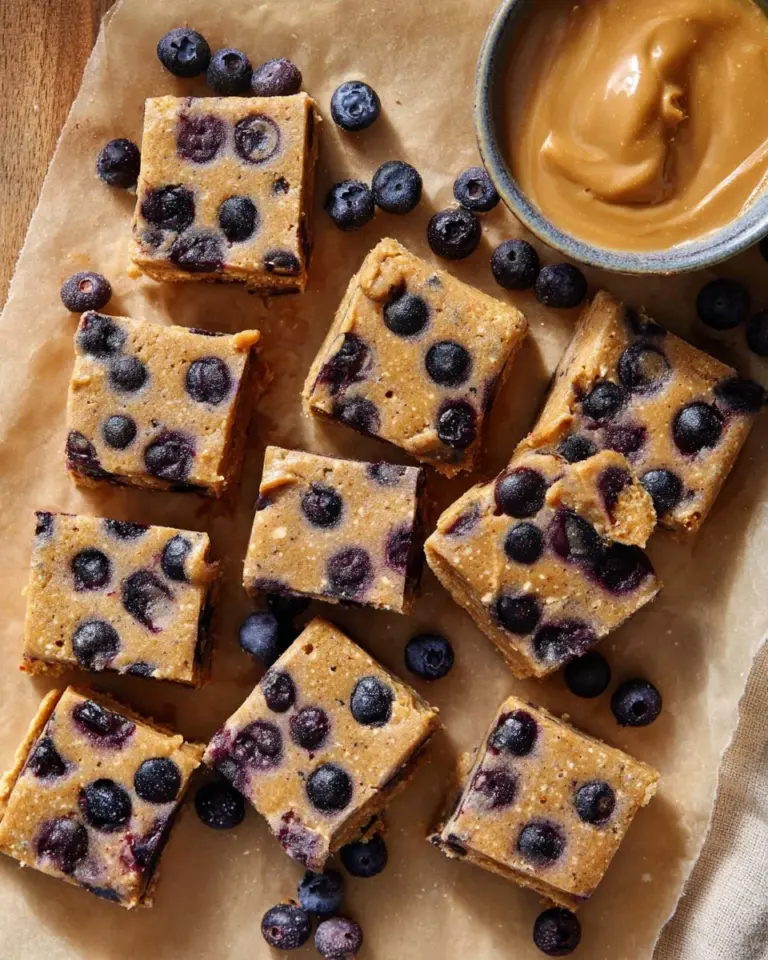
Irresistible Peanut Butter Mousse Brownies: Your Next Cozy Dessert Craving
Baking has always been my love language, and there’s nothing quite like the joy of sharing a plate of freshly baked goodies with family. One of my favorite memories is from when I was a kid, helping my mom in the kitchen, a whirlwind of chocolate and laughter. It was during those moments that I discovered the magical combination of chocolate and peanut butter. Fast forward to today, and my ultimate creation inspired by that childhood nostalgia is these Peanut Butter Mousse Brownies.
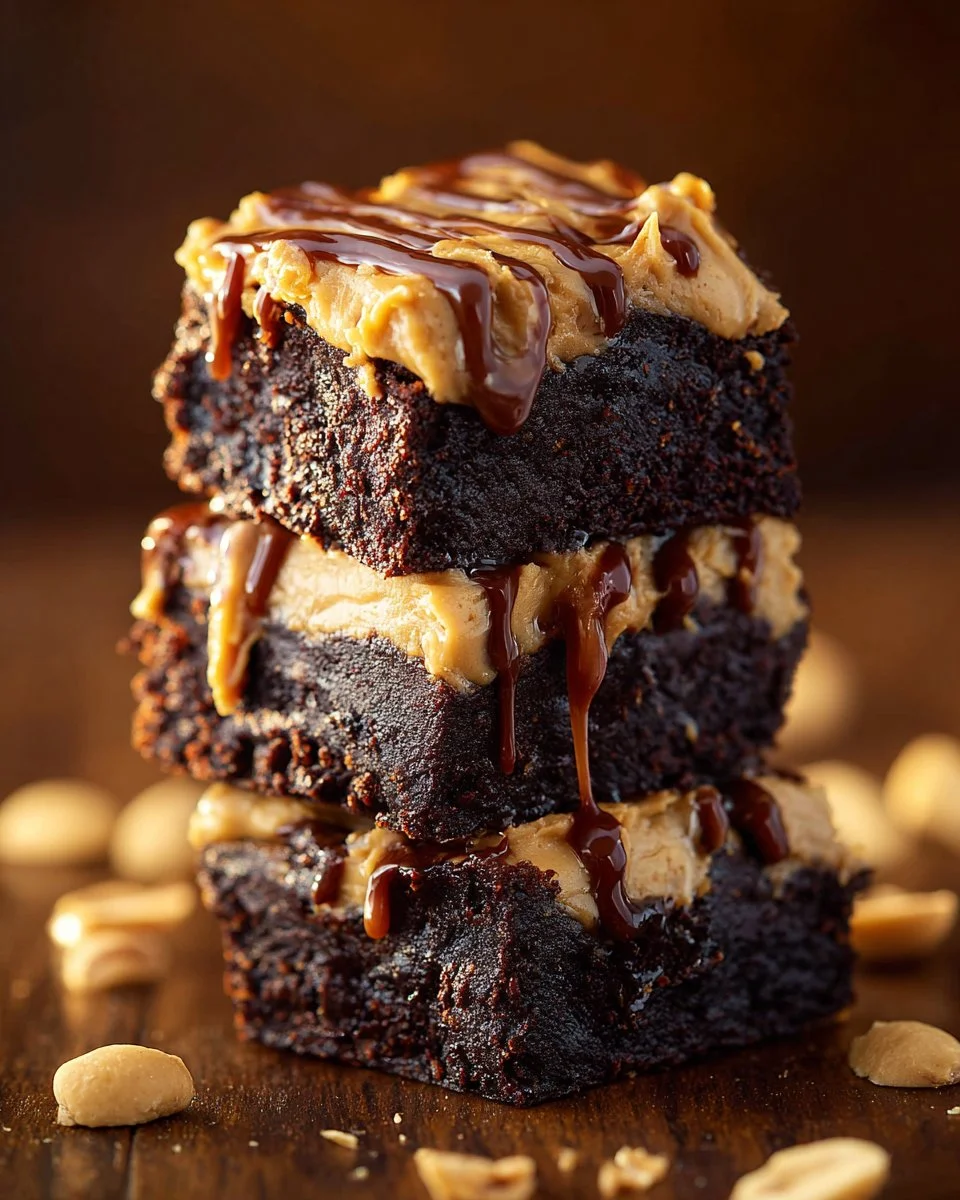
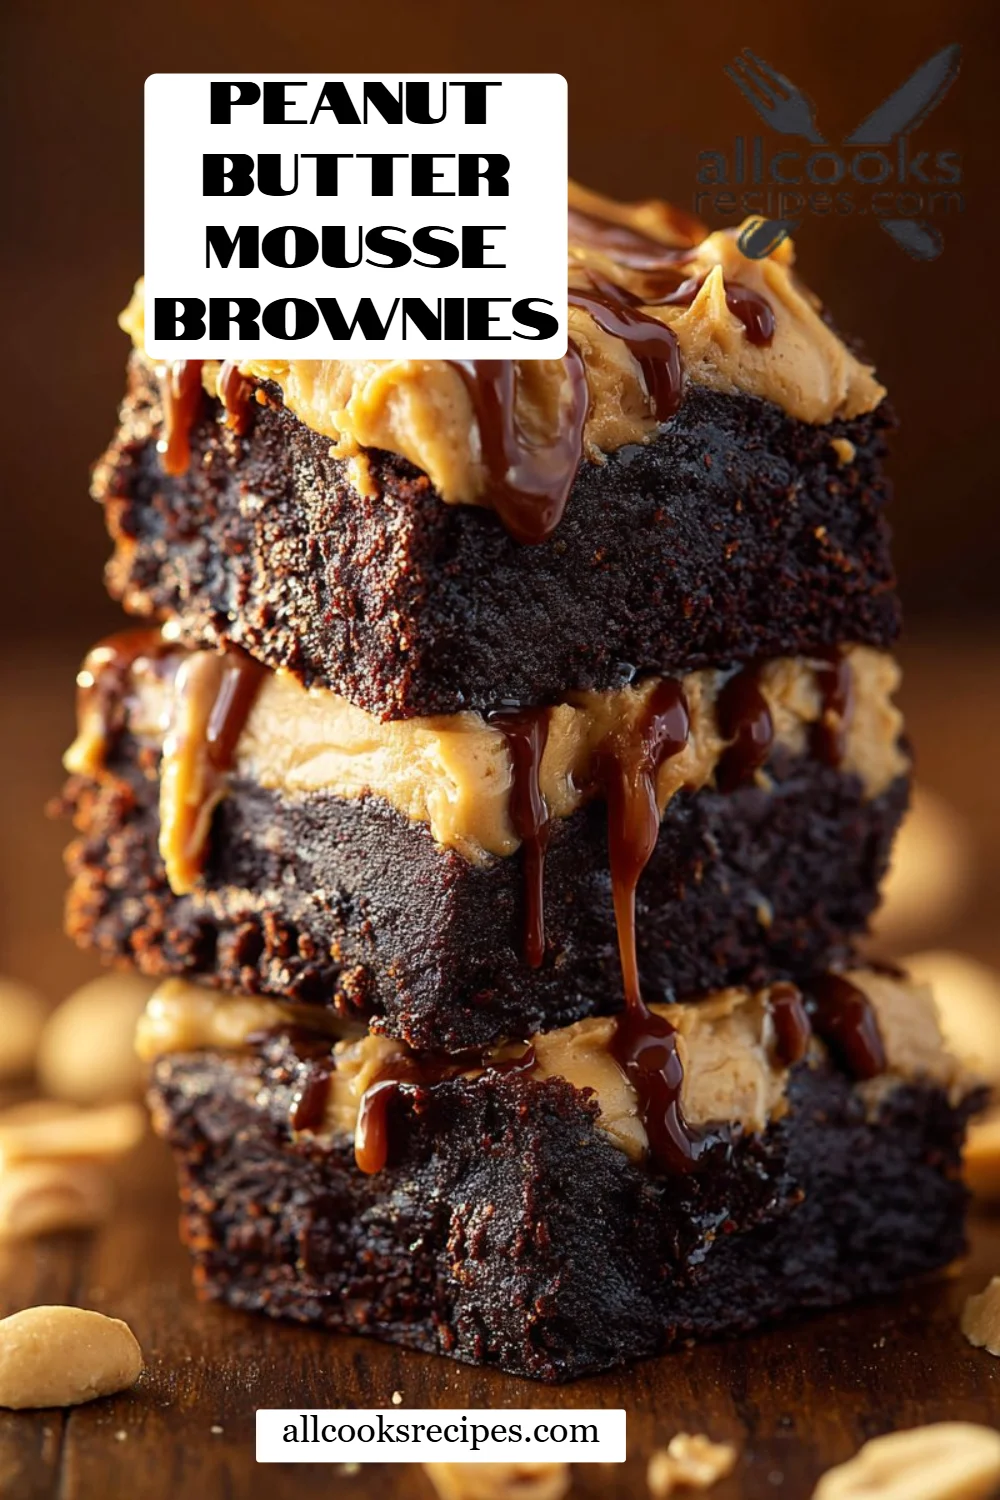
What sets these brownies apart from ordinary desserts is their luxuriously fudgy brownie base topped with a rich, creamy peanut butter mousse. Each bite feels like a hug from your favorite cozy sweater, combining deep chocolate flavors with the smooth, nutty goodness of peanut butter. Unlike store-bought treats, my recipe allows for that homemade touch—no artificial ingredients or preservatives here. Plus, it’s surprisingly simple to make, even for novice bakers!
In this post, you’ll learn how to whip up these delectable brownies that will impress not just your taste buds but your family and friends as well. Trust me, they won’t last long on the plate!
What Are Peanut Butter Mousse Brownies?
The delightful Peanut Butter Mousse Brownies are a glorious fusion of two beloved desserts—the classic brownie and the velvety peanut butter mousse. Originating from my endless love for peanut butter and chocolate combinations, these brownies pack a punch of flavor and texture. The fudgy brownie layer is dense and moist, while the mousse adds an airy, rich topping that’s simply irresistible.
Imagine sinking your teeth into a deeply chocolatey brownie that melts in your mouth, topped with a light and creamy mousse that feels decadent but not overly heavy. These treats are perfect any time of year, whether you’re celebrating a special occasion, bringing a dish to a potluck, or simply indulging in a personal treat after a long day.
Why You’ll Love This Recipe
-
Easy to Make: This recipe is beginner-friendly! With just a few steps, you’ll be well on your way to creating a dessert that looks and tastes like it took hours to prepare.
-
Cost-Effective: Why spend a fortune on store-bought desserts when you can whip these up for a fraction of the cost? Plus, most ingredients are pantry staples.
-
Customization: Want to get creative? You can add different mix-ins like chocolate chips, crushed cookies, or even swap out the peanut butter for almond or cashew butter if that’s what you have on hand!
-
No Artificial Ingredients: Unlike many commercially prepared desserts, my version is crafted from quality ingredients, ensuring a fresh and wholesome flavor.
-
Perfect for Sharing: These brownies are an impressive centerpiece for parties or family gatherings, bound to leave your guests in awe.
Aren’t you excited to create something wonderful in your own kitchen without breaking a sweat? Let’s dive into the recipe!
Ingredients
- 1 ½ cups all-purpose flour (for the perfect structure; I recommend Bob’s Red Mill)
- 1 tablespoon cornstarch (adds a lovely lightness)
- ⅓ cup Dutch-processed cocoa powder (rich chocolaty flavor; Ghirardelli is a great option)
- ½ teaspoon baking powder (for just enough rise)
- ¼ teaspoon kosher salt (to enhance sweetness)
- 4 large eggs, room temperature, to keep batter smooth
- 2 cups granulated sugar (sugar is what makes these brownies addictive!)
- ¾ cup unsalted butter, room temperature (Kerry Gold for the win!)
- 2 teaspoons vanilla extract (use real extract for the best flavor)
- 1 recipe peanut butter mousse, prepared (recipe coming up!)
- Chopped peanuts, for garnish (adds texture)
- Chocolate syrup, for garnish (just because)
- Peanut butter, melted for garnish (more is always better!)
Pro Tip: Make sure your butter and eggs are at room temperature for a smoother batter. You can easily bring eggs to room temp by placing them in warm water for about 10 minutes!
Step-by-Step Instructions
Step 1: Preheat the Oven
Preheat the oven to 350°F (175°C). This is essential for even baking—don’t skip this part!
Step 2: Prepare the Baking Dish
Line a 9×13-inch baking dish with parchment paper, ensuring it goes up the sides for easy removal later. Grease the paper lightly with butter or cooking spray.
Step 3: Mix the Dry Ingredients
In a large bowl, whisk together the flour, cornstarch, cocoa powder, baking powder, and salt. Set aside; this will help keep your brownie batter fluffy.
Step 4: Cream the Wet Ingredients
In the bowl of a stand mixer fitted with the paddle attachment, combine the eggs, sugar, room temperature butter, and vanilla extract. Beat on medium speed for about 4-5 minutes until the mixture is light and fluffy.
Step 5: Combine Wet & Dry Ingredients
Turn off the mixer and gradually add the flour mixture to the wet ingredients. Turn the mixer to low; mix until just combined. (Overmixing can lead to tough brownies!)
Step 6: Bake the Brownies
Pour the brownie batter into the prepared baking dish. Bake for 30-35 minutes. Keep an eye on the edges—once they appear set and the center is slightly shiny, you’re good to go! Let the brownies cool completely in the pan.
Step 7: Add the Mousse
Once cooled, spoon the prepared peanut butter mousse over the brownies and evenly spread it. Top with drizzles of chocolate syrup, chopped peanuts, and melted peanut butter for that perfect finish.
Chef’s Tips:
- Underbaking is Key: Keep in mind that brownies will continue cooking in the pan after you take them out.
- Don’t Rush the Cooling: Waiting for the brownies to cool ensures that the mousse sits beautifully on top without sliding off.

Expert Tips & Tricks
-
Storage: Store any leftovers in a sealed container at room temperature for up to 3 days or in the refrigerator for a week. They can also be frozen for up to three months!
-
Make-Ahead: You can bake the brownies a day in advance and chill them in the refrigerator. Just add the mousse right before serving!
-
Troubleshooting: If your brownies come out too dry, it might be due to overmixing or excess baking time. Adjust accordingly next time!
-
Experimentation: Try adding caramel or a layer of ganache for an extra layer of indulgence!
-
Garnishing: Get creative—use crushed candy bars, whipped cream, or even fruit to add flair.
Serving Suggestions
These luxurious brownies are perfect for any occasion! Serve them warm with a scoop of vanilla ice cream for an indulgent dessert. They also pair beautifully with a hot cup of coffee or a chilled glass of milk. Presentation-wise, consider cutting them into fun shapes using cookie cutters or serving them in elegant dessert cups for parties!
Variations & Substitutions
- Nut-Free Option: Swap out peanut butter for sunflower seed butter to cater to allergies.
- Gourmet Twist: Add a layer of raspberry jam between the brownie and mousse for a fruity zing!
- Seasonal Treat: Spice things up with pumpkin instead of peanut butter in fall—just as yummy!
Nutrition & Storage Info
- Prep Time: 25 minutes
- Cook Time: 35 minutes
- Total Time: 1 hour
- Yield: 12-16 servings
- Estimated Calories: Approximately 300 calories per serving
- Storage: Store at room temperature for up to 3 days or refrigerate to extend freshness. Can be frozen for three months.
FAQ Section
-
Can I use a different type of chocolate for these brownies?
Yes! Dark chocolate or semi-sweet chocolate can also work well in this recipe. -
What should I do if my brownies are too crumbly?
This could be due to overbaking. Always check for doneness by looking for shiny, set edges. -
How can I make these brownies gluten-free?
Substitute regular flour with a gluten-free all-purpose blend. -
Can I skip the mousse layer?
Absolutely! If you prefer a simpler dessert, enjoy the brownies on their own. -
Is it okay to add chocolate chips?
Yes! Chocolate chips make a delightful addition to the brownie batter. -
What’s the best way to melt the peanut butter?
Use the microwave in short bursts (10-15 seconds) to avoid burning it. -
How can I store leftovers?
Keep in an airtight container at room temperature or refrigerate any uneaten portions to prolong freshness. -
Can I make these brownies dairy-free?
Yes! Use coconut oil instead of butter and a dairy-free chocolate for melting. -
What if I don’t have cornstarch?
You can omit it; just keep in mind the brownies may be slightly denser. -
Will adding more sugar make them sweeter?
Yes! You can adjust to your liking, but be careful not to overpower the chocolate flavor.

Conclusion
These Peanut Butter Mousse Brownies truly are a special treat that merges nostalgia with delectable flavors. I hope you try making them and experience the joy they bring to your home. I’d love to hear how your batch turns out—don’t forget to share your feedback or any tweaks you made! And if you’re craving more deliciousness, check out my other related recipes that will surely tantalize your taste buds. Happy baking!

Peanut Butter Mousse Brownies
Ingredients
Method
- Preheat the oven to 350°F (175°C) for even baking.
- Line a 9×13-inch baking dish with parchment paper, ensuring it goes up the sides. Lightly grease the paper with butter or cooking spray.
- In a large bowl, whisk together the flour, cornstarch, cocoa powder, baking powder, and salt. Set aside.
- In a stand mixer, combine the eggs, sugar, room temperature butter, and vanilla extract. Beat on medium speed for 4-5 minutes until light and fluffy.
- Gradually add the flour mixture to the wet ingredients on low speed until just combined.
- Pour the brownie batter into the prepared baking dish. Bake for 30-35 minutes.
- Let the brownies cool completely in the pan.
- Spoon the prepared peanut butter mousse over the brownies and evenly spread it.
- Top with drizzles of chocolate syrup, chopped peanuts, and melted peanut butter.