Irresistible Carmelita Cookies Recipe: A Sweet Taste of Nostalgia
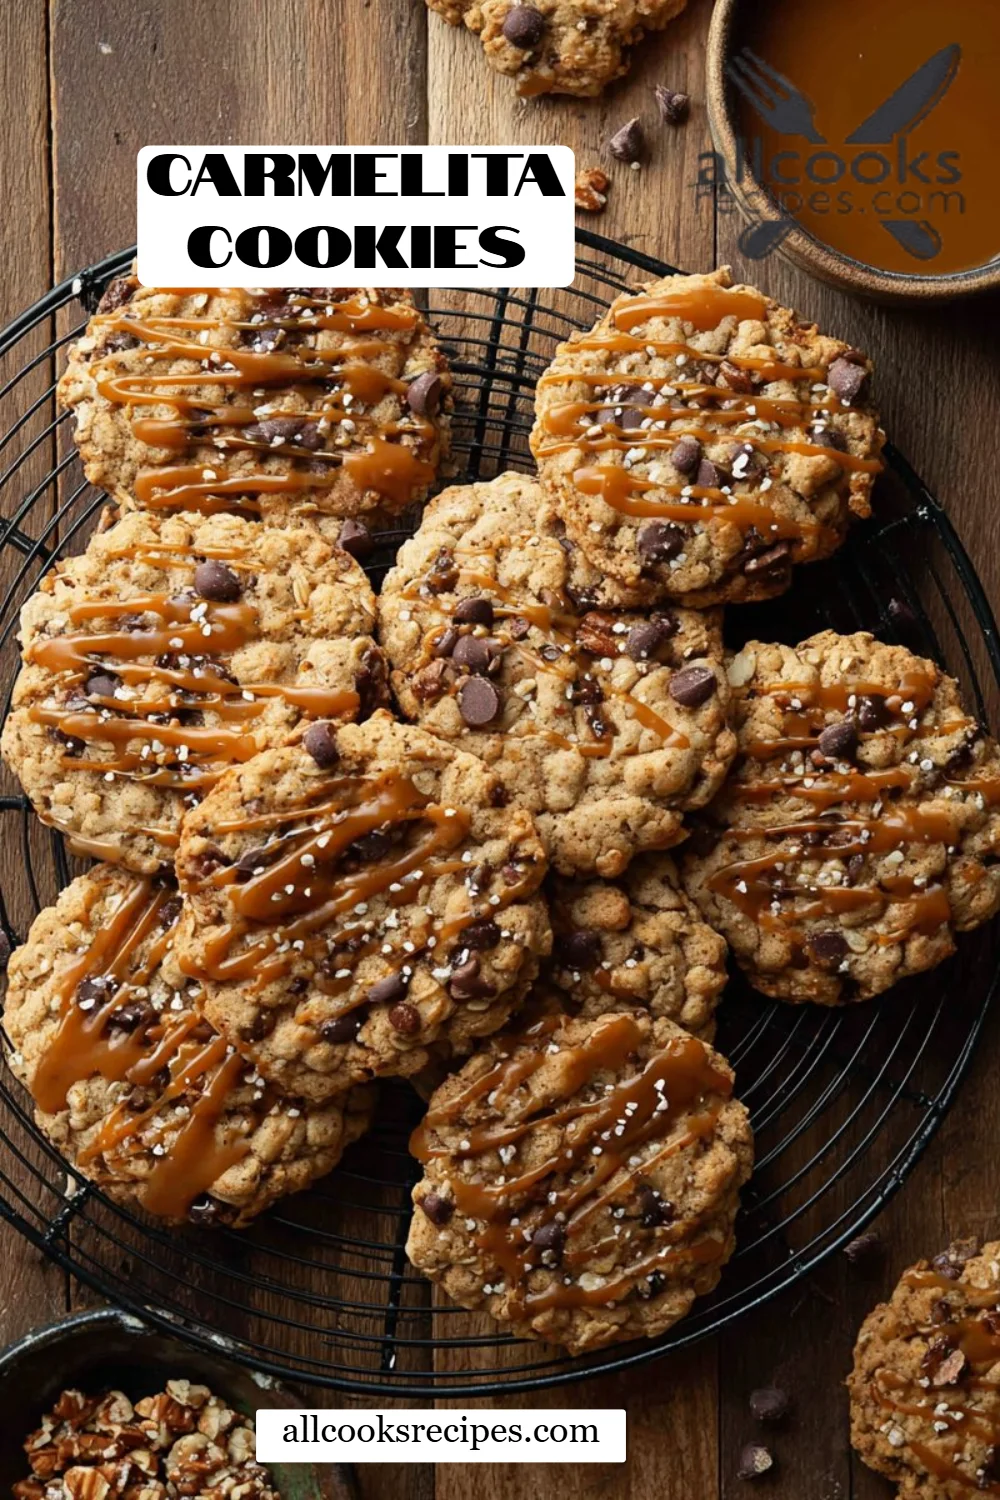
Picture this: It’s a chilly afternoon, the kind that whispers for warm cookies fresh from the oven. I can vividly recall the day I first experienced the delectable joy of Carmelita cookies at my grandmother’s house. The smell wafting through the air was heavenly—like a warm hug for my senses. Layered with bittersweet chocolate and gooey caramel, these cookies quickly became my family’s ultimate comfort food.
What sets my recipe apart? While many Carmelita cookie recipes stop at the basics—oats, caramel, and chocolate—this one elevates the classic with a few secret touches, ensuring that every bite bursts with texture and flavor. It’s more than just a sweet treat; it’s a sweet moment, a memory that evokes laughter and shared stories around the kitchen table.
In this post, I’ll share step-by-step instructions on how to make your own batch of these irresistible cookies. You’ll learn not just the recipe but also tips and tricks I’ve gathered over the years to ensure perfect results every time. Grab your mixing bowl and let’s get baking—you’ll want to keep this recipe at the top of your list!
What Are Carmelita Cookies?
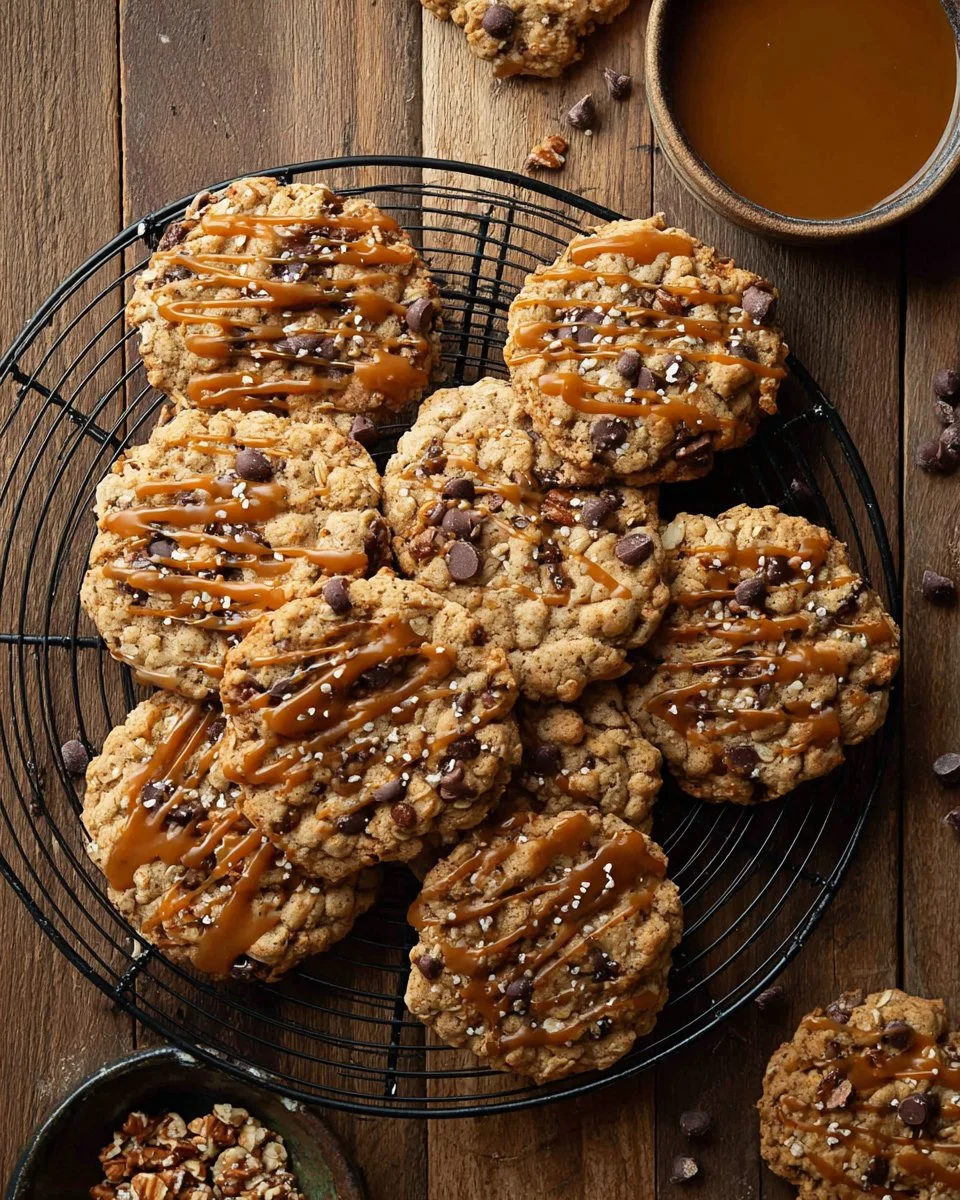
Carmelita cookies boast a rich history, often thought to originate in American kitchens where folks sought the perfect blend of oats, chocolate, and caramel. They’re essentially a cookie-bar hybrid, featuring a chewy oat base that’s met with gooey caramel and decadent chocolate.
These cookies offer a unique textural experience: the oats lend a wonderful chewiness, while the caramel pockets melt in your mouth, creating an absolutely dreamy dessert. Each bite is a delightful dance of flavors that warms your heart and soul.
Why should you make them? Because they’re versatile enough to serve at any occasion—be it a cozy gathering, holiday celebration, or a simple Saturday treat for yourself. These cookies have the magic to bring people together over sweet nostalgia.
Why You’ll Love This Recipe
-
Deliciously Irresistible: These cookies are like a party in your mouth. The combination of rich chocolate chips and chewy caramel makes them a standout that store-bought versions just can’t compete with.
-
Cost-Effective: Why break the bank at a bakery when you can whip up a batch at home for a fraction of the cost? With simple pantry staples, you’ll save money while spoiling your taste buds.
-
Customizable: Not a fan of semi-sweet chocolate? Swap it out for dark chocolate, or add nuts for extra crunch. You can make this recipe your own with different flavors and mix-ins.
-
Ease of Preparation: This isn’t a bake-off challenge. I’ve saved you time with an easy-to-follow process that yields impressive results—even if you’re a novice baker!
-
Nostalgic Comfort: Every bite is like a walk down memory lane. Plus, baked goods have a way of bringing families together—sharing these cookies with loved ones is the best part!
Are you ready to create sweet memories with your own batch of Carmelita cookies? Let’s get started!
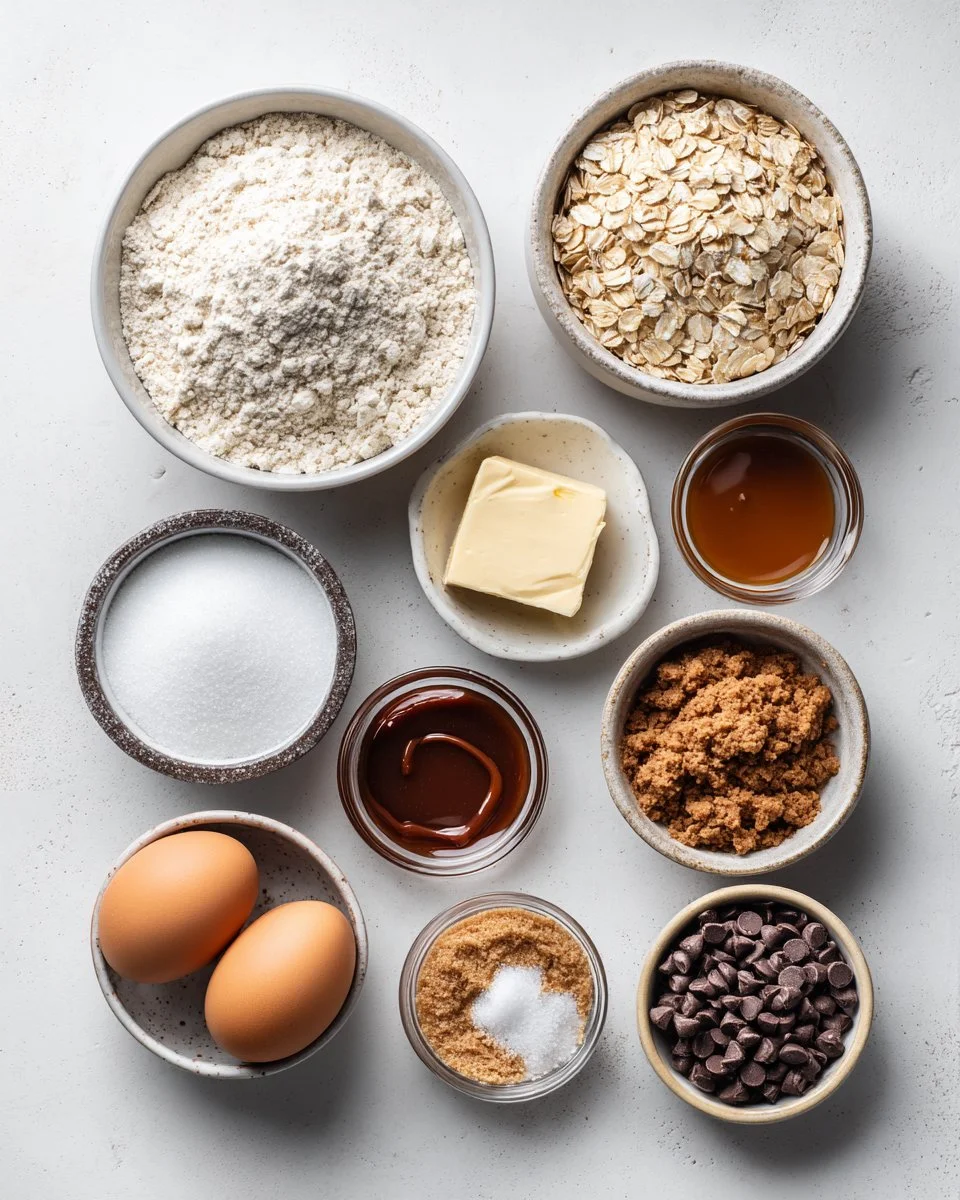
Ingredients
- 2 cups old-fashioned oats: For that perfect chewy texture. Make sure they’re old-fashioned, not quick-cooking.
- 1 1/2 cups all-purpose flour: Provides the structure for your cookies.
- 1/2 teaspoon baking powder: For a little lift.
- 1/2 teaspoon baking soda: This will help with the rise and chewiness.
- 1/2 teaspoon kosher salt: Enhances the overall flavor.
- 1/2 cup unsalted butter, room temperature: For that rich, buttery flavor. If you’re dairy-free, feel free to use vegan butter.
- 1 cup light brown sugar, packed: Adds moisture and a delicious caramel flavor.
- 2 large eggs, room temperature: They help bind everything together.
- 1 tablespoon molasses: A dash of depth and sweetness.
- 1 teaspoon vanilla extract: For that lovely aroma and flavor.
- 1 cup caramel bits: The star of the show! You can find these in the baking aisle, but feel free to chop up soft caramels if you can’t find bits.
- 1 cup semi-sweet chocolate chips: You can’t go wrong with chocolate!
- Caramel sauce, for garnish: A drizzle on top makes everything better.
Ingredient Quality & Notes
- Old-Fashioned Oats: They retain texture better than quick oats.
- Butter: Using unsalted allows you to control the salt levels in your cookies. Let it sit out beforehand until it’s soft.
- Eggs: Always use room temperature eggs—this helps your batter mix more smoothly.
Grab your ingredients, and let’s get baking!
Step-by-Step Instructions
- Preheat your oven to 400F (200C): Make sure your oven is fully preheated; this will help your cookies bake evenly.
- Line a baking sheet: Use parchment paper—it prevents sticking and makes cleanup easy.
- Combine dry ingredients: In a large mixing bowl, whisk together the oats, flour, baking powder, baking soda, and salt until evenly mixed.
- Cream the butter and sugar: In a stand mixer, beat the softened butter and light brown sugar on low speed until the mixture is creamy and smooth (about 2-3 minutes).
- Add eggs and flavorings: Add the room-temperature eggs, molasses, and vanilla extract. Mix until perfectly blended.
- Incorporate dry ingredients: Gradually add in the whisked dry ingredients until just combined. Be careful not to overmix!
- Fold in caramel and chocolate: Gently mix in the caramel bits and chocolate chips until evenly distributed.
- Scoop onto the baking sheet: Use a cookie scoop and drop dough balls onto the prepared sheet. Lightly flatten them slightly.
- Bake the cookies: Place them in the oven for about 7-8 minutes. They should look slightly underbaked—trust me; they’ll continue to cook once out.
- Cool down: Allow the cookies to rest on the baking sheet for 5 minutes before transferring them to a wire rack to cool completely.
- Garnish: Drizzle warm caramel sauce over the top for that extra indulgent touch. Enjoy!
Chef’s Tip: If your cookies seem too soft after baking, let them rest for a few minutes longer. They will firm up as they cool.
Expert Tips & Tricks
- Storage: Store cookies in an airtight container at room temperature for up to one week—if they last that long!
- Make Ahead: You can make the dough a day in advance and refrigerate it. This can enhance the flavor!
- Troubleshooting: If your cookies turn out too dry, consider adding a splash more of milk or an extra tablespoon of butter. Conversely, if too moist, increase flour slightly in the next batch.
Serving Suggestions
These delightful Carmelita cookies are perfect on their own, but why not elevate your experience? Serve them warm with a scoop of vanilla ice cream for an authentic dessert moment or pair with a hot cup of tea or coffee for an afternoon pick-me-up. A plate full of these cookies wrapped up in a little cellophane makes for a thoughtful homemade gift for friends or neighbors, especially during the holidays.
Variations & Substitutions
- Flavors: Try adding white chocolate chips or peanut butter chips for a delicious twist.
- Dietary Restriction: For a gluten-free version, replace all-purpose flour with a 1-for-1 gluten-free flour blend.
- Seasonal Fun: In autumn, mix in chopped apples and cinnamon for a fall-inspired treat. In winter, add a touch of peppermint extract or crushed candy canes!
Nutrition & Storage Info
- Prep Time: 15 mins
- Cook Time: 8 mins
- Total Time: 23 mins
- Yield: About 24 cookies
- Estimated Calories: Approximately 150 calories per cookie
- Storage Instructions: Keep in an airtight container at room temperature for up to 1 week; they freeze well for up to 3 months!
FAQ Section
-
Can I use quick oats instead of old-fashioned oats?
- You can, but the texture will be different; quick oats yield a softer cookie. Old-fashioned oats provide the chewy texture that defines Carmelita cookies.
-
Why did my cookies turn out dry?
- Overbaking can lead to dry cookies. Always check them a minute or two early, as they will continue to firm up out of the oven.
-
Can I double the recipe?
- Yes! Just ensure you have enough baking sheets on hand, as you’ll need to bake them in multiple batches.
-
What can I substitute for molasses?
- You can replace molasses with honey or maple syrup, though the flavor will vary slightly.
-
How do I know when they are done baking?
- The edges should be lightly golden, but the centers may look slightly underbaked. They will harden as they cool.
-
What is the best way to store leftover cookies?
- After they are completely cool, place them in an airtight container without touching each other to maintain texture.
-
Can I freeze the cookie dough?
- Absolutely! Scoop the dough into balls and place them in a single layer on a baking sheet until frozen, then transfer them to a freezer bag. Bake from frozen, just add a couple of minutes to the baking time.
-
Can I use different types of chocolate?
- Certainly! Use dark, white, or even butterscotch chips for unique flavor profiles.
-
What if I don’t have a stand mixer?
- A handheld mixer or even a good old-fashioned whisk can do the trick! Just put a little elbow grease into it.
-
Can I make these cookies vegan?
- Yes! Substitute the butter for a vegan butter alternative, use flax eggs, and ensure your chocolate chips are dairy-free.
Conclusion
These incredible Carmelita cookies are not just a recipe; they’re a gateway to nostalgia and shared moments with loved ones. Perfectly chewy, sweet, and utterly delightful, this recipe is simple enough for anyone to master while still delivering impressive results. So, what are you waiting for? Air out your kitchen, pick up those ingredients, and start baking today. Don’t forget to leave me a comment on how they turned out or share your favorite variations. Happy baking!
For more baking inspiration, be sure to check out my other delicious recipes!

Carmelita Cookies
Ingredients
Method
- Preheat your oven to 400F (200C).
- Line a baking sheet with parchment paper.
- In a large mixing bowl, whisk together the oats, flour, baking powder, baking soda, and salt until evenly mixed.
- In a stand mixer, beat the softened butter and light brown sugar on low speed until creamy and smooth (about 2-3 minutes).
- Add the room-temperature eggs, molasses, and vanilla extract. Mix until perfectly blended.
- Gradually add in the whisked dry ingredients until just combined. Be careful not to overmix!
- Gently mix in the caramel bits and chocolate chips until evenly distributed.
- Use a cookie scoop and drop dough balls onto the prepared sheet. Lightly flatten them slightly.
- Bake the cookies for about 7-8 minutes until slightly underbaked.
- Allow the cookies to rest on the baking sheet for 5 minutes before transferring them to a wire rack to cool completely.
- Drizzle warm caramel sauce over the top for extra indulgence.