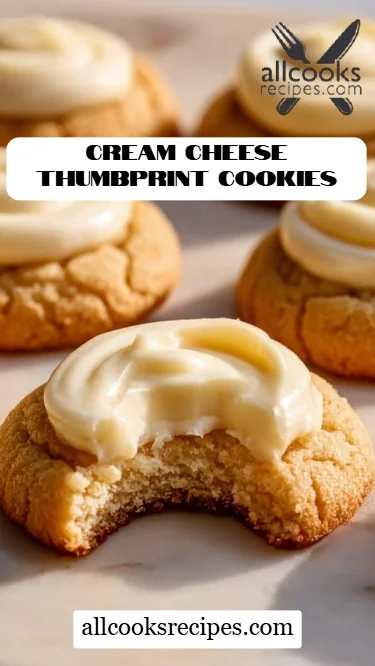
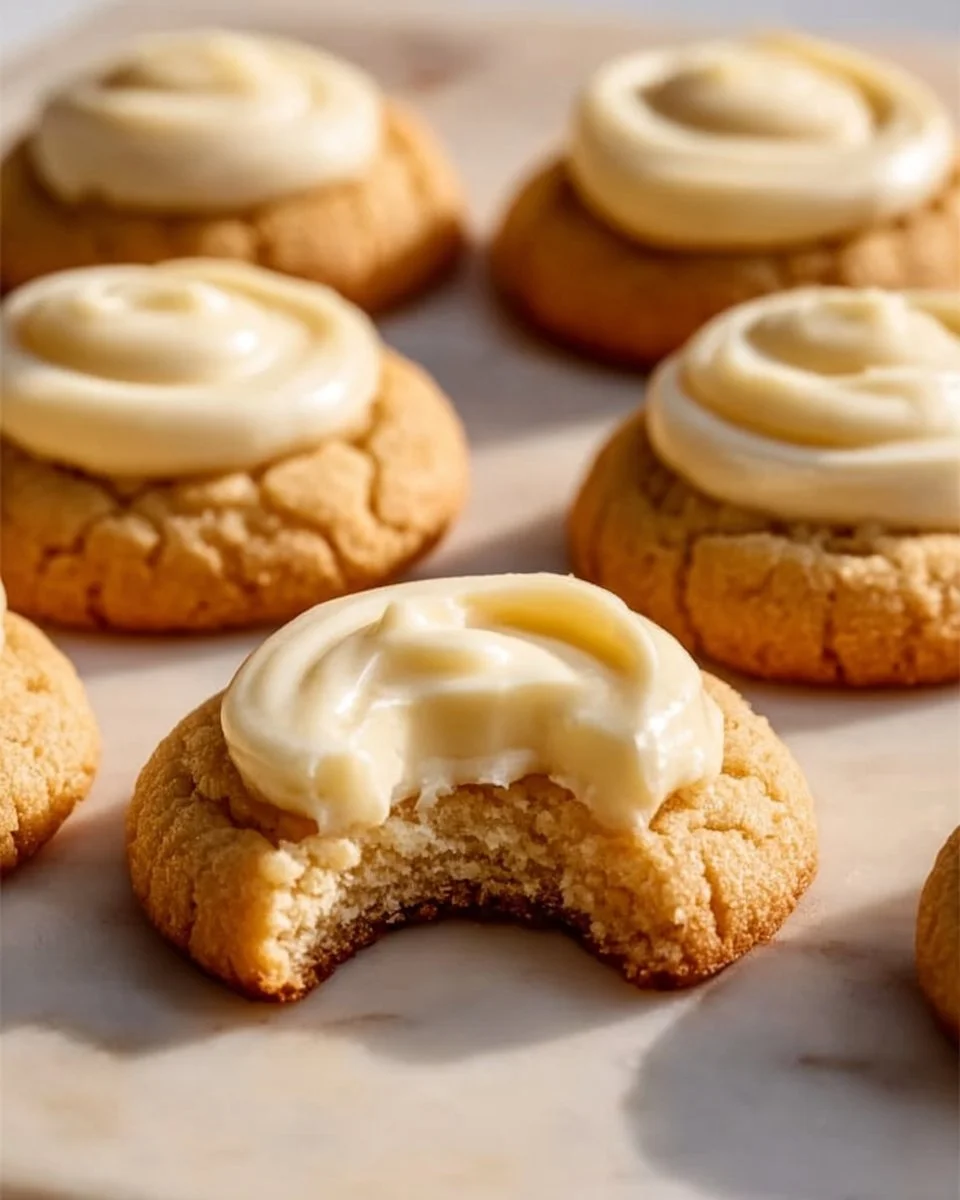
Irresistibly Delicious Cream Cheese Thumbprint Cookies: A Family Favorite Recipe
Growing up, my kitchen was often filled with laughter, the clinking of mixing bowls, and the sweet aroma of baked goods wafting through the air. One of my fondest memories is of my grandma and me baking her famous Cream Cheese Thumbprint Cookies. This delightful treat isn’t just a cookie; it’s a symbol of love, comfort, and family traditions. The tangy cream cheese melds beautifully with rich butter, creating a buttery texture that just melts in your mouth. Each bite is an explosion of flavor thanks to the swirls of fruity jam nestled within.
What makes my version of these Cream Cheese Thumbprint Cookies stand out from the rest? For starters, I’ve perfected a balance of flavors and textures that honors that cherished recipe from my childhood while adding my own special twists. Plus, they’re surprisingly easy to make, and they’re budget-friendly—who doesn’t love that? If you’ve ever wanted a recipe that leads you straight to nostalgia and creates a sense of warmth in your home, you’ve come to the right place. Stay tuned, and I promise you’ll learn how to whip up these delightful gems, leaving your family clamoring for just one more cookie!
What Are Cream Cheese Thumbprint Cookies?
Cream Cheese Thumbprint Cookies have a rich history that dates back to the early 19th century, believed to have originated in Eastern Europe. With their origins deeply rooted in tradition, these cookies showcase a harmonious blend of tart cream cheese and sweet jam, beautifully encased in a tender cookie dough that offers a slight resistance as you bite into it.
These beloved treats are a delightful combination of melt-in-your-mouth softness with a chewy edge, perfectly complemented by whatever jam or preserve you choose. The light tang from the cream cheese creates a unique flavor profile that sets them apart from standard butter-based cookies. Perfect for any occasion—from family gatherings to holiday parties—these cookies not only satisfy your sweet tooth but also spark warm memories and connections as they grace your table.
Whether you’re chasing that nostalgic feeling or simply indulging in an easy-to-make dessert, Cream Cheese Thumbprint Cookies are your answer!
Why You’ll Love This Recipe
-
Perfectly Balanced Flavor: Unlike many store-bought cookies that can be cloyingly sweet, these Cream Cheese Thumbprint Cookies strike a balance between sweet and tangy, thanks to the cream cheese.
-
Cost-Effective: With basic pantry staples and a simple shopping list, you can whip up a large batch without breaking the bank. Think of how much you’d pay at a café for just one!
-
Customizable: While classic raspberry or strawberry jam works wonderfully, feel free to mix it up! From blueberry to chocolate-hazelnut spread, the flavor combinations are endless.
-
Easy to Make: Even if you’re a beginner baker, the steps are straightforward and forgiving. You’ll be stunned at how easy these cookies are, leading to minimal cleanup and maximum satisfaction!
-
Nostalgic Comfort Food: The journey of making these cookies takes you back in time, evoking memories of family gatherings and baking with loved ones. It’s not just about the cookies; it’s about the love and joy that goes into making them.
In a world where convenience often trumps quality, this recipe brings together the best of both worlds—delicious homemade cookies that you can feel proud to share.
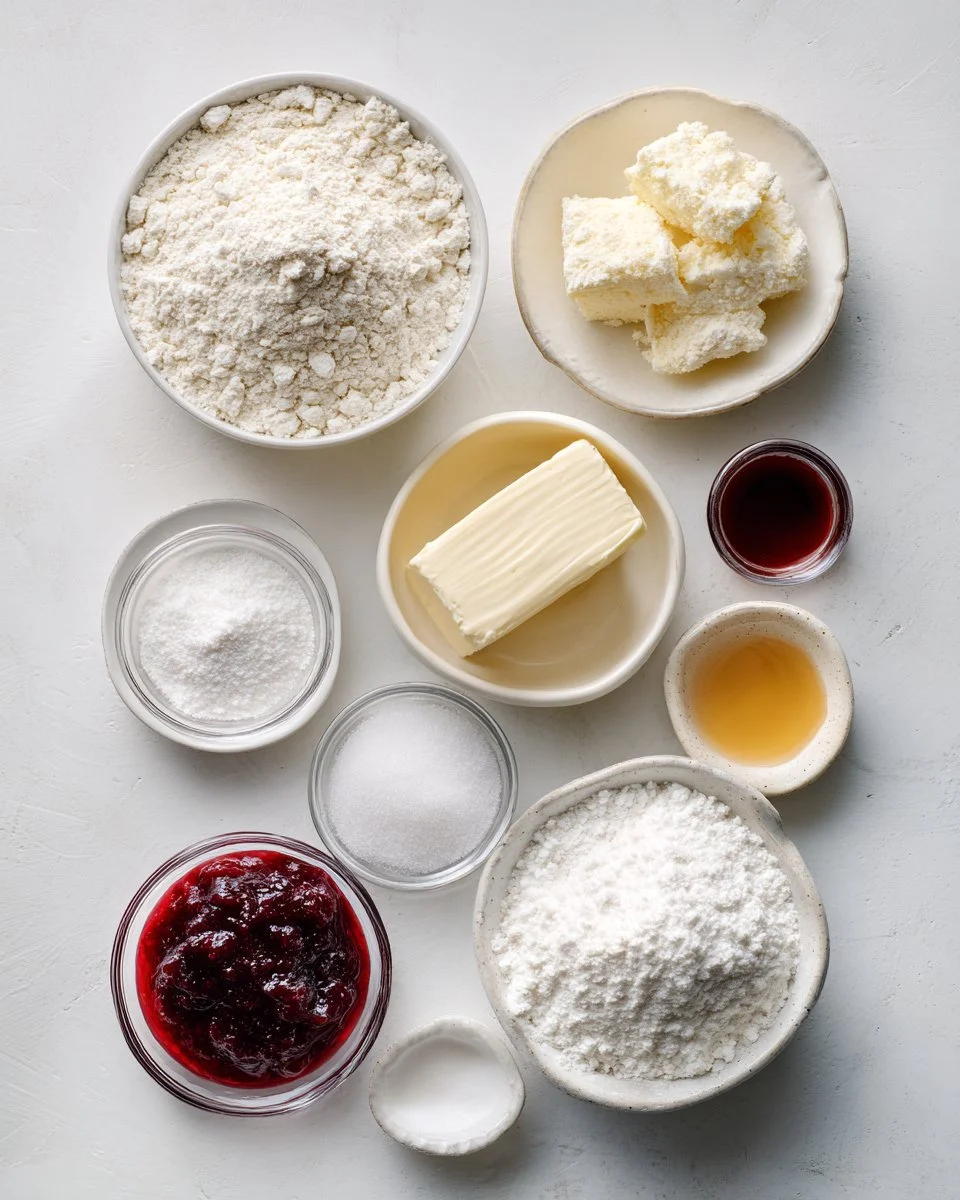
Ingredients
- 2 cups all-purpose flour: Use a high-quality all-purpose flour for the best consistency.
- 1/2 teaspoon baking powder: This helps the cookies rise slightly, providing that lovely texture.
- 1/4 teaspoon salt: Enhances all the flavors.
- 1/2 cup unsalted butter, softened: Be sure to use real butter for richness!
- 1/2 cup cream cheese, softened: Full-fat cream cheese will yield the best results.
- 3/4 cup granulated sugar: Sweetness that complements the tanginess of the cream cheese.
- 1 teaspoon vanilla extract: A must for flavor depth.
- 1/4 cup jam or preserve (for filling): Choose your favorite flavor—my go-to is apricot!
- Powdered sugar (for dusting, optional): A simple touch for presentation.
Prep Notes:
- Make sure your butter and cream cheese are at room temperature to blend easily.
- If necessary, select gluten-free flour and ensure your preserves meet your dietary needs.
Step-by-Step Instructions
-
Preheat & Prep: Preheat your oven to 350°F (175°C) and line a baking sheet with parchment paper. This ensures the cookies don’t stick and bake evenly.
-
Combine Dry Ingredients: In a bowl, whisk together the flour, baking powder, and salt until thoroughly mixed, ensuring there are no lumps.
-
Cream the Mixture: In another bowl, beat the softened butter, cream cheese, and granulated sugar together until creamy and light. Add the vanilla extract and mix well. This step is crucial for achieving the desired texture!
-
Incorporate Dry Ingredients: Gradually add the dry ingredients to the creamy mixture, mixing until just combined. Be careful not to overmix to keep cookies light and airy.
-
Shape the Cookies: Scoop tablespoon-sized amounts of dough and roll them into balls. Place them on the prepared baking sheet, leaving enough space between each one (about 2 inches).
-
Create Indentations: Using your thumb (or the back of a teaspoon), gently press into the center of each ball to create an indentation for the jam.
-
Fill with Jam: Fill each indentation with a small amount of your favorite jam or preserve. Just a teaspoon is enough!
-
Bake: Bake for 15-18 minutes or until the edges are lightly golden. Watch them closely to avoid over-baking!
-
Cool and Dust: Once out of the oven, let the cookies cool on a wire rack. If desired, dust with powdered sugar before serving to add a lovely finishing touch.
Chef’s Tip: If your jams are too thick, warm them slightly in the microwave to make them easier to work with. This also gives you a chance to taste test!
Expert Tips & Tricks
-
Scale Up: Feel free to double the recipe! These freeze well for up to 3 months; just freeze before baking, and pop them in the oven whenever a craving hits.
-
Storage: Store baked cookies in an airtight container at room temperature for up to a week or in the refrigerator for ten days. For longer storage, freeze them in a single layer, then transfer to a freezer bag.
-
Adapt to Taste: Experiment with extracts! Almond, lemon, or orange flavors can add an exciting twist to the base mix.
-
Troubleshooting Dry Cookies: If the dough feels too dry, add a splash of milk or an extra tablespoon of softened butter. This can help achieve the right consistency!
-
Make Ahead: Prepare the dough a day in advance! Chill it in the fridge, which can enhance the flavors as they meld together.
Serving Suggestions
These Cream Cheese Thumbprint Cookies shine on their own, but they pair fantastically with a warm cup of tea or coffee. Serve them at a holiday gathering, alongside a charcuterie board, or as part of dessert after a family dinner. For an elegant touch, arrange them on a cake stand and dust them with powdered sugar just before serving for a visually appealing display.
Variations & Substitutions
-
Flavor Combinations: Don’t be afraid to experiment! Try using chocolate hazelnut spread, lemon curd, or even peanut butter to fill the center—endless flavor possibilities!
-
Dietary Adaptations: For gluten-free variations, check out a 1:1 gluten-free flour substitute. Dairy-free alternatives like vegan butter and cream cheese can keep this treat accessible for all eaters.
-
Seasonal Variations: During the holiday season, adding spices like cinnamon or nutmeg or even a splash of peppermint extract can give these cookies a festive allure.
Nutrition & Storage Info
- Prep Time: 15 minutes
- Cook Time: 15-18 minutes
- Total Time: Approximately 35 minutes
- Yield: About 24 cookies
- Estimated Calories per Serving: 100 calories
- Storage Instructions:
- Room Temperature: up to 1 week
- Refrigerator: up to 10 days
- Freezer: up to 3 months
FAQ Section
-
Can I use different types of jams?
Absolutely! Feel free to get creative with your favorite jams, spreads, or even chocolate fillings. -
What’s the best way to store leftovers?
Keep them in an airtight container at room temperature. For longer storage, consider freezing them. -
Can I refrigerate the dough before baking?
Yes! Chilling the dough can enhance the flavors and help with shaping. -
How do I know when they’re done baking?
The edges will be lightly golden, and the centers may look a bit soft. They will firm up as they cool. -
Do I need to use cream cheese?
While cream cheese is essential for the unique flavor and texture, a thick vegan cream cheese can be a viable substitute. -
What’s the purpose of adding salt?
A pinch of salt enhances the flavors of the cookie, balancing the sweetness. -
Can I make these gluten-free?
Yes! Use a gluten-free flour blend that is designed for baking, and you’ll achieve great results. -
Why is my dough crumbly?
This might be due to too much flour. Ensure you measured correctly! Adding a splash of milk can help fix it. -
Can I freeze the finished cookies?
Yes! These cookies freeze beautifully; just ensure they are well-wrapped or stored in an airtight container. -
How can I make these more festive?
Add holiday spices, use seasonal jams, or dip in white chocolate for a special touch.
Conclusion
These Cream Cheese Thumbprint Cookies are not just a simple dessert; they’re a canvas for love and creativity. With their comforting flavors and easy preparation, they’re sure to become a staple in your home, just like they have in mine. I can’t wait for you to try them and share your thoughts! Let me know how your batch turns out and if you add any special twists. And if you’re looking for more delightful recipes, I invite you to check out my blog featuring an array of treats that will surely satisfy your cravings! Happy baking!