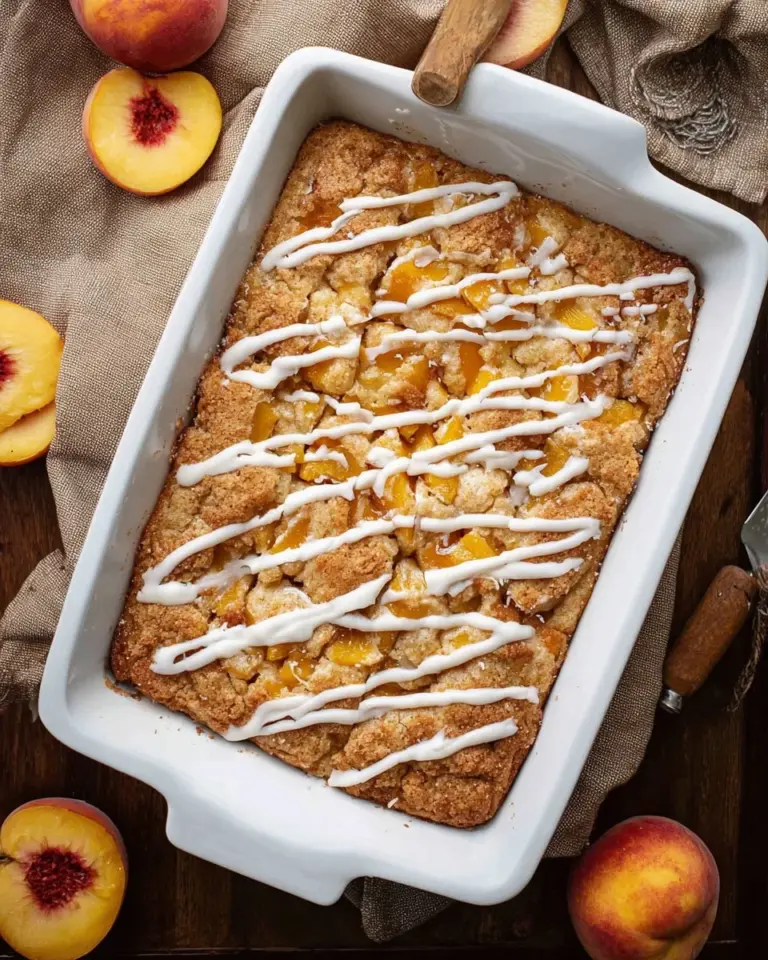
Deliciously Sweet Fruit Pizza: A Summer Classic You’ll Adore
There’s something so magical about the first bite of Fruit Pizza—it’s like a burst of sunshine on a plate! I still remember as a child, gathering with family on hot summer evenings, laughing, sharing stories, and, of course, indulging in my mom’s famous fruit pizza. That crisp, buttery crust topped with fluffy cream cheese frosting and a vibrant medley of fresh fruits created an atmosphere filled with joy and delicious nostalgia.
What makes this Fruit Pizza stand out from others? It’s that perfect balance of flavors and textures—crispy, creamy, and refreshing—all in one delightful bite. Unlike store-bought versions, my recipe offers homemade goodness, allowing you to choose the freshest ingredients and make it uniquely your own. Plus, it’s an easy recipe that even the most inexperienced bakers can whip up! Get ready to learn how to recreate those cherished family moments and make your own memories right in your kitchen.
What Are Fruit Pizzas?
Fruit Pizzas are a delightful dessert that combines elements of traditional pizza with a sweet twist. Originating in the United States, these treats typically feature a sugar cookie base topped with a luscious cream cheese frosting and an array of colorful, fresh fruits. The taste is a heavenly mix of sweet and tangy, while the texture offers that satisfying crunch from the cookie crust, the silkiness of the cream cheese, and the juiciness of the fruits.
This dessert can be enjoyed at any gathering—whether it’s a birthday party, a summer barbecue, or simply a family dinner. It’s a crowd-pleaser that invites creativity and customization. So when you want something that brings a smile to everyone’s face—this is your go-to!
Why You’ll Love This Recipe
-
Homemade Freshness: Unlike store-bought varieties that can be overly sweet or loaded with preservatives, this recipe highlights the fresh flavors of the ingredients you choose.
-
Cost-Effective: Making your own fruit pizza at home significantly reduces costs compared to purchasing pre-made versions, allowing you more freedom to splurge on high-quality fruits.
-
Customization Galore: You have the power to modify this recipe to suit your taste! Choose fruits that are in season, or try unusual combinations that reflect your flavor preferences.
-
Easy to Make: This simple and delightful dessert doesn’t require advanced baking skills, making it perfect for novice bakers and seasoned pros alike.
-
Fun to Decorate: Getting creative with the toppings is where the fun begins! It’s a great way to engage kids in the kitchen or impress guests at a summer dessert party.
So, roll up your sleeves and get ready for a fabulous fruit adventure!

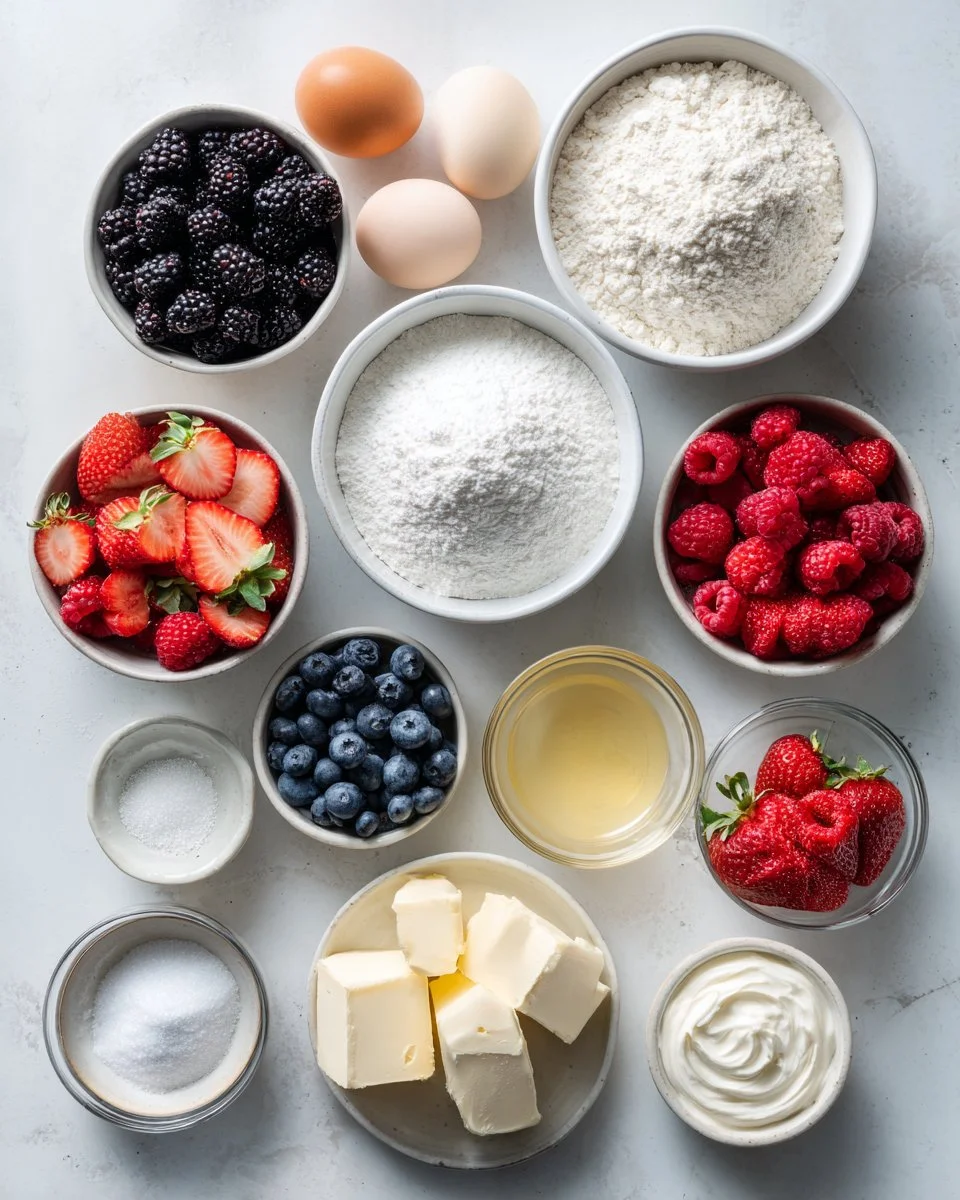
Ingredients
For the Cookie Crust:
- 1 ¼ cup all-purpose flour – I always opt for a high-quality brand like King Arthur Flour for the best texture.
- ¾ cup granulated sugar – Use organic if you can find it!
- ¼ tsp baking powder – To give it that perfect lift.
- ¼ tsp kosher salt – Enhances sweetness; don’t skip it!
- 3.5 oz unsalted butter (room temperature, cut into 1” chunks or 7 tbsp) – Using room temperature butter instead of cold makes a dough that mixes much easier.
- 1 large egg – Helps bind everything together.
- 1 tsp vanilla extract – I’m a vanilla fanatic; use pure extract for a more intense flavor.
For the Cream Topping:
- ⅓ cup whipping cream – Whipped to soft peaks for that perfect fluffy texture.
- 1 8-oz brick cream cheese (room temperature) – Let it sit out for about 30 minutes if you forget.
- ⅓ cup granulated sugar – Same as above!
- ½ tsp vanilla extract – For extra flavor.
- 1 tsp lemon juice (optional, but nice) – Adds a fresh zing!
For the Fruit Topping:
- 2 cups mixed fresh fruit (sliced, chopped, or left whole if small) – Think strawberries, blueberries, kiwi, and bananas—the possibilities are endless!
Make sure your butter and cream cheese are at room temperature for easier mixing. Also, for fruit, choose locally sourced options whenever possible for peak flavor and freshness!
Step-by-Step Instructions
-
Preheat the Oven: Start by preheating your oven to 350ºF (175ºC) while you prepare the dough.
-
Make the Dough: In a stand mixer fitted with a paddle attachment, combine the flour, sugar, baking powder, and salt. Beat on low speed until nicely mixed, about 1 minute.
-
Incorporate the Butter: Next, add the chunks of butter into the dry ingredients and continue to beat on low speed for about 2 minutes. The mixture should resemble coarse crumbs.
-
Combine Wet Ingredients: Add in the egg and vanilla extract; continue mixing until a smooth dough forms. It may look sticky but just right!
-
Chill the Dough: Transfer the dough onto a sheet of parchment paper and form it into a disc. Wrap it up and chill for 30 minutes—this helps with rolling!
-
Roll and Bake: Once chilled, roll out the dough into a 10” circle. Place it on a large baking sheet and chill again until ready to bake. Bake for about 12 minutes or until the edges are golden and the surface appears dry.
-
Cool Completely: Allow the crust to cool completely on a wire rack.
-
Prepare the Cream Topping: While the crust cools, whip the cream in a medium-sized bowl until firm peaks form, and set aside.
-
Blend the Cream Cheese: In a separate bowl, beat the cream cheese, sugar, and vanilla until light and fluffy—about 3-5 minutes. Warm any clumps in the bowl with a hot, damp towel if needed.
-
Fold in Whipped Cream: Gently fold the whipped cream into the cream cheese mixture to keep it airy; be careful not to deflate it!
-
Assemble Your Fruit Pizza: Spread the cream mixture over the cooled crust.
-
Top with Fruit: Arrange your choice of fruits over the creamy topping just before serving to keep everything fresh and vibrant.
Here, I often recommend chilling the assembled fruit pizza in the fridge for about 30 minutes before serving for even better results.
Chef’s Tips:
- Always make sure that your cream cheese is full-fat for a creamier texture.
- Avoid over-mixing after folding in the whipped cream; be gentle!
- Experiment with fruit toppings based on what’s in season or on sale.
Common Mistakes to Avoid:
- Don’t skip chilling the dough—it makes it so much easier to handle!
- Be patient while mixing the cream cheese to avoid lumps.
Expert Tips & Tricks
-
Storage Tips: Keep any leftovers in the fridge, loosely covered with plastic wrap, for up to 2 days—though I doubt it will last that long!
-
Make-Ahead Instructions: You can prepare the cookie crust and cream cheese topping the day before and assemble just before serving.
-
Freezing Coupons: If you have leftover crust, it freezes beautifully! Wrap it tightly in plastic, and it can last for up to 3 months. Just thaw and reassemble when you’re ready.
-
Troubleshooting Common Problems: If your cream cheese doesn’t blend smoothly, make sure it’s soft enough; otherwise, give it a gentle warm-up with a damp towel.
-
Flavor Variations: Try using flavored extracts in the cream cheese frosting, such as almond or coconut, for a fun twist.
Serving Suggestions
Fruit Pizza is best served chilled and fresh! Pair it with a scoop of vanilla ice cream or a dollop of extra whipped cream on the side for that sweet indulgence. For presentation, you can garnish with mint leaves or a drizzle of melted chocolate. This dessert is perfect for warm-weather gatherings, birthday parties, or even holiday celebrations—wherever you need a burst of color and sweetness!
Variations & Substitutions
-
Flavor Combinations: You can try different sugar cookie bases, such as adding cocoa powder for a chocolate variant or using almond flour for a gluten-free option.
-
Dietary Adaptations: This recipe can easily be made dairy-free by using vegan cream cheese and coconut whipped cream.
-
Seasonal Variations: In fall, incorporate apples and pears, while winter may call for citrus fruits like oranges and pomegranates. Adapt your fruit choices to match the seasons!
Nutrition & Storage Info
- Prep Time: 20 minutes
- Cook Time: 12 minutes
- Total Time: 1 hour (including cooling time)
- Yield: Serves 8
- Estimated Calories per Serving: Approximately 210 calories
- Storage Instructions: Best kept in the fridge for up to 2 days; crust can be frozen for 3 months.
FAQ Section
-
Can I use frozen fruit?
Yes, but keep in mind that frozen fruits can release water when thawed, so fresh is best for aesthetics and texture. -
How do I slice the fruit pizza?
Use a sharp knife or pizza cutter to slice cleanly through the crust and toppings. -
Can I make a mini fruit pizza?
Absolutely! Just divide the dough for smaller crusts for individual servings. -
How can I make this recipe healthier?
You can substitute part of the sugar with a natural sweetener like honey or maple syrup and use whole grain flour. -
What’s the best way to present a fruit pizza?
Arrange the fruits in a rainbow pattern for a stunning visual effect! -
What if my cream cheese is lumpy?
Make sure it’s at room temperature; if not, use the warm towel trick! -
Can I decorate with anything else?
Drizzle with chocolate or a citrus glaze for an added flavor boost! -
Is this dessert suitable for kids?
Absolutely! It’s a fun, colorful way to get kids excited about fruit! -
What other toppings can I use?
Consider adding nuts for crunch or drizzling honey for extra sweetness. -
How should I store this dessert?
Store any leftovers in the fridge for best results.

Conclusion
This Fruit Pizza recipe is more than just a dessert; it’s a celebration of flavors, a canvas for your creativity, and a way to connect with loved ones during special moments. I wholeheartedly encourage you to give it a try—your taste buds will thank you! Don’t forget to leave your feedback in the comments; I love hearing how you make this recipe your own! For more delightful treats, check out my other recipes on the blog!

Fruit Pizza
Ingredients
Method
- Preheat your oven to 350ºF (175ºC) while you prepare the dough.
- In a stand mixer with a paddle attachment, combine flour, sugar, baking powder, and salt. Beat on low speed until mixed, about 1 minute.
- Add the chunks of butter into the dry ingredients and beat on low for about 2 minutes until the mixture resembles coarse crumbs.
- Add in the egg and vanilla extract; mix until a smooth dough forms. It may look sticky but that’s normal.
- Transfer the dough onto parchment paper and form it into a disc. Wrap it and chill for 30 minutes.
- Roll out the dough into a 10” circle; place it on a baking sheet and chill again until ready to bake. Bake for about 12 minutes or until edges are golden.
- Allow the crust to cool completely on a wire rack.
- While the crust cools, whip the cream in a medium bowl until firm peaks form.
- In a separate bowl, beat the cream cheese, sugar, and vanilla until light and fluffy, about 3-5 minutes.
- Gently fold the whipped cream into the cream cheese mixture to keep it airy.
- Spread the cream mixture over the cooled crust.
- Top with a choice of fruits just before serving to maintain freshness.