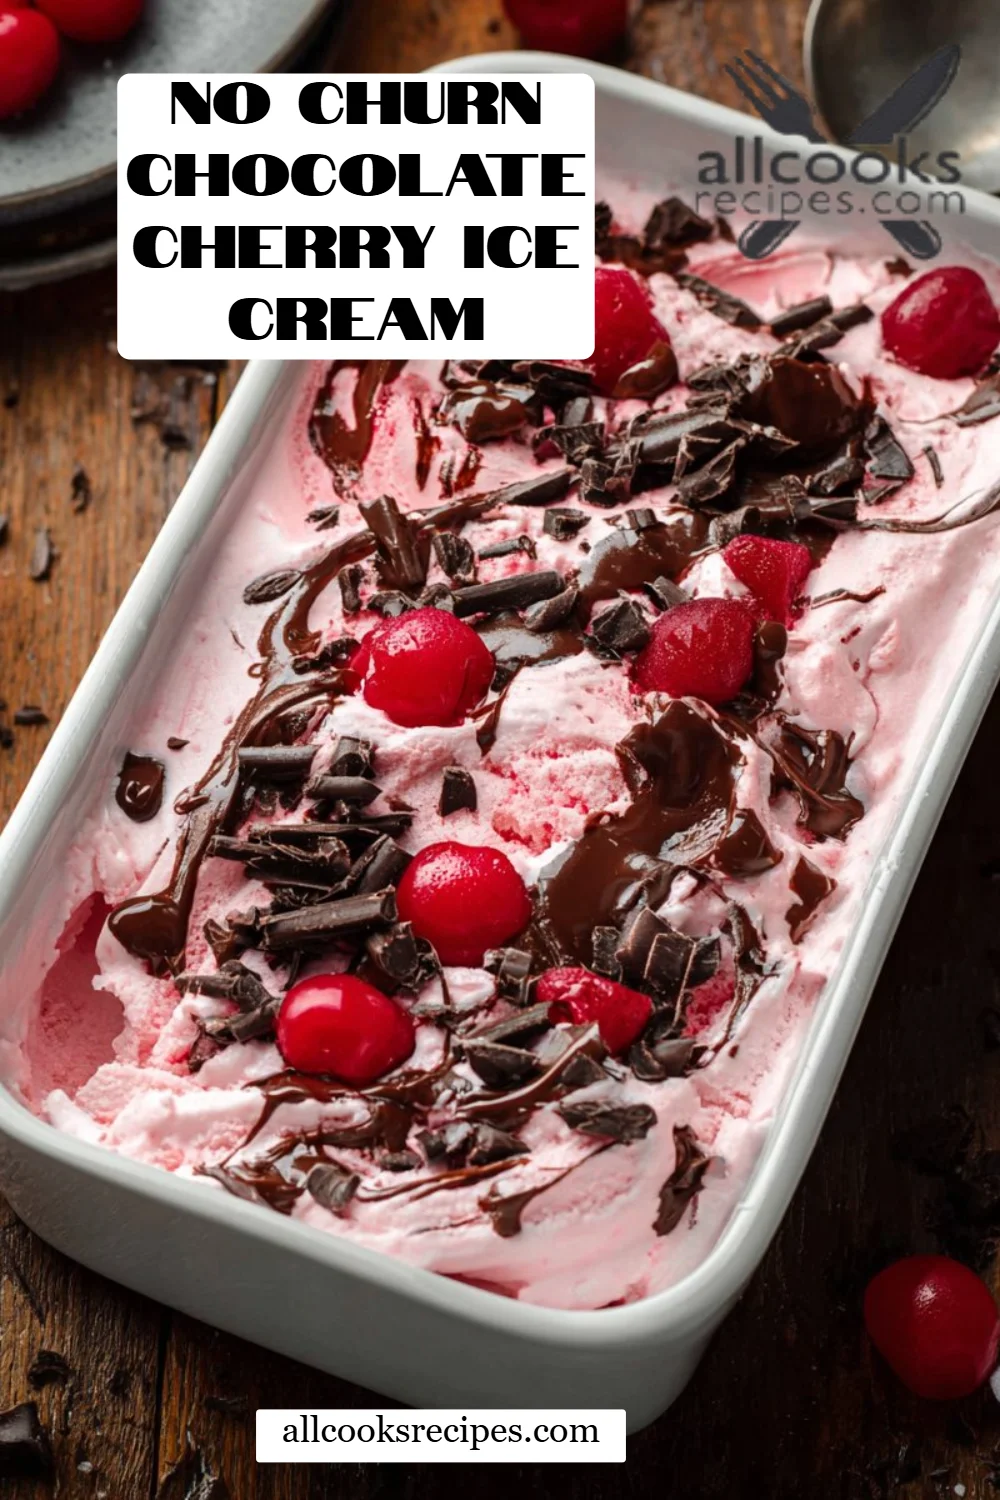
Irresistibly Delicious No Churn Chocolate Cherry Ice Cream: A Dreamy Treat for Your Taste Buds
Picture this: a hot summer day when the sun is blazing, and you’re craving something sweet and refreshing. As a child, I used to run to my grandmother’s house, where she always had a bowl of homemade ice cream waiting for me. One of my all-time favorites was her No Churn Chocolate Cherry Ice Cream—a delightful blend of velvety chocolate and juicy cherries. Every spoonful felt like a hug in a bowl, and I knew I had to recreate that magic in my own kitchen.
This recipe isn’t just any old ice cream; it has a unique no-churn twist that makes it incredibly easy to whip up, freeing you from the need for complicated machines while still yielding a luxurious, creamy texture. It boasts a rich flavor that puts any store-bought tub to shame, and with every bite, you’re not only enjoying a treat; you’re also reconnecting with cherished family memories.
In this blog post, I’ll share everything you need to know about making your own No Churn Chocolate Cherry Ice Cream at home, from gathering ingredients to expert tips for success. Get ready to make a dessert that will leave your loved ones begging for more!
What Are No Churn Chocolate Cherry Ice Cream?
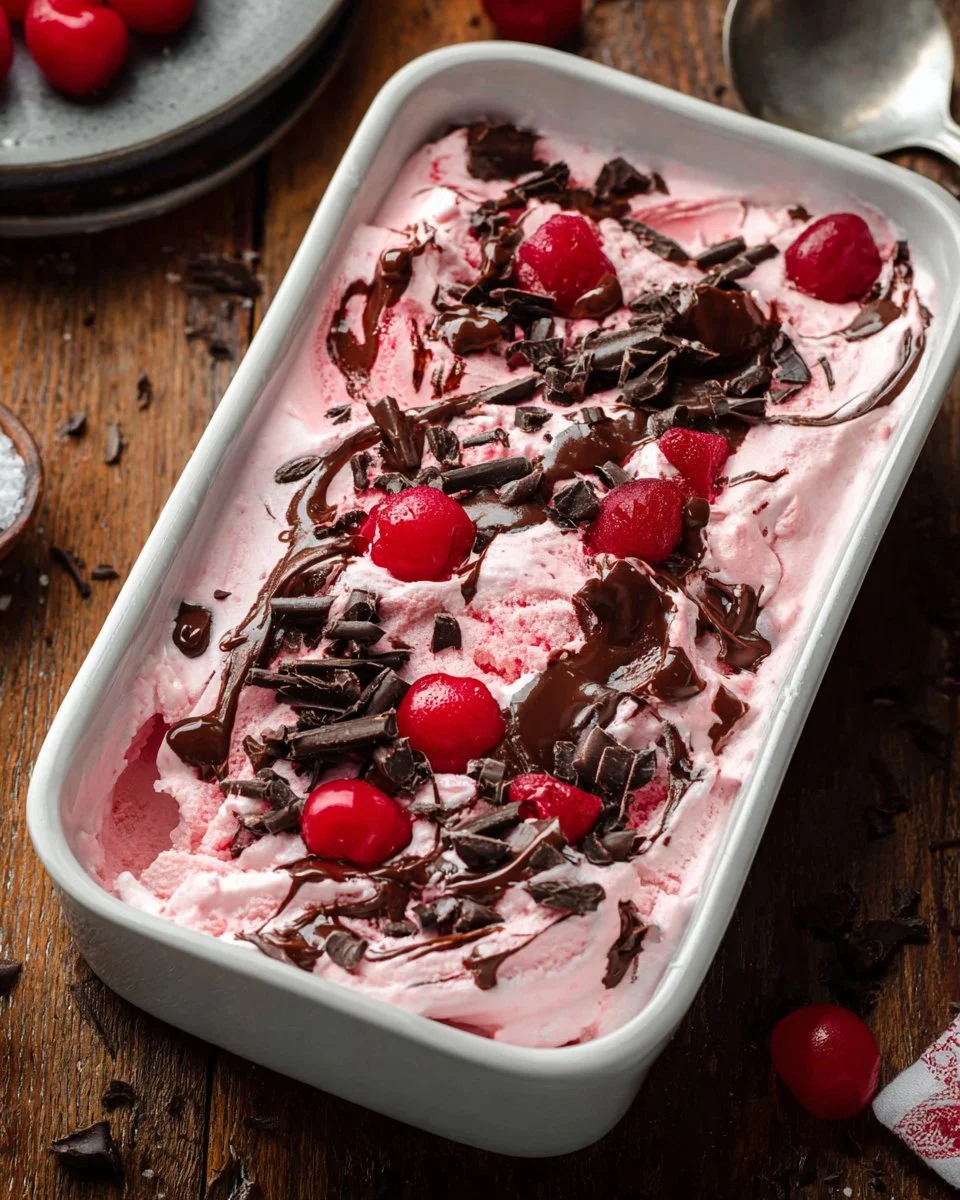
No Churn Chocolate Cherry Ice Cream is a divine creation that doesn’t require an ice cream maker, yet still delivers all the creamy goodness you’d expect from a premium dessert. Originating from the desire for a simple yet scrumptious treat, this delightful ice cream marries the lusciousness of heavy cream with the sweetness of maraschino cherries and the indulgence of rich chocolate.
The taste is an irresistible balance of sweet and tart, with the smoothness of chocolate enveloping the natural juiciness of the cherries. Imagine biting into it: the cool, creamy texture dances on your tongue, while the bursts of cherry flavor pop through with every mouthful.
Perfect for summer gatherings, casual weeknight dinners, or simply treating yourself, this ice cream is a symbol of joy and indulgence whenever you need a moment of sweetness in your life.
Why You’ll Love This Recipe
-
No Churn Required: You don’t need expensive equipment to make this creamy delight—just a bowl and a whisk! You’ll enjoy a smooth, soft ice cream without the hassle of churning.
-
Decadent Flavors: The combination of chocolate and cherries creates an explosion of flavors you simply can’t resist. Each lick brings a new burst of joy that will transport you to ice cream paradise.
-
Cost-Effective: Making this ice cream at home is not only easier than waiting in line at an ice cream shop but also wallet-friendly. With basic ingredients, you can create a treat that’s usually more expensive when bought pre-made.
-
Customize to Your Heart’s Content: This recipe serves as a fantastic base—you can swap in your favorite fruits, different types of chocolate, or even add a sprinkle of sea salt for an unexpected twist.
-
Quick and Easy: With minimal effort involved, you can have a luscious dessert ready to serve in no time. The hardest part? Waiting for it to freeze!
When compared to store-bought or restaurant versions that can be full of additives, this No Churn Chocolate Cherry Ice Cream wins hands down for taste and quality. You’ll find that making this ice cream is not only a fun project but also an absolute joy to share with loved ones.
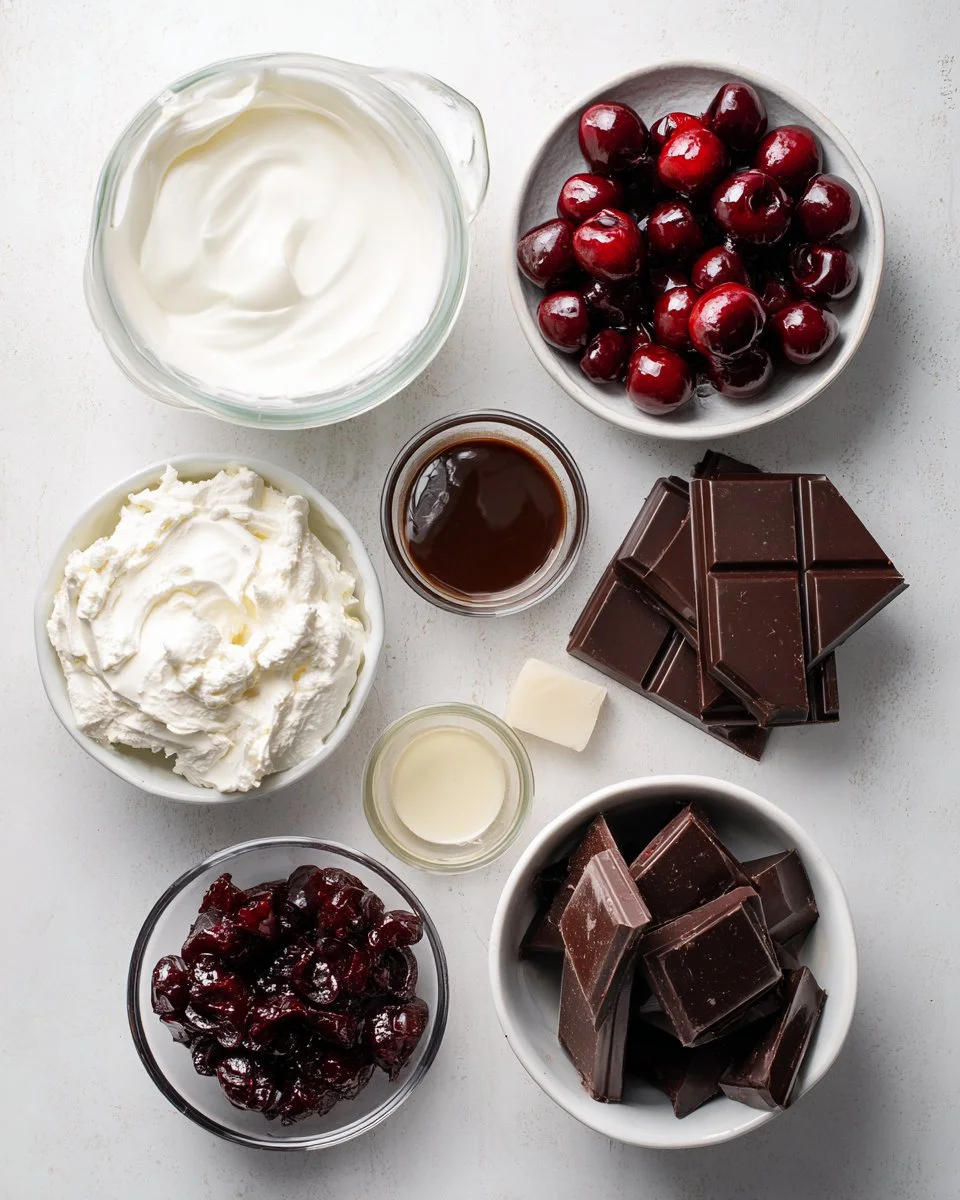
Ingredients
-
2 cups heavy whipping cream: Use high-quality cream for the best texture. I love using organic brands for a richer flavor.
-
1 jar maraschino cherries, chopped, divided: The sweet juiciness of cherries really elevates this dessert. Look for ones without artificial coloring for a more natural taste.
-
1 can sweetened condensed milk: This provides the perfect sweetness and creamy texture. What I love is that it doesn’t create a grainy texture like granulated sugar might.
-
1 teaspoon vanilla extract: Always opt for pure vanilla extract, as it enhances the flavors beautifully.
-
1 bar semi-sweet chocolate, chopped, divided: Choose a good quality chocolate like Ghirardelli or Guittard for the best melt and flavor.
-
⅔ cup hot fudge topping, divided: If you’re feeling adventurous, make your own hot fudge at home! But if quick is your thing, store-bought works just fine.
Prep Notes: Make sure your heavy cream is cold for the best whipping results! Let your butter and other refrigerated ingredients come to room temperature before starting.
Step-by-Step Instructions
-
Chill the Pan: Start by placing a 10×7 inch pan in the freezer to chill. This helps keep the ice cream mixture creamy when added.
-
Whip the Cream: In a large mixing bowl, add the heavy whipping cream. Mix on low speed with an electric mixer, gradually increasing to medium speed until it starts to thicken. Then, switch to high speed until stiff peaks form. This should take about 2-3 minutes.
-
Prepare the Base: In another bowl, combine the reserved cherry juice (from the maraschino cherries), sweetened condensed milk, and vanilla extract. Whisk together until well combined.
-
Fold It Together: Gently fold the whipped cream into the cherry mixture. It’s important to be gentle here to keep the cream aerated—think of it like a big, fluffy cloud.
-
Mix In the Goodies: Stir in the chopped cherries and half of the chopped chocolate, reserving the other half for topping.
-
Layer it Up: Pour half of the ice cream mixture into the chilled pan. Drizzle with ⅓ cup of hot fudge topping. Then, pour in the remaining ice cream mixture and drizzle with the remaining hot fudge.
-
Swirl for Effect: Use a knife to gently swirl the hot fudge into the ice cream. This creates that beautiful marbled effect that is as pleasing to the eyes as it is to the palate!
-
Add Toppings: Sprinkle the remaining chocolate and cherries on top.
-
Freeze: Cover the pan with plastic wrap and freeze for at least 6 hours or overnight until firm.
Chef’s Tips:
- For the fluffiest cream, make sure to start with a clean bowl and beaters.
- If your cream isn’t whipping well, check the expiration date—freshness makes a difference!
- Do not rush the folding process; be cautious with the whipped cream so you don’t deflate it.
Expert Tips & Tricks
-
Ingredient Quality: Always use the freshest and highest quality ingredients you can find. This ice cream only shines when its components are top-notch!
-
Storage Recommendations: Store any leftovers in an airtight container in the freezer. It should last for up to 2 weeks—it won’t last that long, though!
-
Make-ahead Instructions: This ice cream is perfect for preparing ahead of time. Make it a day before an event to ensure it’s well-frozen.
-
Troubleshooting: If your ice cream turns out icy, it may have been whipped too much or not mixed thoroughly. Be gentle while folding!
-
Customize Easily: This base is incredibly flexible. Swap out the cherries for strawberries, or try adding crushed Oreos for a cookies and cream version!
Serving Suggestions
To brighten up your evening, serve this No Churn Chocolate Cherry Ice Cream with freshly baked brownies or a slice of warm chocolate cake. You can also drizzle additional hot fudge on top or garnish it with whipped cream and extra cherries. It’s an indulgence that’s perfect for summer barbecues, cozy family gatherings, or even for date night in—because who needs an excuse to treat themselves?
Variations & Substitutions
-
Flavor Combinations: Try adding crushed Oreos for a Cookies and Cream version or replace the cherries with strawberries and add a swirl of strawberry sauce.
-
Dietary Adaptations: For a dairy-free option, use full-fat coconut cream instead of heavy cream, and ensure that your sweetened condensed milk is coconut-based as well. You can still enjoy this treat without compromise!
-
Seasonal Variations: In the fall, add pumpkin puree, cinnamon, and nutmeg to create a Pumpkin Spice Chocolate Cherry Ice Cream. It’s a delightful twist perfect for leaf-crunching days!
Nutrition & Storage Info
- Prep Time: 15 minutes
- Freeze Time: 6 hours
- Total Time: 6 hours 15 minutes
- Yield: About 8 servings
- Estimated Calories: Approximately 300 calories per serving
- Storage Instructions: Keep in the freezer for up to 2 weeks in an airtight container.
FAQ Section
-
Can I use fresh cherries?
Absolutely! Just pit them and chop them up. You’ll want to increase the sugar a bit since fresh cherries are less sweet than maraschino cherries. -
How can I make this chocolate cherry ice cream healthier?
Consider using light whipping cream, sugar alternatives, and reducing the amount of hot fudge used. -
What if I don’t have a mixer?
You can whisk the cream by hand, but it will take some time and arm strength—get ready for a workout! -
Can I add alcohol to this?
Yes! A splash of cherry liqueur or bourbon can amplify the flavors if you wish to add an adult twist. -
Is there a way to make this no-churn ice cream more scoopable when frozen?
If it becomes too hard in the freezer, let it sit out for a few minutes before scooping, or try leaving out a tablespoon of sweetened condensed milk. -
Can I freeze this in different containers?
For perfect single servings, pour portions into ice cream cups and freeze them for on-the-go treats. -
How do I serve the ice cream?
You can use an ice cream scoop or a warm spoon for easier serving. -
Why did my whipped cream not whip up?
Ensure your bowl and beaters are thoroughly clean and dry. Cream should be cold for optimal whipping. -
How long does this stay fresh?
It’s best consumed within 2 weeks for optimal flavor and texture, but proper storage can keep it fresh a bit longer. -
Can I make this without the chocolate or cherries?
Sure! Try a vanilla base or swap with other fruits and toppings to create your ideal version.
Conclusion
This No Churn Chocolate Cherry Ice Cream is more than just a dessert; it’s a sweet tribute to cherished family times and delightful summer afternoons. Whether it’s for a casual evening or a special celebration, I encourage you to bring this recipe into your kitchen and experience the joy it brings.
I’d love to hear how yours turns out! Share your feedback in the comments below or let me know if you tried any exciting variations. And don’t forget to check out my other ice cream recipes on the blog—they are just as scrumptious! Enjoy every creamy spoonful!

No Churn Chocolate Cherry Ice Cream
Ingredients
Method
- Chill the Pan: Start by placing a 10x7 inch pan in the freezer to chill.
- Whip the Cream: In a large mixing bowl, add the heavy whipping cream. Mix on low speed, gradually increasing to medium until thickened, then switch to high speed until stiff peaks form (about 2-3 minutes).
- Prepare the Base: In another bowl, combine the reserved cherry juice, sweetened condensed milk, and vanilla extract. Whisk together until combined.
- Fold It Together: Gently fold the whipped cream into the cherry mixture to keep it aerated.
- Mix In the Goodies: Stir in the chopped cherries and half of the chopped chocolate.
- Layer it Up: Pour half of the ice cream mixture into the chilled pan, drizzle with ⅓ cup of hot fudge topping, then add the remaining mixture and drizzle with remaining hot fudge.
- Swirl for Effect: Use a knife to swirl the hot fudge into the ice cream.
- Add Toppings: Sprinkle the remaining chocolate and cherries on top.
- Freeze: Cover and freeze for at least 6 hours or overnight until firm.