Irresistible Raspberry Lemon Bars: A Sweet and Tangy Delight
Picture this: it’s the height of summer, the sun is shining, and the scent of fresh raspberries wafts through my kitchen as I whisk together a medley of flavors inspired by my childhood. Raspberry lemon bars have always been a cherished dessert in my family, often making an appearance at summer picnics or family gatherings. The sweet-tart burst from the fresh raspberries paired with the refreshing zing of lemon creates an experience that feels both nostalgic and uplifting.
What makes my version of Raspberry Lemon Bars so special? For starters, I’ve refined the recipe over the years, bringing more dimension and flavor to each bite. Unlike store-bought varieties that often skimp on quality, my raspberry lemon bars are brimming with fresh ingredients, ensuring every slice is a perfect balance of tartness and sweetness. They’re not just a dessert; they’re an emotional anchor, bringing back memories of laughter and love shared over family meals.
Join me on this flavor journey as I walk you through crafting the ultimate raspberry lemon bars, learning baking tips, tricks, and variations along the way. I promise you’ll impress your family and friends and create sweet memories of your own!
What Are Raspberry Lemon Bars?
Raspberry lemon bars, sometimes known as lemon raspberry squares, have a delightful origin that dates back to the classic dessert bars that gained popularity in the United States in the 1970s. Combining zesty lemon with juicy berries, these bars feature a two-layer structure: a buttery crust followed by a creamy filling packed with flavor.
The taste is a glorious harmony of sweet and tart, with a buttery, crumbly base that melts in your mouth. The raspberry preserves the vibrant pink color, while the lemon juice infuses a refreshing brightness that makes these bars irresistible.
These treats are perfect for summer gatherings, tea parties, or whenever you crave a burst of sunshine, even on a cloudy day. They can uplift any occasion, transforming a simple get-together into something memorable.
Why You’ll Love This Recipe
-
Homemade Goodness: There’s nothing like the taste of homemade Raspberry Lemon Bars. Unlike pre-packaged versions that lack freshness, these bars burst with authentic raspberry and lemon flavors that will have your taste buds dancing.
-
Cost-Effective: Making raspberry lemon bars at home is not only fun but also budget-friendly. You’ll likely save money compared to buying gourmet bars at specialty bakeries, especially since the ingredients are simple and often found in your pantry.
-
Customization Options: Want a little extra zing? Consider adding a touch of lime or even throwing in a handful of another fruit. You can easily tweak this recipe to suit your personal taste or dietary needs, making it versatile for everyone!
-
Easy to Make: I promise you don’t need to be a baking expert to whip up these bars! With straightforward steps and a short baking time, you’ll have a tray of beautiful raspberry lemon bars ready to impress.
-
Perfect for Meal Prep: These bars store beautifully! Make them ahead of time and chill them in the fridge, so they’re ready when those cravings hit or when you need a sweet treat for that upcoming gathering.
Ingredients
Here’s what you’ll need:
-
Crust:
- 1 cup unsalted butter, softened to room temperature
- 2 cups all-purpose flour
- 1/2 cup granulated sugar
-
Filling:
- 12 ounces fresh or frozen raspberries, unthawed
- 1/4 cup granulated sugar
- 2 tablespoons fresh lemon juice
- 4 large eggs
- 1 1/2 cups granulated sugar
- 2/3 cup freshly squeezed lemon juice
- 1/4 cup all-purpose flour
-
For Dusting:
- Confectioners’ sugar
Ingredient Notes:
- Raspberries: If using frozen raspberries, make sure they’re unthawed and well-drained to avoid excess moisture.
- Butter: It’s crucial to use unsalted butter at room temperature. This promotes even mixing and a tender crust.
- Lemons: Fresh-squeezed lemon juice is preferred for its vibrant acidity and flavor – bottled juice just doesn’t capture the same essence.
Step-by-Step Instructions
-
Prepare the Raspberry Mixture: In a medium saucepan over medium heat, combine the raspberries, 1/4 cup of sugar, and 2 tablespoons of fresh lemon juice. Bring it all to a boil, stirring frequently. Once boiling, reduce the heat and simmer for about 8-10 minutes until the mixture has thickened. Strain the mixture through a fine-mesh strainer to remove the seeds and set the raspberry sauce aside to cool completely.
-
Preheat the Oven: While the raspberry sauce cools, preheat your oven to 350°F (175°C) and greases a 9×13 inch baking dish with nonstick cooking spray.
-
Make the Crust: In a medium bowl, mix the softened butter, 2 cups of flour, and 1/2 cup of granulated sugar using a pastry cutter, fork, or your hands until you have a fine, crumbly texture. Press this mixture evenly into the bottom of the prepared baking dish. Bake for 15-20 minutes, or until it’s golden brown.
-
Prepare the Filling: In a large bowl, whisk together 1 1/2 cups of granulated sugar, 1/4 cup flour, eggs, 2/3 cup freshly squeezed lemon juice, and the cooled raspberry sauce. Mix until smooth and well combined.
-
Combine and Bake: Pour the filling over the pre-baked crust and return to the oven. Bake for an additional 20-25 minutes or until the filling is set and slightly firm to the touch.
-
Cool and Chill: Remove from the oven and allow the bars to cool to room temperature. Once cooled, transfer the baking dish to the refrigerator to chill for at least 2 hours (or overnight for better flavor).
-
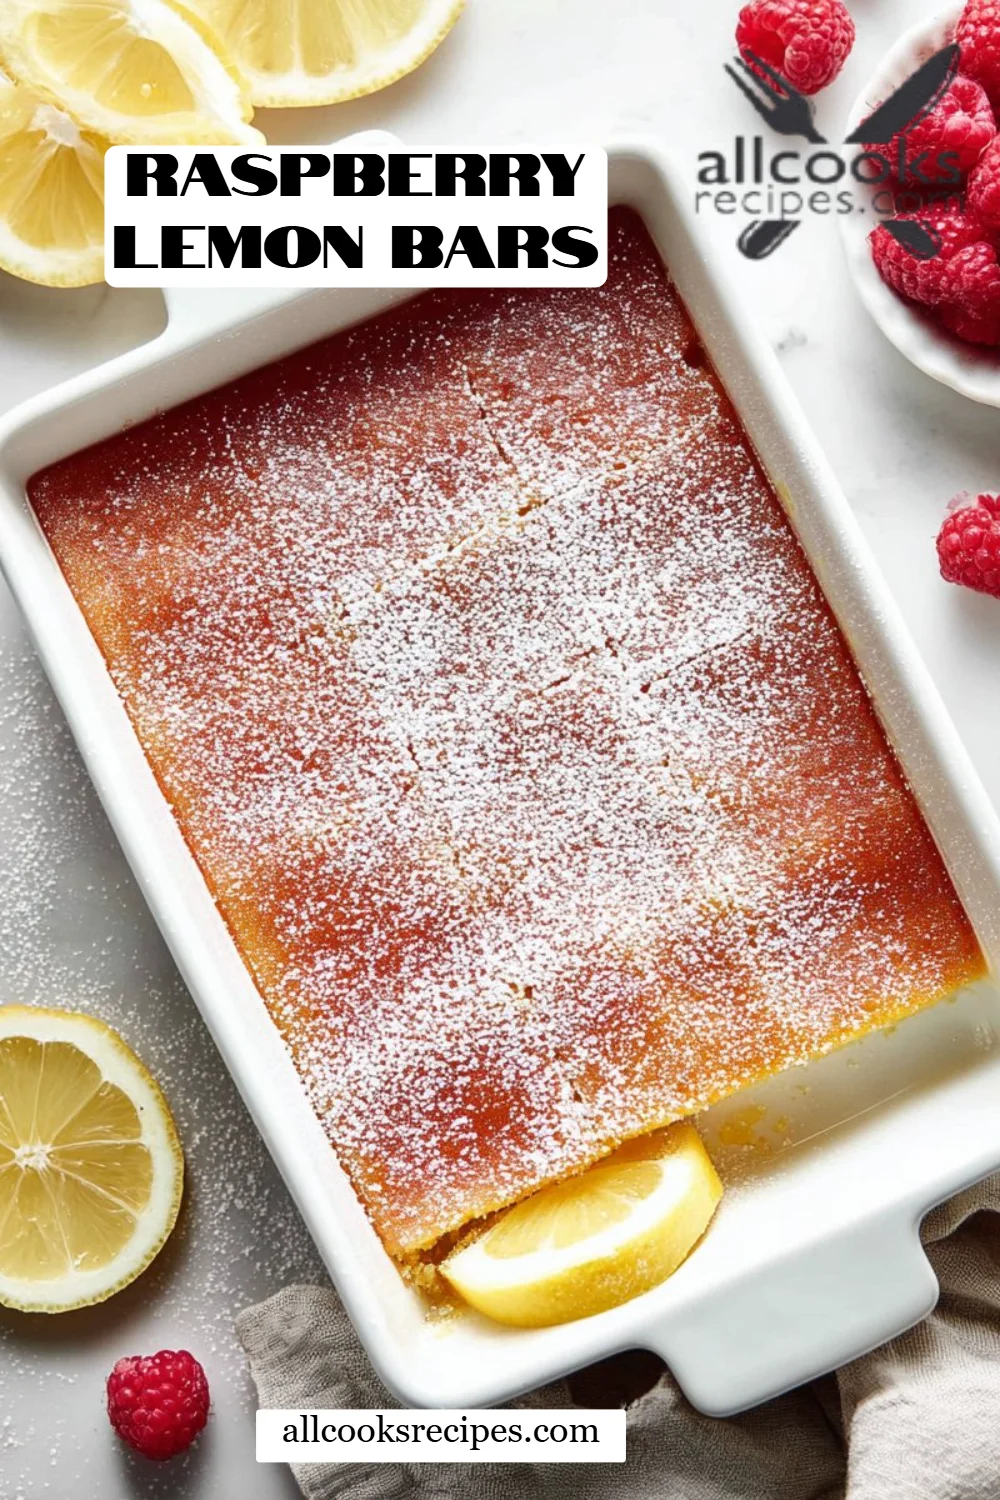
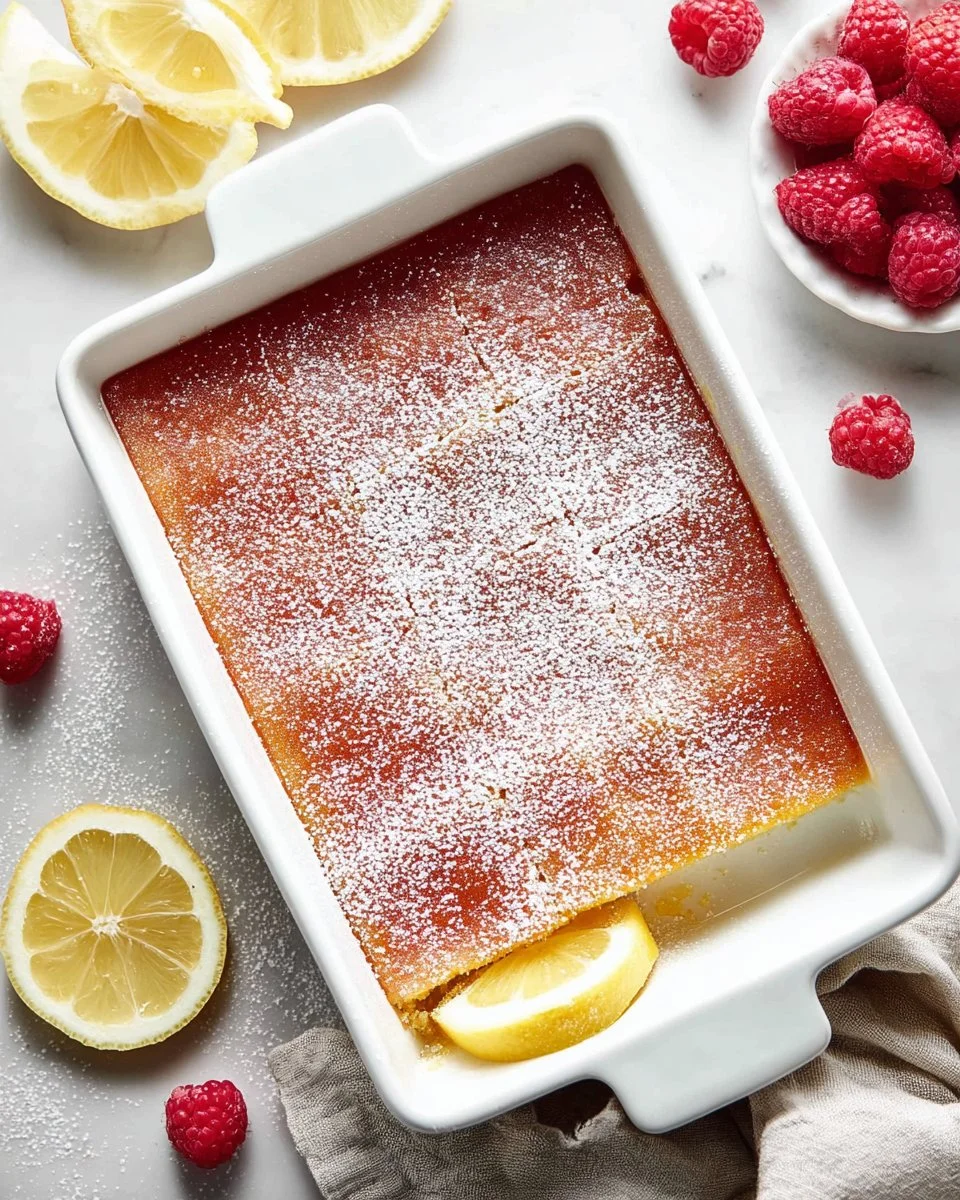
Serve: When ready to serve, dust the top with confectioners’ sugar, cut into squares, and enjoy!

Expert Tips & Tricks
- Baking Pan Choice: Always use a light-colored metal pan for better heat distribution and to avoid burning the edges.
- Storage: Keep these bars in an airtight container. They can be stored in the refrigerator for up to 5 days and can last up to 3 months in the freezer! Just be sure to wrap them tightly.
- Make-Ahead: Prepping these bars a day in advance can enhance the flavors and make serving a breeze!
- Troubleshooting: If your bars don’t set up, make sure to bake them until the center is just firm; it can be tempting to take them out too early, especially if they look cooked on the sides.
Serving Suggestions
These raspberry lemon bars are delicious on their own but pair beautifully with a dollop of whipped cream or a scoop of vanilla ice cream. You might serve them alongside a refreshing iced tea or a glass of lemonade for a complete summer treat.
I love to present them on a colorful plate with fresh raspberries and a sprig of mint, adding an elegant touch for gatherings or picnics. They’re the perfect light dessert after a big summer meal or a refreshing afternoon snack!
Variations & Substitutions
- Fruit Variations: Mix it up with blackberries, blueberries, or even peaches – the sky’s the limit!
- Dietary Adaptations: Want gluten-free? Use almond flour for a nutty flavor. Vegan? Substitute eggs with a flaxseed mixture (1 tablespoon flaxseed meal mixed with 2.5 tablespoons water for each egg).
- Seasonal Flavors: In the fall, consider incorporating spices like cinnamon and nutmeg for a twist!
Nutrition & Storage Info
- Prep Time: 30 minutes
- Cook Time: 45 minutes
- Total Time: 2 hours and 15 minutes (includes chilling)
- Yield: Approximately 16 squares
- Estimated Calories: About 200 calories per bar
- Storage Instructions: Store in an airtight container in the fridge for up to 5 days or freeze for up to 3 months.
FAQ Section
-
Can I use frozen raspberries instead of fresh?
Absolutely! Just make sure to thaw and drain them well before using. -
How long do these bars last?
When stored properly in the refrigerator, they can last up to 5 days. -
Can I make these bars gluten-free?
Yes! You can substitute the all-purpose flour with a gluten-free flour mix. -
What’s the best way to cut these bars?
For clean cuts, use a sharp knife dipped in hot water; wipe it clean between cuts for neat squares. -
Can I make the crust ahead of time?
Sure! You can pre-bake the crust a day ahead. Just wrap it tightly and store at room temperature. -
Is it necessary to chill the bars?
Yes! Chilling allows the filling to set properly and enhances the flavors. -
Can I use bottled lemon juice?
While it’s possible, fresh lemon juice greatly enhances the flavor and aroma of your bars. -
What if my bars don’t set?
If they’re still jiggly after cooling, they might need more time in the oven. Always check with a toothpick; it should come out mostly clean. -
Do I need to add the raspberry sauce?
While optional, the raspberry adds a unique flavor and makes these bars truly special. -
What’s a fun way to serve these at a party?
Consider cutting them into bite-sized pieces and serving them on skewers with fresh fruit for a fun twist!
Conclusion
These Raspberry Lemon Bars are a delightful treat that encapsulates the joys of summer while delivering comfort with each bite. With their tangy sweetness and crumbly crust, they’ve earned a special place in both my heart and my family’s gatherings. I encourage you to give this recipe a try; I promise you won’t be disappointed! Your guests will rave, and you’ll find yourself making them over and over.
I’d love to hear your thoughts on your experience with this recipe or any variations you try! Also, check out some of my other related recipes on the blog that will surely complement these citrusy delights. Happy baking!

Raspberry Lemon Bars
Ingredients
Method
- In a medium saucepan over medium heat, combine the raspberries, 1/4 cup of sugar, and 2 tablespoons of fresh lemon juice. Bring to a boil, stirring frequently.
- Once boiling, reduce the heat and simmer for about 8-10 minutes until thickened. Strain through a fine-mesh strainer to remove the seeds and set aside to cool completely.
- Preheat your oven to 350°F (175°C) and grease a 9×13 inch baking dish with nonstick cooking spray.
- In a medium bowl, mix the softened butter, 2 cups flour, and 1/2 cup sugar until a fine, crumbly texture forms. Press evenly into the bottom of the prepared baking dish.
- Bake the crust for 15-20 minutes, or until golden brown.
- In a large bowl, whisk together 1 1/2 cups of sugar, 1/4 cup flour, eggs, 2/3 cup lemon juice, and the cooled raspberry sauce until smooth.
- Pour the filling over the pre-baked crust and return to the oven.
- Bake for an additional 20-25 minutes or until the filling is set and slightly firm to the touch.
- Remove from the oven and allow to cool to room temperature, then refrigerate for at least 2 hours (or overnight).
- Dust the top with confectioners' sugar, cut into squares, and enjoy!