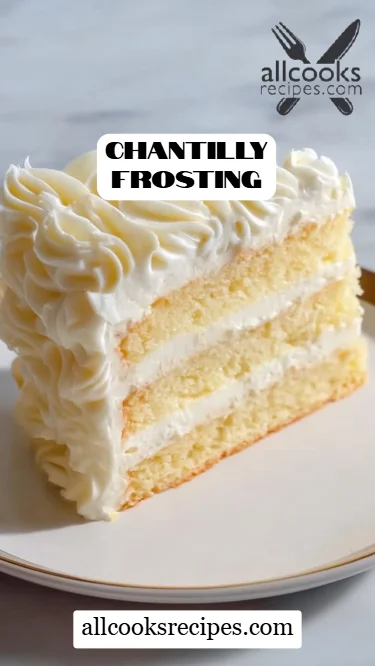
Heavenly Delight: Easy Chantilly Frosting to Elevate Your Desserts
There’s a certain magic that happens when you whip up a batch of Chantilly Frosting. It’s not just icing; it’s a wave of nostalgia, a touch of celebration, and perhaps even a sprinkle of indulgence! I remember the first time I crafted this fluffy delight during a family gathering. My aunt, a famed baker in our family, shared her secret recipe, and since then, it’s become my go-to for everything from birthday cakes to spontaneous sweet cravings.
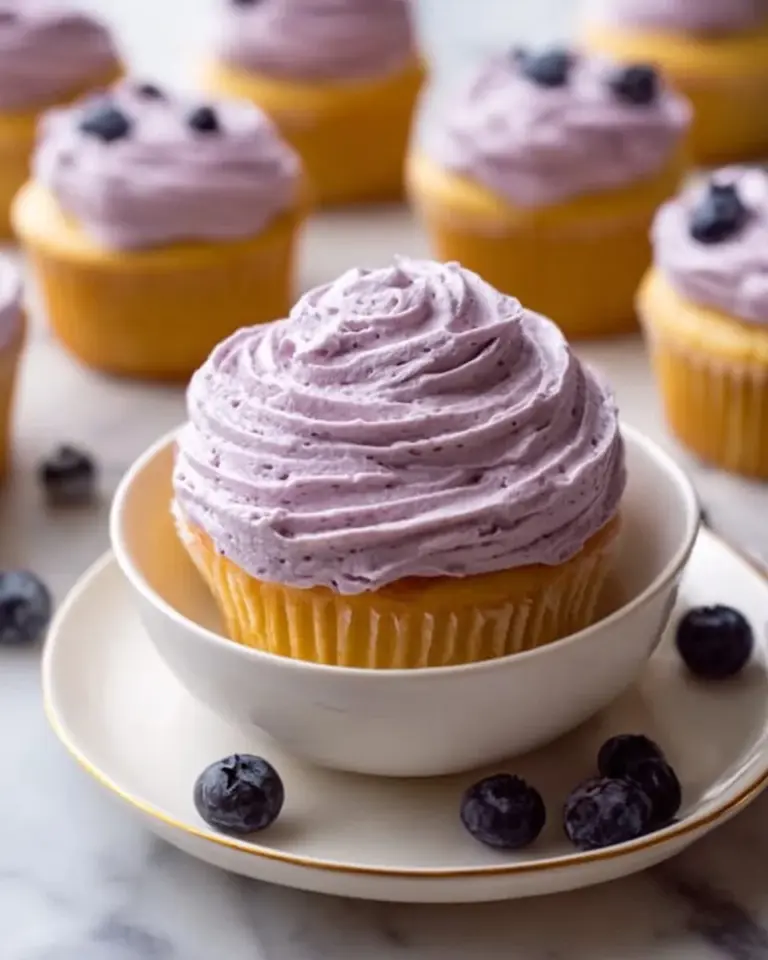
Each dollop of Chantilly Frosting is light, airy, and perfectly sweet, creating an irresistible contrast to the rich flavors of any cake or cupcake. Unlike many store-bought options, this recipe uses just a few simple ingredients, allowing you to bring a touch of homemade warmth to your desserts without breaking the bank. Plus, who doesn’t love customizing flavors to fit their mood?
So grab your mixing bowl and electric mixer! In this post, I promise to guide you through making Chantilly Frosting that’s not just delicious, but an experience—each taste is a reminder of family gatherings and love-filled kitchens.
What are Chantilly Frosting?
Chantilly Frosting finds its roots in French pastry shops, known for its silky texture and creamy, whipped goodness. Traditionally made with just heavy cream, sugar, and vanilla, this frosting embodies the essence of simplicity and elegance. Its flavor is a delicate balance of sweetness, perfectly complemented by its light, fluffy texture, which feels luxurious melting in your mouth.
What sets Chantilly Frosting apart from other frostings is its versatility; you can use it to frost cakes, dip fruits, or spread across cookies. Whether you’re celebrating a novelty birthday party or just rewarding yourself on a Tuesday, Chantilly Frosting is the answer. There’s no limit to when or why you should create this delicious topping!
Why You’ll Love This Recipe
-
Simplicity at Its Best: This recipe calls for minimal ingredients and can be whipped together in just 10 minutes! Unlike many frosting recipes that require lengthy processes and extensive baking knowledge, Chantilly Frosting comes together with just a few effortless steps.
-
Cost-Effective Indulgence: Store-bought frostings might seem easy, but they often contain preservatives and artificial flavors. You can whip up a fresh batch at a fraction of the cost, knowing exactly what’s in it. Quality assured!
-
Customizable Goodness: You can personalize the flavor to your liking! Want a hint of chocolate? Add cocoa powder! Feeling adventurous? Try incorporating fruit purées or extracts like almond or lemon.
-
No Baking Required: Perfect for when you’re short on time or when the oven is occupied with other delightful bakes. Just whip, spread, and let the frosting shine!
-
Difficulty Level: With a skill level of "easy," anyone can master this frosting! Even the most novice bakers can create a restaurant-quality treat.
Ingredients Section
Before we dive into the nitty-gritty of making this dreamy frosting, here’s what you’ll need:
- 1 cup heavy cream: The star ingredient! Look for high-fat content for the best volume and stability.
- 1/2 cup powdered sugar: For sweetness; you can use an alternative sweetener if desired.
- 1 teaspoon vanilla extract: Pure is best for a rich flavor. I love using Madagascar vanilla for that extra depth.
- 1/4 cup unsalted butter (optional): Use only if you prefer a sturdier buttercream texture; ensure it’s at room temperature for best results.
Prep Notes: It’s essential that the heavy cream is chilled—this will help it whip up perfectly. For the butter, make sure it’s softened, not melted.
Step-by-Step Instructions
Ready to create some magic in your kitchen? Let’s get started!
- In a large mixing bowl, pour the chilled heavy cream.
- Add powdered sugar and vanilla extract; this will infuse sweetness and flavor into the cream.
- Using an electric mixer, beat on medium speed for about 2-3 minutes or until soft peaks form. (At this point, you can add the optional butter if desired!)
- Chef’s Tip: Start slow to avoid a powdered sugar cloud!
- If making buttercream, gradually add softened butter and continue mixing for 2-4 minutes, until the mixture is fluffy and spreadable.
- Use immediately to frost lavishly on cakes or cupcakes, or if not using right away, store in the refrigerator for up to 24 hours.
- Common Mistakes to Avoid: Overwhipping can lead to butter-like consistency, so stop as soon as soft peaks form!
Expert Tips & Tricks
- The Chill Factor: Make sure everything is cold! This ensures the cream whips to perfection.
- Flavor Infusion: Don’t hesitate to experiment. A teaspoon of espresso or some citrus zest can take your frosting to new heights.
- Storing Chantilly Frosting: It can be kept in the fridge for up to 24 hours. If it separates, simply re-whip to restore its fluff.
- Make-Ahead: If making for an event, create the base frosting ahead of time, and fold in any flavors or stabilizers right before serving.
- Troubleshooting Tip: If the frosting isn’t holding its shape, consider adding a bit more powdered sugar or using a stabilizer like gelatin to maintain its structure.
Serving Suggestions
Chantilly Frosting is incredibly versatile! Here are some delightful serving ideas:
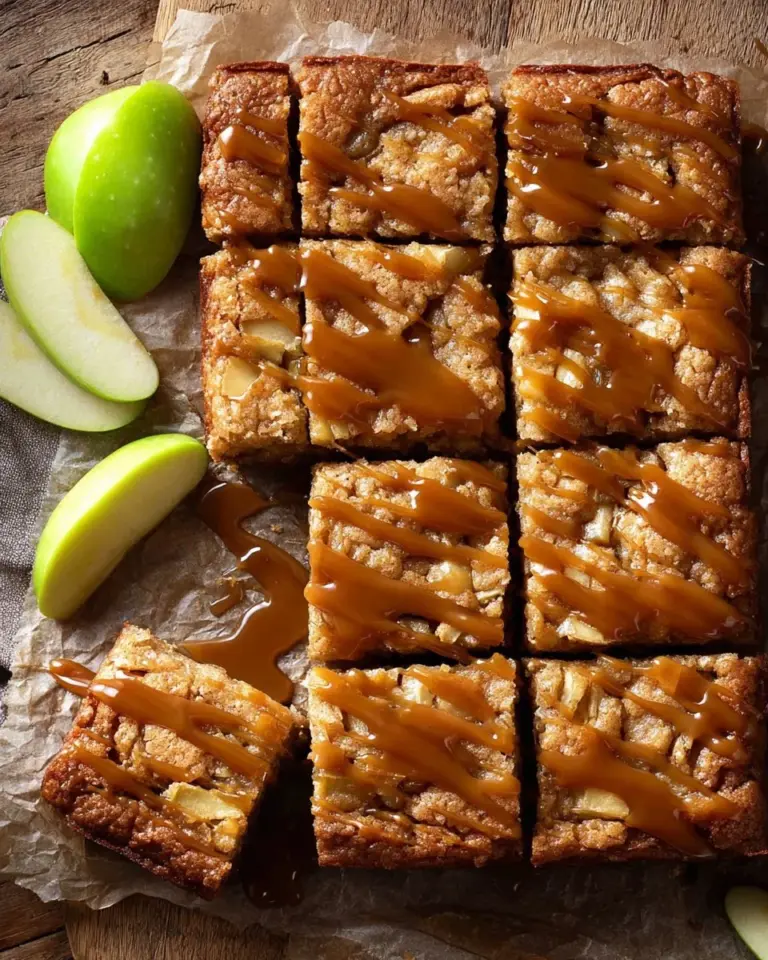
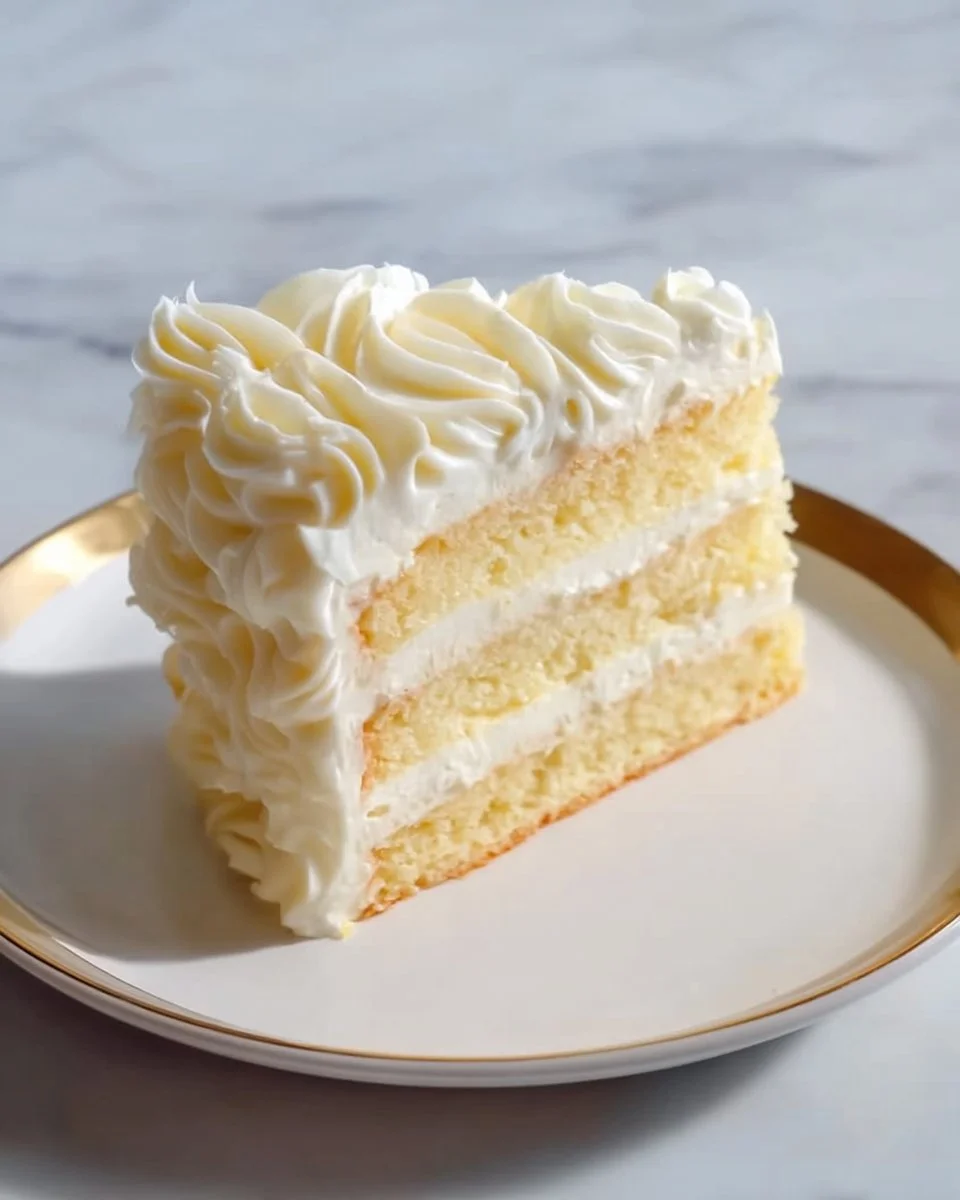
- On Top of Sponge Cakes: Light and airy muffins or sponge cakes benefit from a generous dollop.
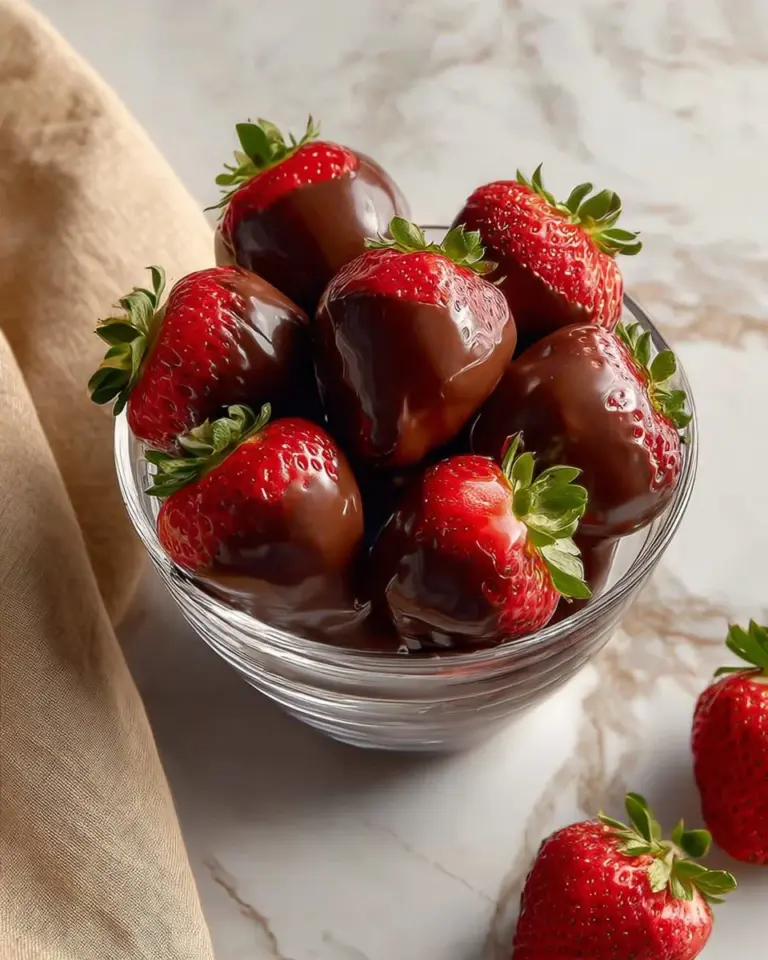
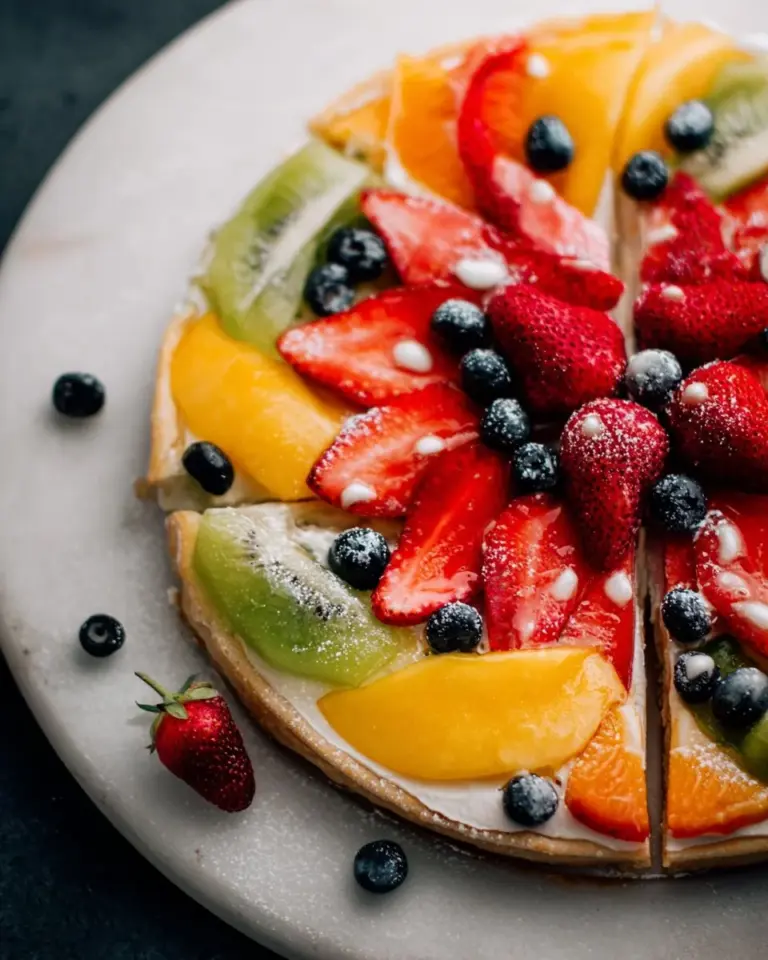
- Fruit Dips: Serve alongside fresh berries or fruit platters for an indulgent treat.
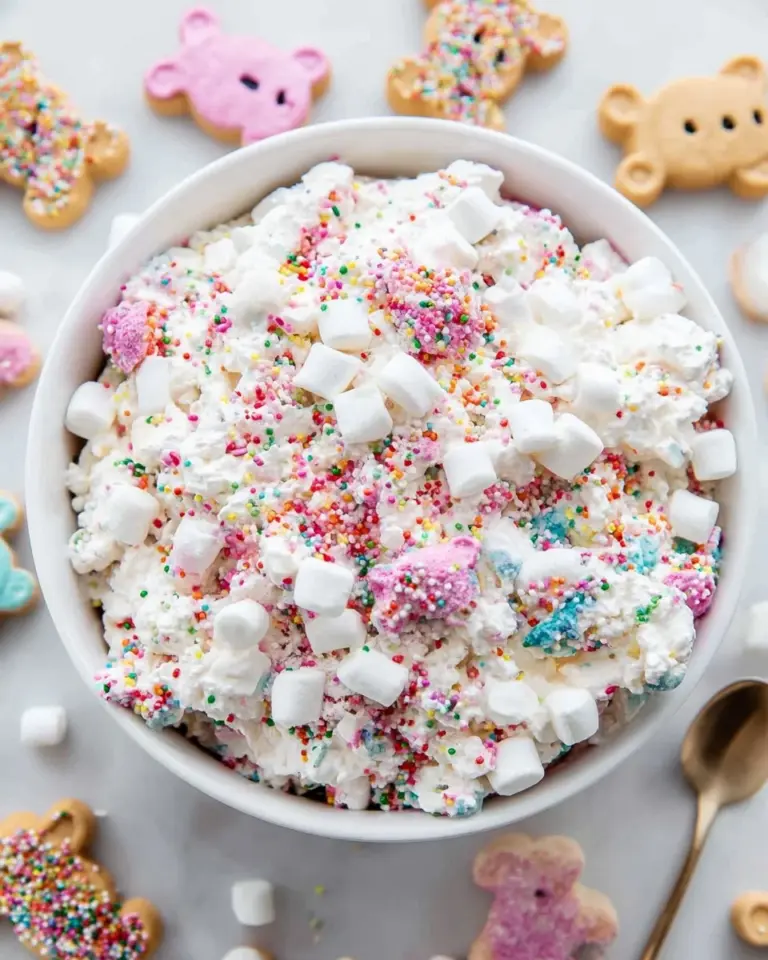
- Presentation: Use a piping bag for beautiful swirls on cupcakes. Add colorful sprinkles or edible flowers for a festive touch.
Variations & Substitutions
- Flavor Combinations: Try adding crushed berries, cocoa powder, or even matcha for a unique twist!
- Diet-Friendly Adaptations: Use full-fat coconut cream in place of heavy cream for a dairy-free option.
- Seasonal Variations: Pumpkin spice for fall, peppermint for winter—mix it up according to the season!
Nutrition & Storage Info
- Prep Time: 10 minutes
- Total Time: 10 minutes
- Yield: About 2 cups (provides 10-12 servings, depending on usage)
- Estimated Calories: Approximately 120 calories per serving
- Storage Instructions: Keep in the refrigerator for up to 24 hours or in the freezer for a more extended period. Allow to come to room temperature, re-whip as needed.
FAQ Section
-
Can I make Chantilly Frosting ahead of time?
Yes! You can make it up to 24 hours in advance. Just store it in the fridge and re-whip before using. -
Why did my frosting turn out runny?
This can happen if the cream wasn’t chilled well or if it was overwhipped. Ensure your cream is cold, and stop whisking once you see soft peaks. -
How can I make it less sweet?
Adjust the amount of powdered sugar to your taste. You can also add more vanilla extract to balance out sweetness. -
Is there a vegan version of Chantilly Frosting?
Absolutely! Use full-fat coconut cream instead of heavy cream, and follow the same whipping instructions. -
How long will the frosting last?
When stored in the fridge, it’ll last about 24 hours. In the freezer, it can last for several weeks. -
Can I color Chantilly Frosting?
Yes, gel food coloring works best! Just add a few drops while mixing and blend until you achieve the desired color. -
What’s the best way to store leftover frosting?
Store it in an airtight container in the fridge. If you notice any separation, simply re-whip it before use. -
Can this frosting be piped?
Yes! It holds shape well for piping on cupcakes and cakes. -
What if I want a stiffer frosting for decorating?
Consider incorporating softened butter into the recipe to create a buttercream-style frosting. -
How can I infuse more flavors?
You can add extracts like almond, orange, or even spices like cinnamon for a unique taste!
Conclusion
This easy Chantilly Frosting recipe is a versatile and delightful way to elevate your desserts while building lasting memories in the kitchen. The light, airy texture and customizable flavors ensure that it will always be a crowd-pleaser, whether you’re celebrating a holiday or simply enjoying a cozy night in. I invite you to try it out and let me know how it turns out! Did your family love it? Share your experiences in the comments below. And if you’re hungry for more baking inspiration, be sure to check out my other related recipes on the blog!