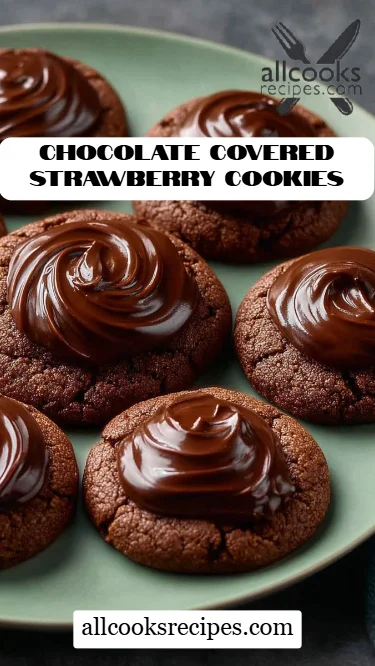
Chocolate Covered Strawberry Cookies: A Decadent Treat Combining Your Favorite Flavors
Imagine this: it’s a rainy Sunday afternoon, the kind of day that begs for something sweet and comforting. I was rifling through my cupboards when I stumbled upon a bag of chocolate chips and some strawberry powder left from a previous baking adventure. That’s when inspiration struck! I decided to create Chocolate Covered Strawberry Cookies that are not only delicious but a delightful merge of chocolatey richness and fruity brightness.
What makes these cookies so special? Well, they’re indulgent and rich, with a hidden layer of strawberry buttercream that takes them from ordinary to extraordinary. This isn’t just another cookie recipe; it’s an experience steeped in nostalgia. I remember baking cookies with my Mom during summer vacations, the house filled with the sweet smell of melting chocolate and laughter. With this recipe, I want to evoke those same warm memories in your home.
Join me as I guide you through the steps to create your very own Chocolate Covered Strawberry Cookies. This recipe is easy enough for beginners yet rewarding enough for seasoned bakers. By the end, you’ll learn how to create these heavenly bites that will impress your friends and family—just like they did in my childhood!
What Are Chocolate Covered Strawberry Cookies?
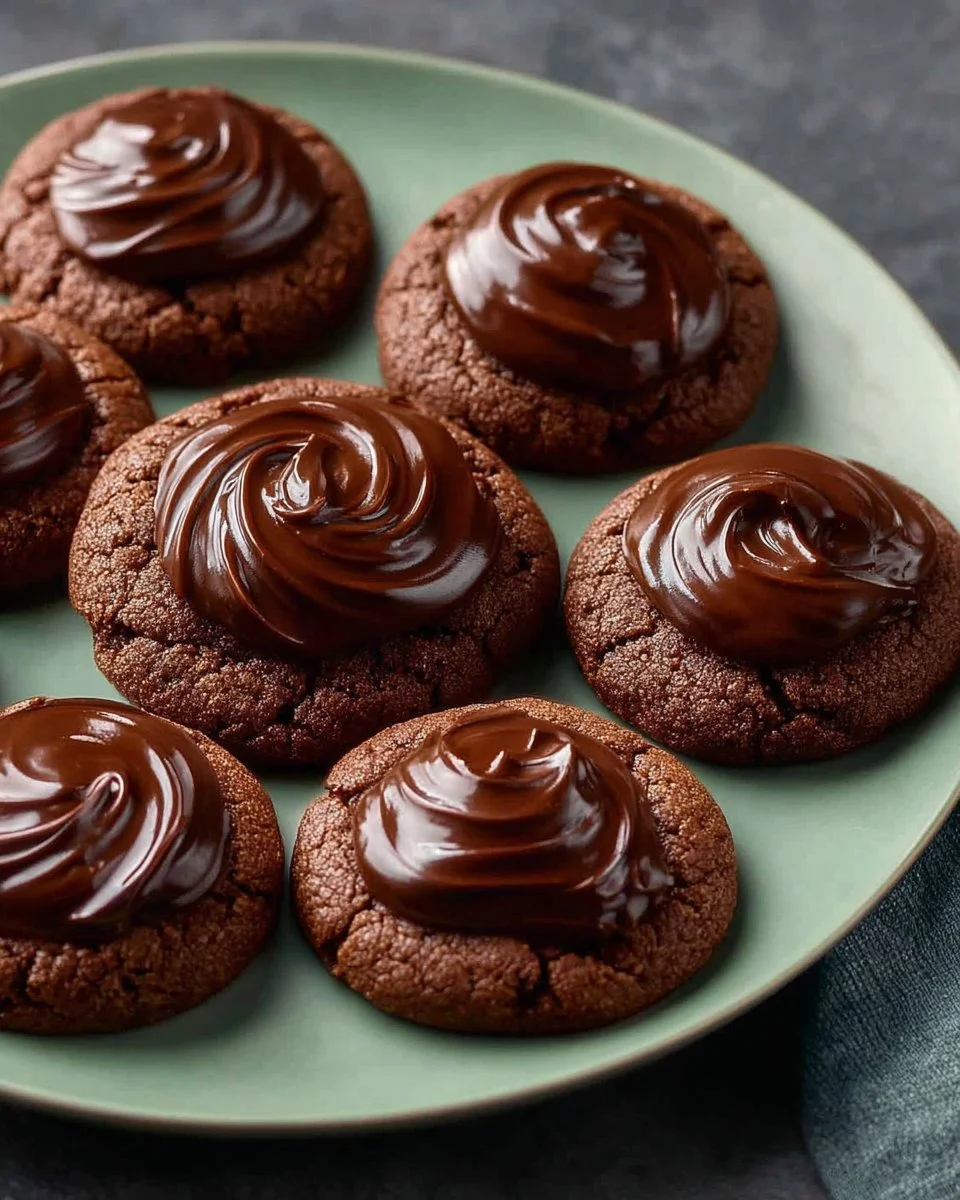
At their core, Chocolate Covered Strawberry Cookies are the perfect fusion of chocolate and strawberries in cookie form. Originating from the classic combination of chocolate-covered strawberries, these cookies take that delightful, glossy treat and transform it into something even more gratifying.
Picture this: a soft, chocolate cookie enveloping a creamy, strawberry-infused buttercream filling, all kissed with a luscious chocolate coating. The cookie itself has the perfect balance of chewy and tender, while the filling adds a burst of fruity flavor that compliments the chocolate perfectly.
When should you make them? These cookies are a fabulous choice for birthdays, holidays, or simply as an indulgent snack during a cozy Netflix binge. They also make heartwarming gifts—who wouldn’t want a batch of these beauties to brighten their day?
Why You’ll Love This Recipe
Here are just a few reasons why Chocolate Covered Strawberry Cookies will become your new go-to treat:
-
Decadently Delicious: With every bite, you’ll experience the harmonious blend of rich chocolate and sweet strawberries. The hidden filling adds an exciting surprise that elevates these cookies from ordinary to extraordinary.
-
Better Than Store-Bought: Sure, you can find pre-packaged chocolate-covered strawberry cookies at the store, but they hardly capture the homemade charm and flavor that these beauties pack! When you bite into one of these cookies, you’ll savor the freshness and quality of homemade goodness, knowing exactly what went into each bite.
-
Cost-Effective: Baking at home is often cheaper than purchasing gourmet cookies from a bakery. Plus, you control the quality of ingredients—say goodbye to preservatives!
-
Customizable: Feel free to switch up the flavors for different occasions! You could add a twist by incorporating nuts, white chocolate, or even substituting raspberry powder for a fruity variation.
-
Easy to Make: This recipe may seem luxurious, but it’s actually quite straightforward. It requires a bit of chilling time, but hands-on preparation is minimal, making it perfect for bakers of any skill level.
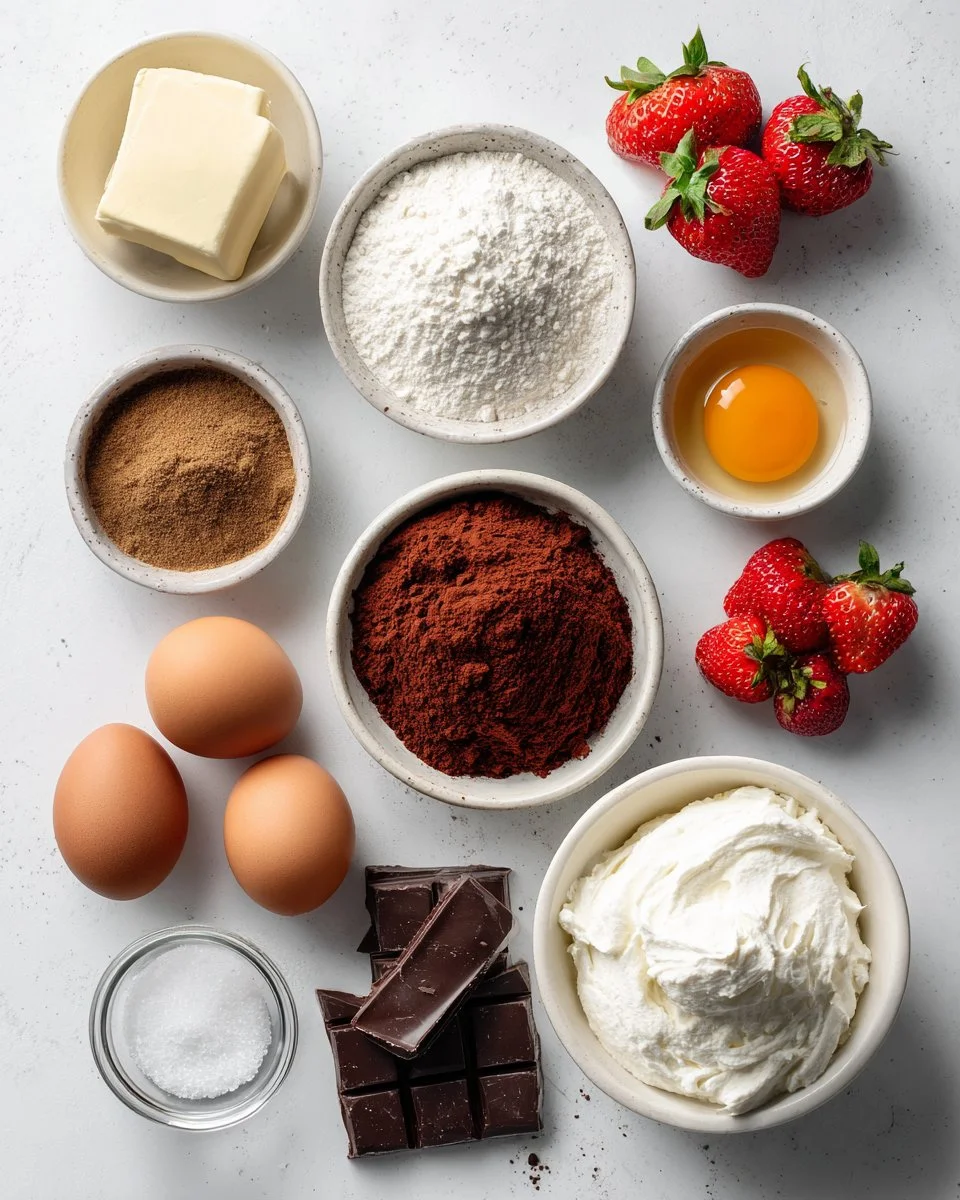
Ingredients
Here’s what you’ll need to create these fabulous bites of joy! Make sure to use high-quality ingredients to ensure the best flavor and texture!
- 1 cup butter, softened: Make sure it’s at room temperature; this helps create a creamy texture.
- 1 cup brown sugar: Adds moisture and a deep flavor.
- 1/2 cup granulated sugar: For that perfect sweetness.
- 2 large eggs: At room temperature for easy mixing.
- 2 tbsp vegetable oil: For added moisture.
- 1 1/2 tsp vanilla extract: Go for pure vanilla for the best flavor.
- 3 1/4 cups cake flour: Cake flour will keep your cookies soft and tender.
- 3/4 cup cocoa powder: Sifted to ensure there are no lumps (Pro Tip!).
- 2 tsp baking powder: This will help your cookies rise beautifully.
- 1/8 tsp baking soda: A little boost for the rise.
- 3/4 tsp salt: Enhances the flavors.
- 1/4 tsp ground cinnamon: For a hint of warmth in flavors.
For the Strawberry Buttercream Filling:
- 8 tbsp butter, softened: Bring to room temperature just like the other butter.
- 4 tbsp strawberry powder: This adds a lovely fruity flavor.
- 1/8 tsp salt: To balance the sweetness.
- 1 1/3 cups powdered sugar: For that fluffy, sweet filling.
For the Chocolate Topping:
- 1 cup chocolate chips or chopped chocolate: I recommend Ghirardelli for a rich, silky coating.
- 1/4 cup heavy cream: Ensures a smooth melting experience.
Prep Notes: Always have your butter and eggs at room temperature for easier mixing.
Step-by-Step Instructions
Let’s dive into the delightful process of making these cookies!
Prepare the Strawberry Buttercream Filling:
-
Sift Cocoa Powder: We want to eliminate those pesky lumps! Sift the cocoa powder into a bowl.
-
Beat the Butter: In a medium bowl, beat 8 tablespoons of softened butter using an electric mixer on medium speed for about 1-2 minutes until creamy.
-
Mix in Strawberry Powder: Add 4 tablespoons of strawberry powder and 1/8 teaspoon of salt. Mix until fully combined, followed by the powdered sugar, mixing until smooth.
-
Freeze Filling: Scoop tablespoon-sized portions onto a parchment-lined sheet and freeze for about 15 minutes until solid.
Make the Cookie Dough:
-
Cream Butter & Sugars: In a large bowl, cream together 1 cup softened butter with 1 cup brown sugar and 1/2 cup granulated sugar until fluffy, which should take about 2-3 minutes.
-
Incorporate the Eggs: Add the eggs one at a time, mixing well after each addition. Then, add the 2 tablespoons of vegetable oil and 1 1/2 teaspoons of vanilla extract, mixing to combine.
-
Mix Dry Ingredients: In another bowl, whisk together the 3 1/4 cups cake flour, 3/4 cup sifted cocoa powder, 2 teaspoons baking powder, 1/8 teaspoon baking soda, 3/4 teaspoon salt, and 1/4 teaspoon ground cinnamon.
-
Combine Mixtures: Gradually fold the dry ingredients into the wet mixture until just combined, being careful not to overmix.
-
Chill the Dough: Chill the dough for about 30 minutes to firm it up.
Bake the Cookies:
-
Preheat Oven: While the dough is chilling, preheat your oven to 350°F (175°C) and line your baking sheets with parchment paper.
-
Shape Cookies: Remove the dough and filling from the fridge/freezer. Scoop about 3 tablespoons of dough, flatten it in your palm, and place a frozen filling ball in the center. Carefully wrap the dough around the filling and roll it into a ball.
-
Bake: Place the cookies on the lined baking sheets with plenty of space between them (about 2 inches). Bake for 11-12 minutes until set but still soft in the center.
-
Cooling Time: Let the cookies cool on the sheet for about 10 minutes before transferring them to a wire rack to cool completely.
Chocolate Coating:
-
Melt the Chocolate: In a microwave-safe bowl, combine 1 cup of chocolate and 1/4 cup of heavy cream. Heat in 30-second intervals, stirring in between until smooth and glossy.
-
Coat Cookies: Spoon the melted chocolate on top of each cookie, allowing excess chocolate to drip off. For a quicker setting, place them in the fridge for 5-10 minutes or let them set at room temperature for about 15-20 minutes.
Chef’s Tips:
- Make sure your cookie fillings are completely frozen before encapsulating them in dough to prevent melting.
- For the chocolate coating, ensure chocolate is completely melted for a smooth finish.

Expert Tips & Tricks
-
Quality Ingredients Matter: Use high-quality chocolate and real vanilla extract for the most flavorful cookies.
-
Storage Recommendations: Store your cookies in an airtight container to keep them fresh. They can last up to a week at room temperature, or you can freeze them for up to 3 months.
-
Make-Ahead Instructions: You can prepare the dough and the filling in advance. Chill the dough overnight and scoop out the filling; just remember to freeze the filling the same day you prepare it.
-
Troubleshooting: If your cookies spread too much, check the consistency of your dough and fridge before baking—more chilling time might be needed.
-
Perfect Freeze: Instead of using a tray for the filling, you can use an ice cube tray. Once set, pop them out and store in a container to save space.
Serving Suggestions
Want to elevate your cookie experience? Serve these Chocolate Covered Strawberry Cookies warm with a scoop of vanilla ice cream or alongside a tall glass of cold milk. For special occasions, arrange them on a beautiful platter with fresh strawberries and a sprinkle of powdered sugar on top. They make perfect gifts for holidays or festive gatherings—you’ll be the star of the show!
Variations & Substitutions
These cookies are incredibly versatile! Here are some ideas for variations:
-
Raspberry Cookies: Switch out the strawberry powder for raspberry powder for a tangy twist.
-
Nutty Option: Add chopped walnuts or almonds into the dough for a delicious crunch.
-
Gluten-Free: Substitute cake flour with a gluten-free all-purpose flour blend; just ensure your baking powder is gluten-free too.
-
Dietary Adjustments: For a vegan version, replace butter with a plant-based alternative and use flax eggs instead.
Nutrition & Storage Info
- Prep Time: 1 hour (includes chilling times)
- Cook Time: 12 minutes
- Total Time: Approximately 1 hour and 30 minutes
- Yield: About 24 cookies
- Estimated Calories: 180 calories per cookie
Storage Instructions: These cookies keep well at room temp for up to a week, in the fridge for two weeks, or frozen for up to three months—if they last that long!
FAQ Section
-
Can I use different types of chocolate?
Yes! You can use dark, milk, or even white chocolate for coating. Just adjust the cream ratio if using white chocolate to maintain a smooth consistency. -
Can I make the filling the day before?
Absolutely! Just store the frozen filling balls in an airtight container until you’re ready to use them. -
What can I do if my cookies are too dry?
Make sure to measure your flour accurately! If they still turn out dry, try underbaking them slightly next time for a softer cookie. -
How do I know when my cookies are done?
The edges should appear set, while the centers may look a little soft. They will firm up as they cool. -
Can I add sprinkles on top of the chocolate?
Yes! Sprinkles add a fun touch and perfect for celebrations. Just add them immediately after coating the cookies before the chocolate hardens. -
What’s the best way to store cookies for freshness?
Keep them in an airtight container at room temperature. You can place wax paper between layers to prevent sticking. -
Can I double the recipe?
Yes! Feel free to double it, but you may want to bake them in batches to ensure even baking. -
Why should I sift the cocoa powder?
Sifting removes lumps, ensuring a smooth texture in your cookie dough and preventing any bitter bites. -
Is it important to chill the dough?
Yes! Chilling helps solidify the dough, making it easier to handle and reduces the risk of spreading during baking. -
Can I use fresh strawberries in the filling?
I recommend using strawberry powder for consistency. Fresh strawberries change moisture content and can lead to a soggy filling.
Conclusion
There you have it—Chocolate Covered Strawberry Cookies that marry the fantastic flavors of chocolate and strawberry into one heavenly treat! This recipe isn’t just about baking; it’s about creating joyful moments with your loved ones. I encourage you to try these out—your family will absolutely love them!
I’m always eager to hear your thoughts! Drop a comment with your baking adventures or any enhancements you tried. And if you’re a fan of delightful desserts, check out my other delicious recipes on the blog! Happy baking!